

How to Burglarproof Your Doors
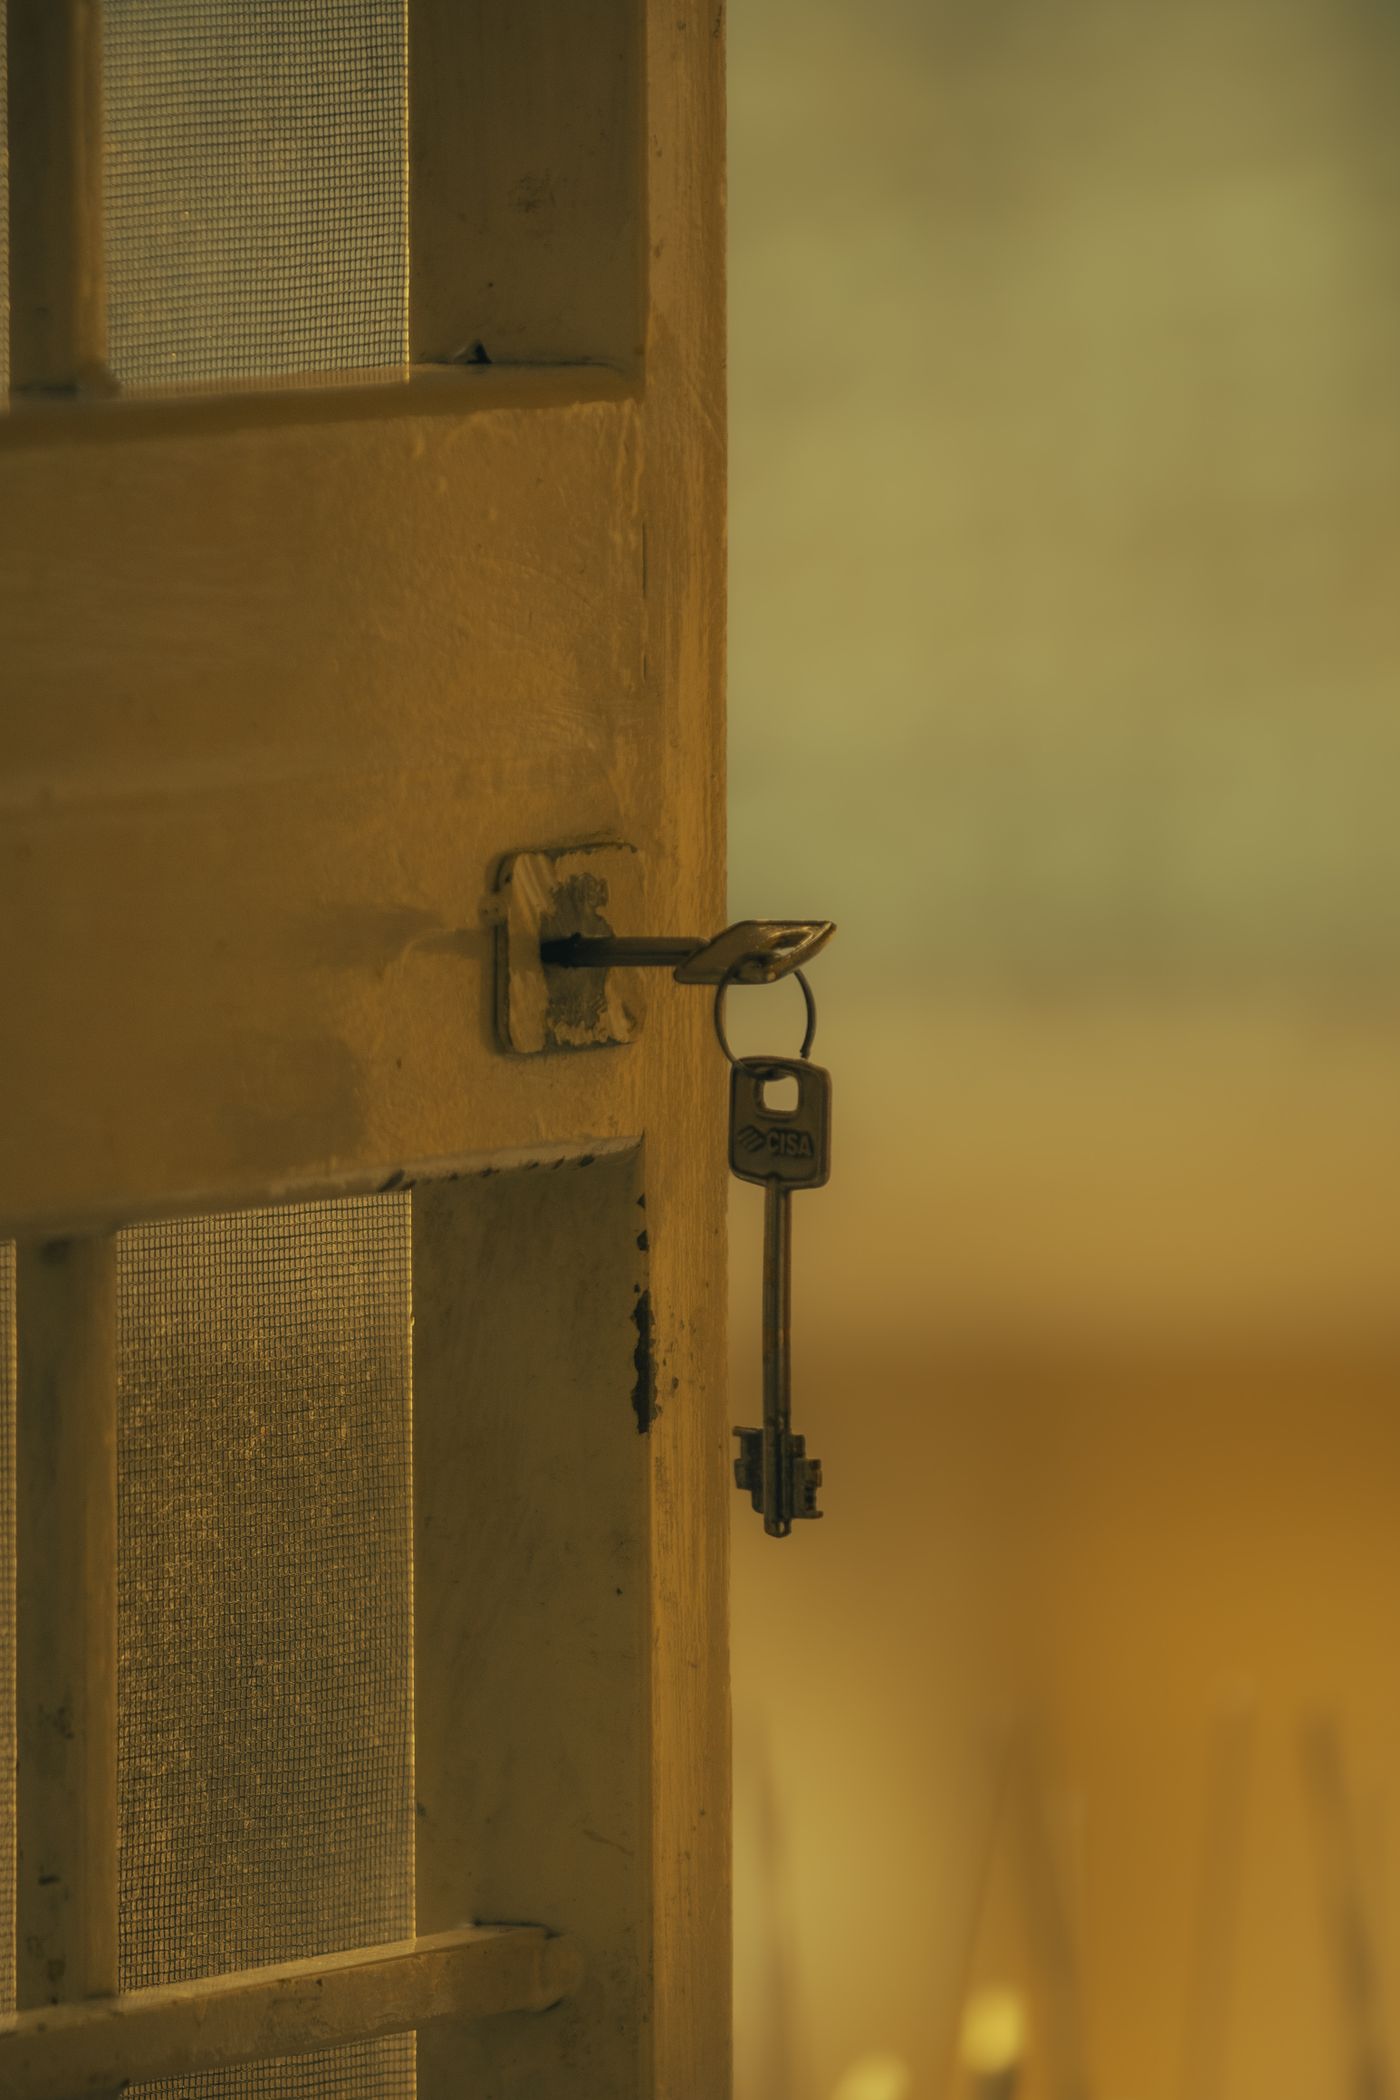 Door security works best when the lock, frame, hinges, glazing, and household habits are strengthened as one system. Photo via Pexels.
No ordinary residential door can be made literally burglar-proof. Given enough time, noise, tools, and privacy, a determined intruder may defeat almost any single opening. The practical goal is to make every exterior door harder to force, harder to manipulate, easier to observe, and slower to attack while preserving fast emergency escape for the people inside. A well-secured door does not rely on one expensive lock. It combines a strong door slab, a sound frame, long fasteners that reach structural framing, protected hinges, controlled glass, reliable lighting, sensible key management, and habits that keep the equipment in use.
This guide follows a WikiHow-style process for homeowners, renters, landlords, and small-property managers. It covers front and side doors, outward-opening doors, French and double doors, sliding patio doors, the door between a garage and living space, basement and service doors, apartment entries, smart locks, cameras, alarms, and the maintenance that keeps everything aligned. The emphasis is defensive and lawful: it does not describe how to defeat locks, bypass alarms, or hide evidence of entry.
Official police prevention guidance repeatedly returns to the same fundamentals: use strong exterior doors, install a deadbolt with a substantial throw, anchor strike plates and frames into the building structure, prevent sliding doors from being lifted, maintain visibility around entrances, and avoid security changes that trap occupants during a fire. Seattle Police, for example, recommends solid-core or metal exterior doors, one-inch deadbolts, heavy-duty strike plates, long screws, tamper-resistant hinges, and quick emergency egress. The Metropolitan Police Department in Washington, D.C. likewise emphasizes strong deadbolts, door viewers, tight-fitting frames, reinforced sliding doors, lighting, and rekeying after a move.
Quick Answer: The Highest-Value Door Upgrades
Start with a five-minute inspection of every exterior door. Lock it and push at the top, middle, and bottom. Look for movement in the jamb, loose hinges, cracked trim, exposed glass near the thumb turn, a shallow strike plate, or a deadbolt that does not extend fully. For most conventional wood-framed doors, the highest-value upgrades are a sound solid-core or metal door, a quality deadbolt, a reinforced strike box or jamb kit, and structural screws long enough to reach the wall framing. Add hinge protection on outward-opening doors, anti-lift protection on sliding doors, and lighting or a doorbell camera where the entrance is hidden. Re-key or replace locks after moving in or losing control of a key. Test every change from inside so children, older adults, guests, and anyone with a disability can still exit quickly without finding a key or using an app.
Part 1: Audit the Entire Doorway Before Buying Hardware
1. List every door that creates a path into the home
Walk the perimeter and make a written inventory. Include the front door, side and back doors, sliding patio doors, French doors, balcony doors reachable from a roof or stair, basement walkouts, cellar doors, garage side doors, and the interior door connecting an attached garage to the house. Also note gates that conceal a door, storage rooms with a second interior entrance, and shared-building vestibules. Burglary prevention often fails because the attractive front entrance receives expensive hardware while a hidden utility door remains hollow, warped, or secured by a latch screwed only into decorative trim.
Rank each opening by three factors: how visible it is from neighbors or the street, how much time an intruder could work without interruption, and what lies immediately beyond it. A garage side door may appear less important than the front door, yet it can provide privacy, tools, and a second protected door to attack. Your budget should follow the risk map rather than the architectural prominence of the entrance.
2. Identify the door slab material and condition
Knock on the center and examine the top or bottom edge if visible. Exterior doors are commonly solid wood, engineered solid-core, steel-skinned, fiberglass, aluminum, or glass framed in wood, vinyl, or metal. A lightweight hollow interior door should not serve as the primary barrier to an exterior space or attached garage. Look for splitting around the lock bore, delamination, rust at the bottom, water damage, cracks through panels, and previous repair holes that weakened the lock stile.
A strong lock cannot compensate for a slab that breaks around it. Replace a severely damaged or hollow exterior door rather than attaching layers of hardware to weak material. When purchasing a replacement, verify that it is intended for exterior use, fits the opening, and—where the location requires it—maintains the necessary fire rating and self-closing characteristics. The garage-to-house opening often has code requirements that differ from a patio or front door, so confirm locally before ordering.
3. Inspect the frame, jamb, and surrounding wall
Open the door and examine the vertical jambs, head jamb, threshold, casing, and the wall beside the lock. Press a screwdriver gently into suspicious wood to identify rot; look for long cracks running from the strike plate, loose trim, missing shims, and movement when someone pushes the locked door from outside. Decorative casing is not structural. The security fasteners need to reach sound framing behind the jamb, not merely the thin jamb board or drywall.
If the jamb is badly split, out of square, or detached from the studs, repair the frame before upgrading the deadbolt. A carpenter or qualified locksmith can remove casing, add proper shims and blocking, rebuild damaged sections, and install a continuous reinforcement plate. Treat water intrusion at the same time. Replacing a strike plate on wet, soft wood creates a false sense of security and may accelerate further damage.
4. Check alignment and the deadbolt’s full travel
Close the door slowly without pulling or lifting it. The latch should enter the strike freely, and the deadbolt should extend fully with normal hand pressure. If you must lean on the door, lift the handle, or force the thumb turn, the opening is misaligned. Seasonal movement, loose hinge screws, foundation settling, swollen wood, or an incorrectly positioned strike can prevent the bolt from reaching its designed depth.
Do not solve persistent misalignment by enlarging the strike hole carelessly until almost no metal remains. Tighten hinges, correct the frame, plane or weather-seal the door appropriately, and reposition the strike while preserving adequate material around it. A lock that appears engaged but extends only a few millimeters may fail much sooner under force. After adjustment, test it repeatedly from both sides and under light pressure against the door.
5. Mark glass, mail slots, pet doors, and other reach-through risks
Measure the distance from each glass panel, mail slot, delivery hatch, pet door, or damaged screen to the interior thumb turn or handle. Decorative glass close to a single-cylinder deadbolt can allow a hand or tool to reach the lock after breakage. A large pet door may permit direct entry or access to the interior door hardware. A mail slot can expose the lock area, admit fishing tools, or provide a view of alarm controls and key hooks.
The answer is not automatically a double-cylinder deadbolt that requires a key from inside. Such locks can delay escape and may violate local fire or residential code. Safer options may include laminated glazing, professionally installed security film with appropriate edge attachment, a protected interior guard, relocating the lock, reducing the opening, or replacing the door design. For any occupied home, egress safety must win over a clever-looking security device.
6. Confirm fire, accessibility, rental, and insurance constraints
Before drilling, check local building and fire rules, condominium or homeowners’ association requirements, lease terms, historic-building restrictions, and your insurer’s conditions. Fire-rated doors and frames should not be modified in ways that void their listing. Apartment corridor doors may be part of a rated assembly, and drilling into them, adding surface bolts, or replacing closers can affect the whole building’s life-safety system. Accessible routes may require operable hardware that does not demand tight grasping or complicated motions.
Keep one principle constant: occupants must be able to leave rapidly during fire, smoke, medical emergency, or domestic danger. UL’s guidance on access and egress control stresses the need for a continuous, unobstructed path of escape and appropriate release behavior for locking systems. If an upgrade creates confusion during a power failure or requires a hidden key, reconsider it or ask the local authority having jurisdiction.
Part 2: Reinforce a Conventional Hinged Exterior Door
 A competent installation matters as much as the hardware label: the lock, strike, jamb, and framing must align and share the load. Photo via Pexels.
7. Replace a weak door before adding premium locks
For a primary exterior opening, choose a sound solid-core wood, fiberglass-composite, or metal-skinned door suited to the climate and frame. The lock edge should be intact and thick enough for the selected hardware. If the existing slab contains a large decorative panel or extensive glass, evaluate the entire assembly rather than assuming the solid perimeter is enough. Some attractive doors are strong systems; others concentrate force around a narrow, fragile lock stile.
When replacing the slab, decide whether the frame should also be replaced as a prehung unit. A prehung exterior assembly can correct years of misalignment and provide a better weather seal, but only if it is anchored properly to structural framing. Ask the installer how the jamb is fastened, where shims and blocking are placed, and how the threshold is sealed. Appearance and energy efficiency matter, yet neither should obscure the structural questions.
8. Install a quality deadbolt with adequate projection
A spring latch in a knob or lever is primarily a convenience latch. The deadbolt should be the main resistance point when the door is locked. Choose a reputable product intended for exterior use and compatible with the door thickness and backset. Police guidance commonly recommends a bolt that projects about one inch into the strike area. The mechanism should operate smoothly without excessive play, and the exterior cylinder should resist easy removal or twisting.
Product quality varies, including among smart locks. Look for recognized performance certification appropriate to the hardware rather than relying only on marketing terms such as “military grade.” ANSI/BHMA grading and relevant UL certification can help compare tested strength, endurance, and security functions. Certification does not make installation optional: a strong bolt entering a weak decorative strike still leaves the doorway vulnerable.
9. Replace the small strike plate with a reinforced strike or strike box
Many doors arrive with a thin strike plate attached by short screws. Under force, those screws can tear out of the soft jamb before the lock itself fails. Use a heavy-duty strike plate or boxed strike designed for the deadbolt and latch. Position it so the bolt enters without rubbing and so enough metal surrounds the opening to distribute force.
The most important installation detail is what the screws reach. Use manufacturer-approved structural fasteners long enough to pass through the jamb and engage sound wall framing, commonly around three inches in wood-framed construction. Length alone is not magic: a long screw driven into an empty cavity, split stud, plumbing line, or poor angle can be ineffective or dangerous. Confirm what is behind the jamb and use appropriate pilot holes.
10. Reinforce the lock-side jamb over a longer area
A small strike plate concentrates impact at one point. A jamb reinforcement kit or continuous steel plate spreads the load across a much longer section and ties both latch and deadbolt areas to the framing. This is especially useful where the jamb has old damage, the door has two locks close together, or the entrance is secluded. Select a system compatible with the door swing, trim, weather stripping, and available stud location.
Remove enough casing to inspect the structure rather than blindly driving screws. Protect electrical cable, alarm wire, plumbing, and masonry. Tighten screws evenly so the jamb remains straight; overtightening can bow the frame and make the latch bind. After installation, close the door repeatedly, test the deadbolt under pressure, and verify that the weather seal still contacts evenly.
11. Upgrade hinge attachment on the door and frame
The hinge side must resist the same load as the lock side. Replace loose or undersized screws with appropriate longer screws in at least selected hinge holes so the hinges connect to structural framing. Repair stripped holes rather than filling them with soft material that will fail again. If the door sags, correct alignment before drilling the strike; otherwise you may build the entire locking system around a distorted position.
Use the right screw head and finish for the hinge. A bulky head can prevent the hinge leaves from closing fully, while an overly aggressive fastener can split the jamb or pull it out of square. Heavy exterior doors may need stronger or additional hinges. A professional can determine whether the frame, hinge gauge, and screw pattern are suitable for the door’s weight.
12. Protect outward-opening doors from hinge-pin removal
An outward-opening door places hinge knuckles outside. Modern security hinges may use nonremovable pins, set screws accessible only while the door is open, interlocking studs, or other features that keep the slab captured even if a visible pin is attacked. Inspect what you actually have; paint and dirt can hide the retaining screw. Replace ordinary exposed-pin hinges where the opening is accessible and local rules permit.
Hinge security does not cure a weak frame. Pair tamper-resistant hinges with sound jamb attachment and an appropriate lock. Never weld, glue, or improvise the hinge so the door cannot be removed for fire-door maintenance or emergency repair. Use hardware designed for the specific door and preserve any rating labels.
13. Reinforce the lock edge if the door is split or narrow
A wraparound reinforcement plate can strengthen the wood around a bored lock where prior forced entry, oversized holes, or repeated lock changes have weakened the stile. Choose a properly sized plate that fits the door thickness and hole spacing. It should sit flat without creating sharp edges or interfering with the latch. On a valuable or rated door, ask a locksmith whether repair is appropriate or replacement is safer.
Do not hide active cracks beneath a cosmetic plate. Glue blocks and filler may restore appearance but not predictable strength. If the wood continues splitting above and below the lock, the underlying slab has reached the end of a safe repair. Document the damage for insurance or landlord purposes and replace it.
14. Add a wide-angle viewer or secure video doorbell
Knowing who is outside reduces the chance that someone opens a secured door to a stranger. A properly positioned wide-angle viewer works without power or internet. A video doorbell can add remote communication, motion alerts, and recordings, but it should complement—not replace—physical security. Mount it where it covers faces and packages without pointing unnecessarily into a neighbor’s private space.
Use strong account security, multifactor authentication, current firmware, and unique passwords for connected cameras. Confirm local rules about audio recording, shared hallways, and tenant privacy. Store critical clips according to the provider’s retention limits, and periodically test nighttime image quality. A camera that records only the top of a hat or loses power whenever the porch light switches off provides little practical value.
15. Control keys as carefully as the lock itself
Rekey or replace exterior cylinders when moving into a new home, after a tenant or contractor leaves, after a handbag or key ring is lost, or whenever you cannot account for copies. Do not hide a spare under a mat, in a fake rock, or above the door. Give it to a trusted person or use a properly mounted, rated key safe where appropriate. Label spare keys with a code rather than the full address.
Keep a simple key register for rental or managed properties: who received a key, on what date, and when it was returned or disabled. Avoid casually duplicating restricted or master keys. For smart systems, the same principle applies to codes and digital credentials: remove former cleaners, guests, employees, and vendors promptly rather than assuming they will never return.
Part 3: Secure Glass, French Doors, and Sliding Patio Doors
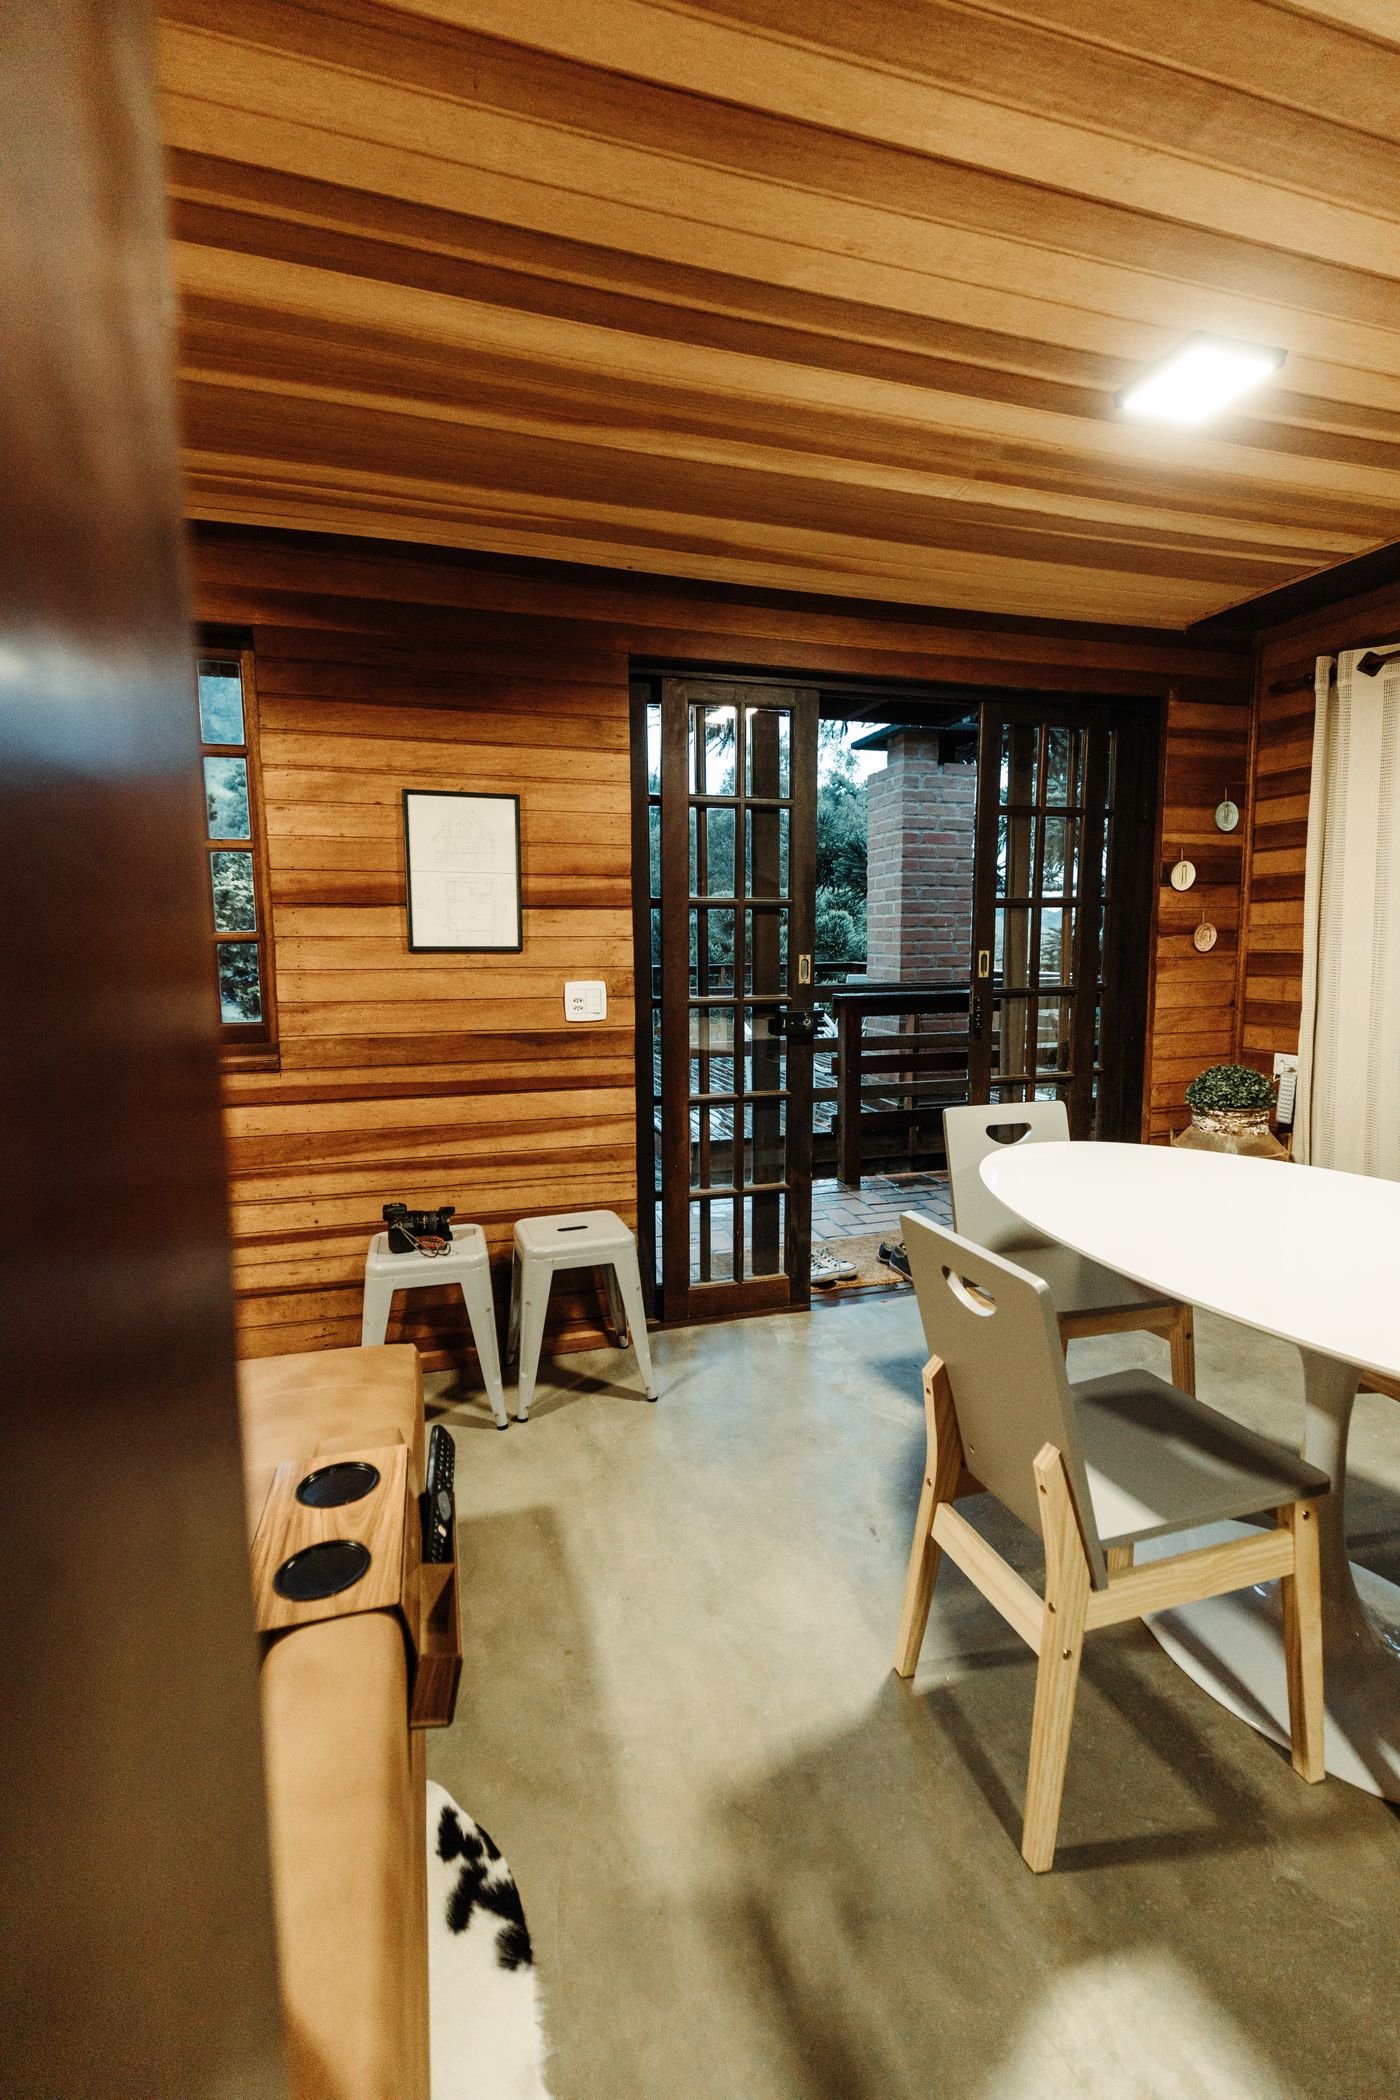 Sliding and glazed doors need both lock reinforcement and protection against lifting, reach-through, and hidden access. Photo via Pexels.
16. Test the primary latch on a sliding door
Close and lock the sliding panel, then apply gentle pressure up, down, inward, and along the track. Many factory hook latches are small and become misaligned as rollers wear. The latch should engage fully without lifting or pulling the door. Clean the track, adjust rollers, and replace damaged hardware with components designed for the exact door series.
Add an auxiliary lock that prevents horizontal movement without creating a trip hazard or blocking required emergency exit. Options include properly installed pin locks, foot bolts, track locks, or manufacturer-approved secondary latches. A loose broom handle cut to the wrong length may be better than nothing, but a purpose-made device fitted to the opening is easier to use consistently and less likely to jump out.
17. Prevent the sliding panel from being lifted out
Some older sliding doors can be lifted high enough for the bottom to clear the track. With the door closed, inspect the space above the moving panel. Install manufacturer-recommended anti-lift blocks or carefully positioned screws in the upper track that leave enough clearance for smooth movement but prevent excessive vertical travel. Do not drill blindly into glass, wiring, or a structural component.
Test the full opening after installation. The door must still slide without binding and must remain usable as an emergency exit when required. If the frame is distorted or the panel can still be removed, have a glazing or door professional evaluate the rollers, interlocks, and frame rather than adding more improvised screws.
18. Treat security film as a delay layer, not an invisible wall
Professionally selected and installed security film can help hold broken glass together and increase the time and noise required to make an opening. Its performance depends on the glass type, film thickness, frame, edge-attachment system, and installation. A sheet applied only to the middle of weak glass may keep fragments together but still allow the whole glazed panel to separate from the frame.
Ask what test standard or performance data applies to the complete installation, not just the film roll. Film does not replace locks, anti-lift protection, lighting, or an alarm. For tempered, insulated, coated, wired, or fire-rated glazing, confirm compatibility with the manufacturer to avoid thermal stress, seal failure, or loss of the assembly’s rating.
19. Secure glass near a deadbolt thumb turn
If breaking a small pane would allow someone to turn the interior lock, consider replacing the glazing with a more resistant system, relocating or shielding the hardware, or changing the door design. Decorative grille inserts can look protective without preventing reach-through. Measure the actual path from the pane to the thumb turn and include flexible reach, not just a straight line.
Do not casually install a keyed interior cylinder. A key-required exit can turn a burglary delay into a fire trap, especially at night or when guests and children are present. Ask the local building or fire authority and a qualified locksmith for a compliant solution. Keep emergency escape simple, visible, and practiced.
20. Reinforce the inactive leaf of French or double doors
Double doors are only as strong as the inactive leaf that receives the active door’s lock. Inspect top and bottom flush bolts, their guides, and the structure they enter. Short decorative bolts into soft trim provide little resistance. Use hardware designed for the door set, ensure the bottom bolt enters a sound threshold or receiver, and make sure the top bolt engages framing without damaging a fire-rated head.
An astragal or overlapping meeting stile can protect the gap between leaves and reduce access to bolts. Multipoint locking systems can distribute force at several positions, but they require correct alignment and regular maintenance. If the door must be lifted or slammed to engage the points, service it before relying on it.
21. Protect accessible sidelights without ruining the exit route
Front-door sidelights improve daylight but can expose the lock area. Evaluate laminated replacement glass, tested film and attachment, decorative security glazing, or a redesigned lock location. Interior curtains improve privacy but do not resist impact. Exterior bars may create code, appearance, and emergency-access problems and should never be improvised.
Balance burglary delay with rescue access and household escape. Firefighters may need to reach or break glazing during an emergency. Any permanent grille should be code-compliant, properly anchored, and—where required—releasable from inside without special knowledge.
Part 4: Close the Garage and Service-Door Gaps
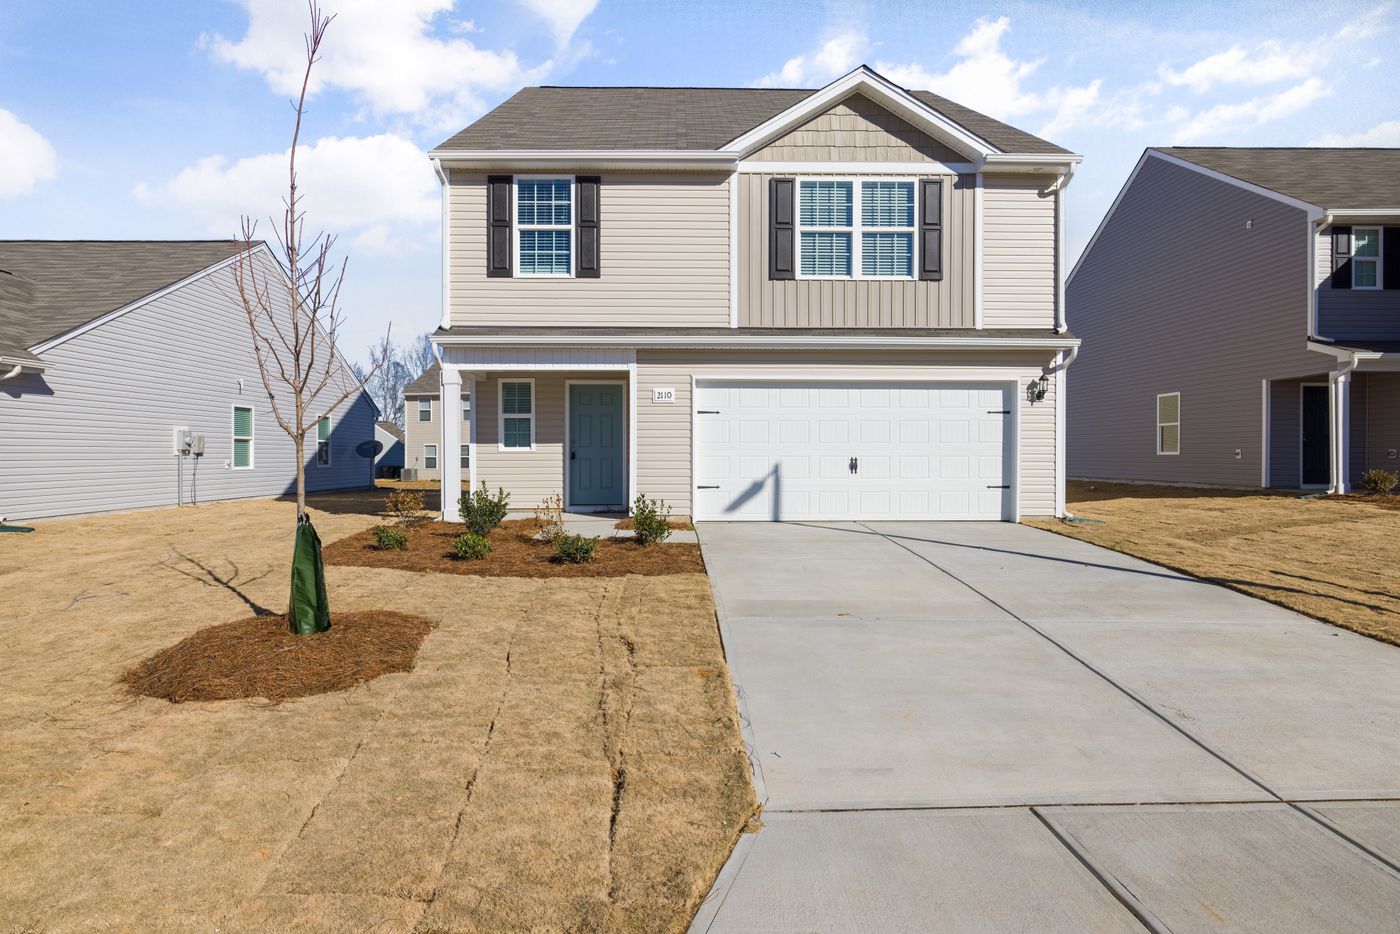 The garage is part of the home security perimeter; its exterior openings and the door into living space need separate layers. Photo via Pexels.
22. Treat the garage-to-house door like an exterior entrance
Even when the overhead garage door is usually closed, the connecting door protects the living area if someone enters the garage. It should have the construction, fire protection, self-closing behavior, and latching required by local code. Keep it locked rather than relying on the garage opener. Inspect its frame for the same short screws, loose strikes, and weak hinges found at front doors.
Do not wedge a required self-closing door open for convenience or replace rated hardware with unlisted decorative components. Smoke, fire, and carbon monoxide hazards make this opening different from an ordinary interior door. A qualified contractor should preserve the assembly’s label and seals while improving security.
23. Secure the garage side and rear service doors
Service doors are often hidden by fences, bins, or landscaping and may have low-cost builder hardware. Upgrade them using the same slab, deadbolt, strike, jamb, hinge, and lighting principles as the front door. Remove stored tools, ladders, or pry bars from the immediate area, and avoid mounting a spare-key box where it can be attacked in privacy.
Install a contact sensor or camera if the area is secluded, but improve physical resistance first. A notification that arrives after a weak door opens in one kick is less useful than a reinforced opening that delays entry long enough for the alarm and neighbors to matter.
24. Protect the overhead door and emergency-release system
Keep the overhead door closed and confirm that the opener actually holds it in the closed position. Use the opener’s vacation or lock mode when away if the manufacturer provides one. Replace lost remotes immediately, remove remotes from vehicles parked outside, and disable old transmitters after moving. Modern systems may allow you to audit users and receive open-door alerts; review those permissions periodically.
The emergency release is essential for safety and service. Do not permanently disable it or create a device that prevents lawful emergency operation. Ask the garage-door manufacturer or professional installer about approved shields or security measures that preserve required manual release. Garage doors are heavy machines; spring, cable, and opener work can cause severe injury and is not a casual DIY project.
25. Reinforce basement, bulkhead, and cellar doors
Below-grade and rear openings combine privacy with moisture damage. Inspect steel bulkhead doors for rusted hinges, failed anchors, and gaps at masonry. Check wooden basement doors for rot at the threshold and jamb. Use corrosion-resistant hardware compatible with the material and anchor into sound masonry or framing—not crumbling mortar or trim.
Inside-only bars or bolts can be effective on a door that is never a required exit, but verify the building’s escape plan first. Bedrooms and occupied basement rooms may require emergency egress. A device that makes the only route unusable is not a safe security improvement.
26. Make gates support—not conceal—the door security plan
A locked side gate can deter access to hidden doors, but a tall opaque gate may also provide privacy once breached. Keep hinges and latches resistant to simple reaching or lifting, maintain lighting, and trim vegetation so neighbors or cameras can see movement at the gate and service entrance. Do not attach ladders, bins, or furniture that create an easy climbing route.
Coordinate gate locks with emergency access, utility requirements, pool safety, and local fire rules. First responders should not be delayed by an improvised chain across a required route. Where permitted, use a code-compliant emergency access solution rather than sharing a hidden key.
Part 5: Use Smart Locks Without Forgetting the Door
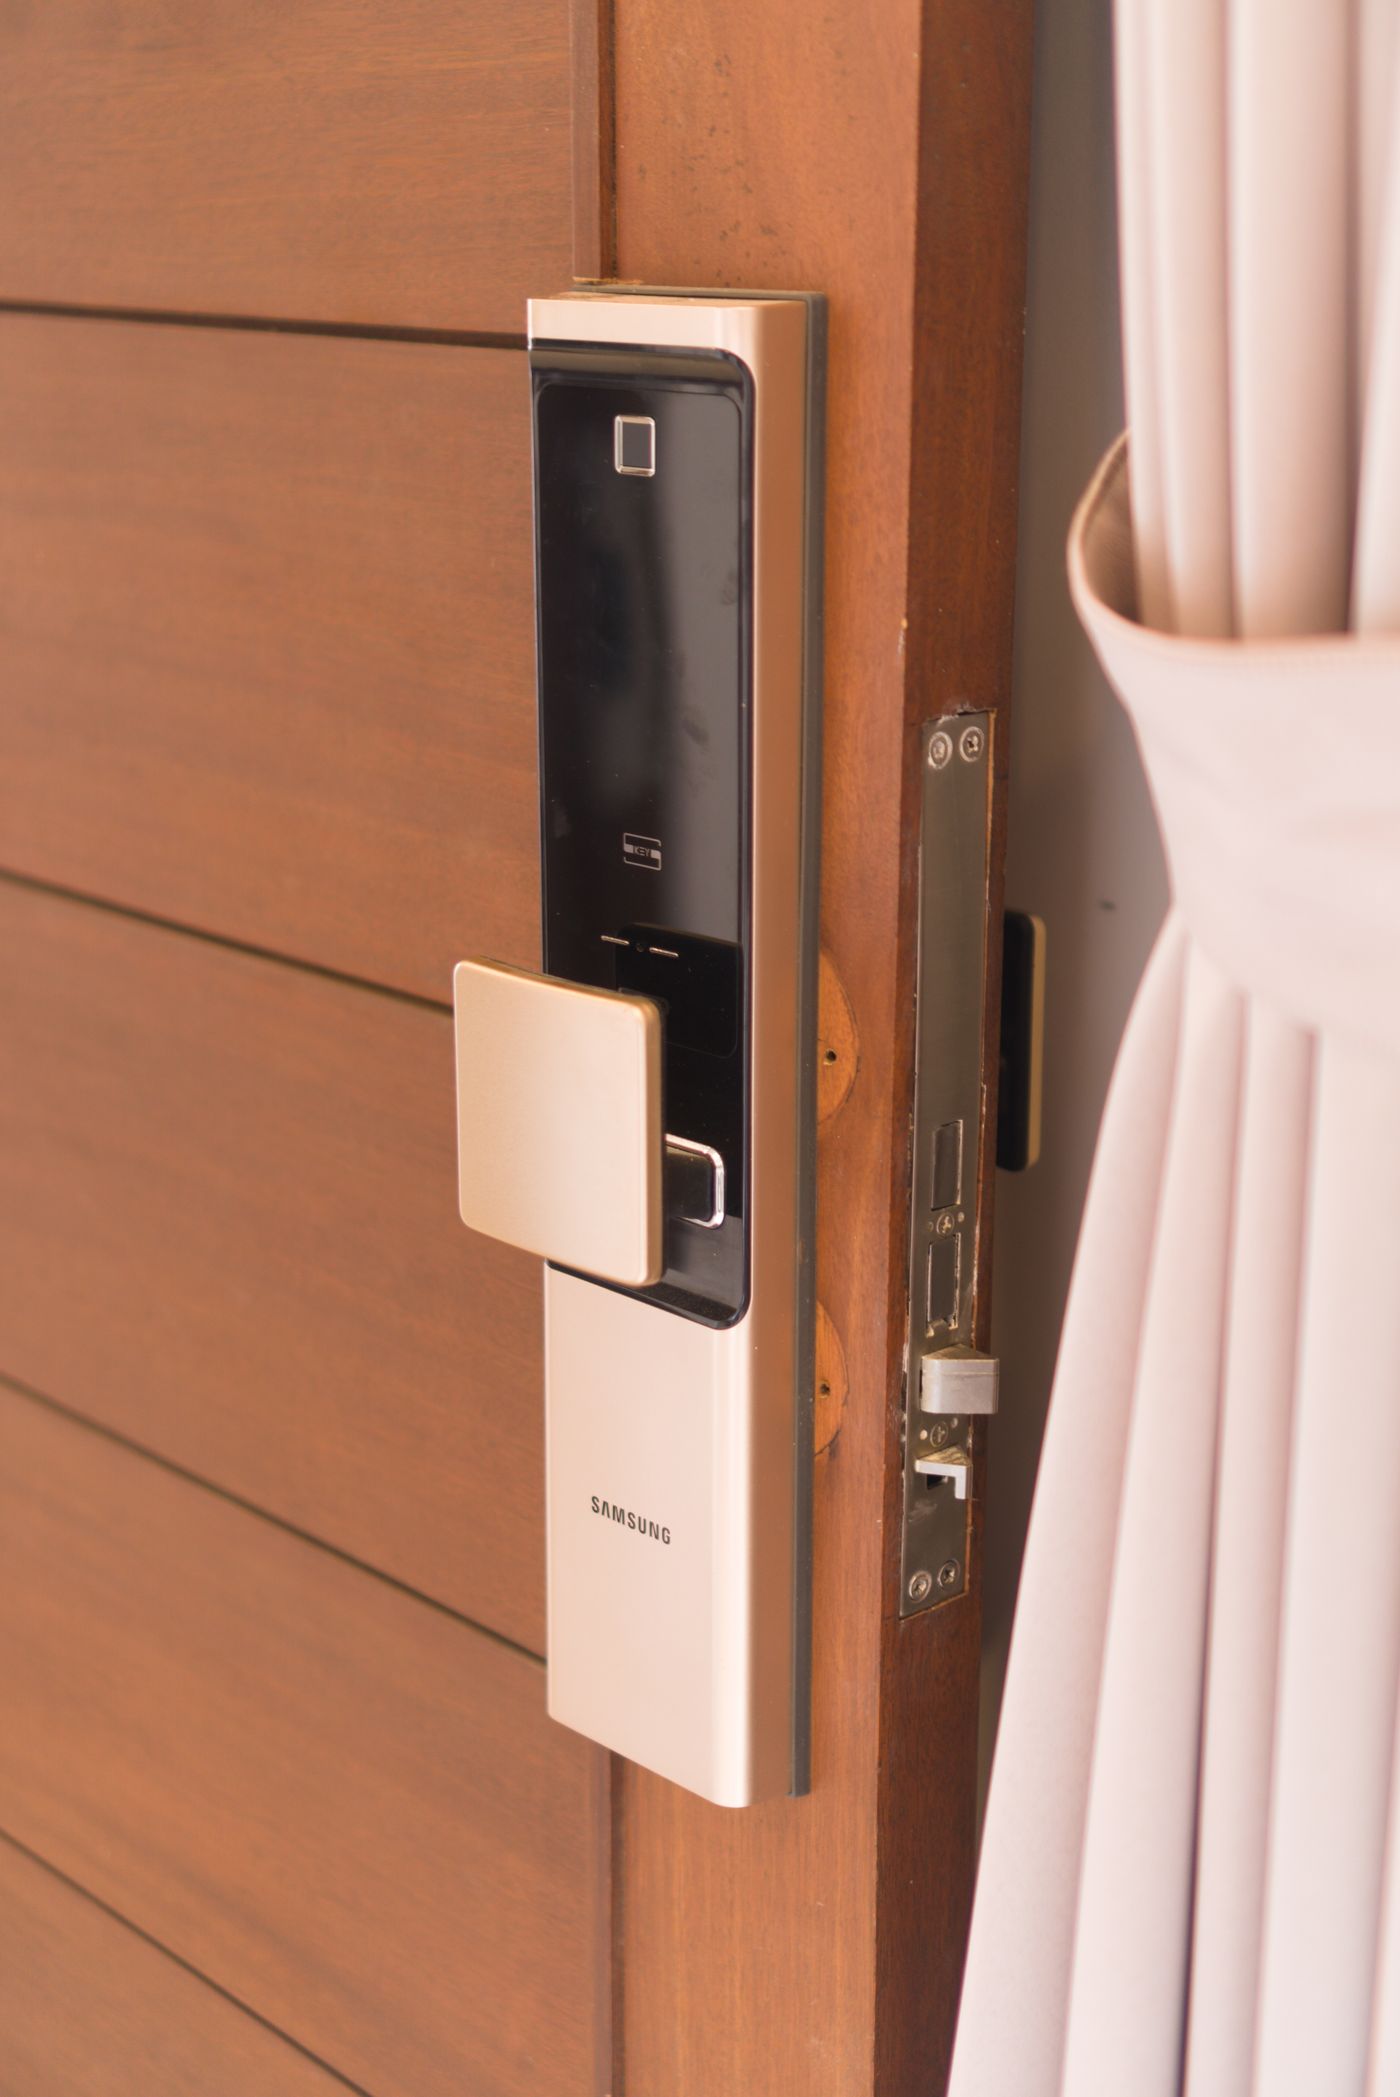 Smart access can improve key control and alerts, but the physical bolt, strike, jamb, and emergency operation still determine the doorway’s basic strength. Photo via Pexels.
27. Choose a smart lock as a lock first and a gadget second
Evaluate mechanical construction, compatibility, independent testing, weather rating, door thickness, backset, and bolt alignment before comparing apps, voice assistants, or finishes. A connected lock installed on a loose jamb is still a loose doorway. Prefer products with clear update policies, available replacement parts, local manual operation, and a manufacturer that publishes support information.
UL notes that certified locking systems may be evaluated for safety and, depending on category, burglary resistance, endurance, and other performance factors. New digital-key ecosystems such as Aliro aim to improve secure, interoperable phone-based credentials, but a new protocol does not eliminate the need for good hardware, secure accounts, and emergency access.
28. Give each person a separate code or credential
Do not make the house number, street address, birthday, or simple sequence the permanent code. Create individual credentials for residents and temporary, time-limited access for cleaners, contractors, guests, or dog walkers. Separate credentials allow you to revoke one person without changing everyone’s routine and can make activity logs more meaningful.
Delete codes promptly when access ends. Avoid sending permanent codes in group chats or writing them on a card beside the door. When a guest needs one-time entry, use a short validity window and confirm that the lock’s clock and time zone are correct.
29. Secure the account that controls remote entry
Use a unique password and multifactor authentication for the lock platform, the associated email account, and the smart-home administrator account. Review logged-in devices, household members, integrations, and automations. Remove old phones and former residents. Treat an unexpected password-reset message or new-user notification as a security event.
Do not expose the lock directly to the internet through unsupported port forwarding or untrusted home-automation bridges. Keep the phone, hub, router, and lock firmware current. If the manufacturer stops providing security updates, consider whether remote features should be disabled or the device replaced.
30. Plan for dead batteries, outages, and lost phones
Know how the lock behaves when batteries weaken, the internet fails, the hub is offline, or the resident’s phone is lost. Test the physical key, emergency power contacts, local keypad, and interior thumb turn before an emergency. Store the backup key securely away from the door rather than in an obvious outdoor hiding place.
Replace batteries based on the manufacturer’s recommendation and before long travel. Use the specified battery chemistry; mixing old and new cells or using incompatible rechargeable cells can produce unreliable voltage readings. After replacement, verify time, codes, auto-lock settings, and remote notifications.
31. Configure auto-lock carefully
Auto-lock can correct the common habit of closing without locking, but an aggressive timer may lock children out, interfere with moving items, or create confusion during a medical emergency. Choose a delay that matches the household and use a door-position sensor if supported so the bolt does not extend into empty air while the door is open.
Test whether the bolt rubs when the weather changes. A motorized lock may report success even when the bolt did not fully seat, or it may drain batteries while repeatedly pushing against a misaligned strike. Physical alignment remains essential.
32. Limit voice, automation, and remote-unlock permissions
Review whether the lock can be unlocked by voice, geofencing, a car dashboard, a watch, or another automation. Disable any pathway the household does not need. Require device authentication and avoid routines that unlock merely because a phone appears nearby; location and Bluetooth signals can be delayed or inaccurate.
Keep remote unlock for exceptional use rather than routine convenience if the platform’s security or account management is unclear. When you do unlock remotely, verify the visitor through a camera or trusted communication channel and relock after entry.
Part 6: Add Visibility, Detection, and Everyday Deterrence
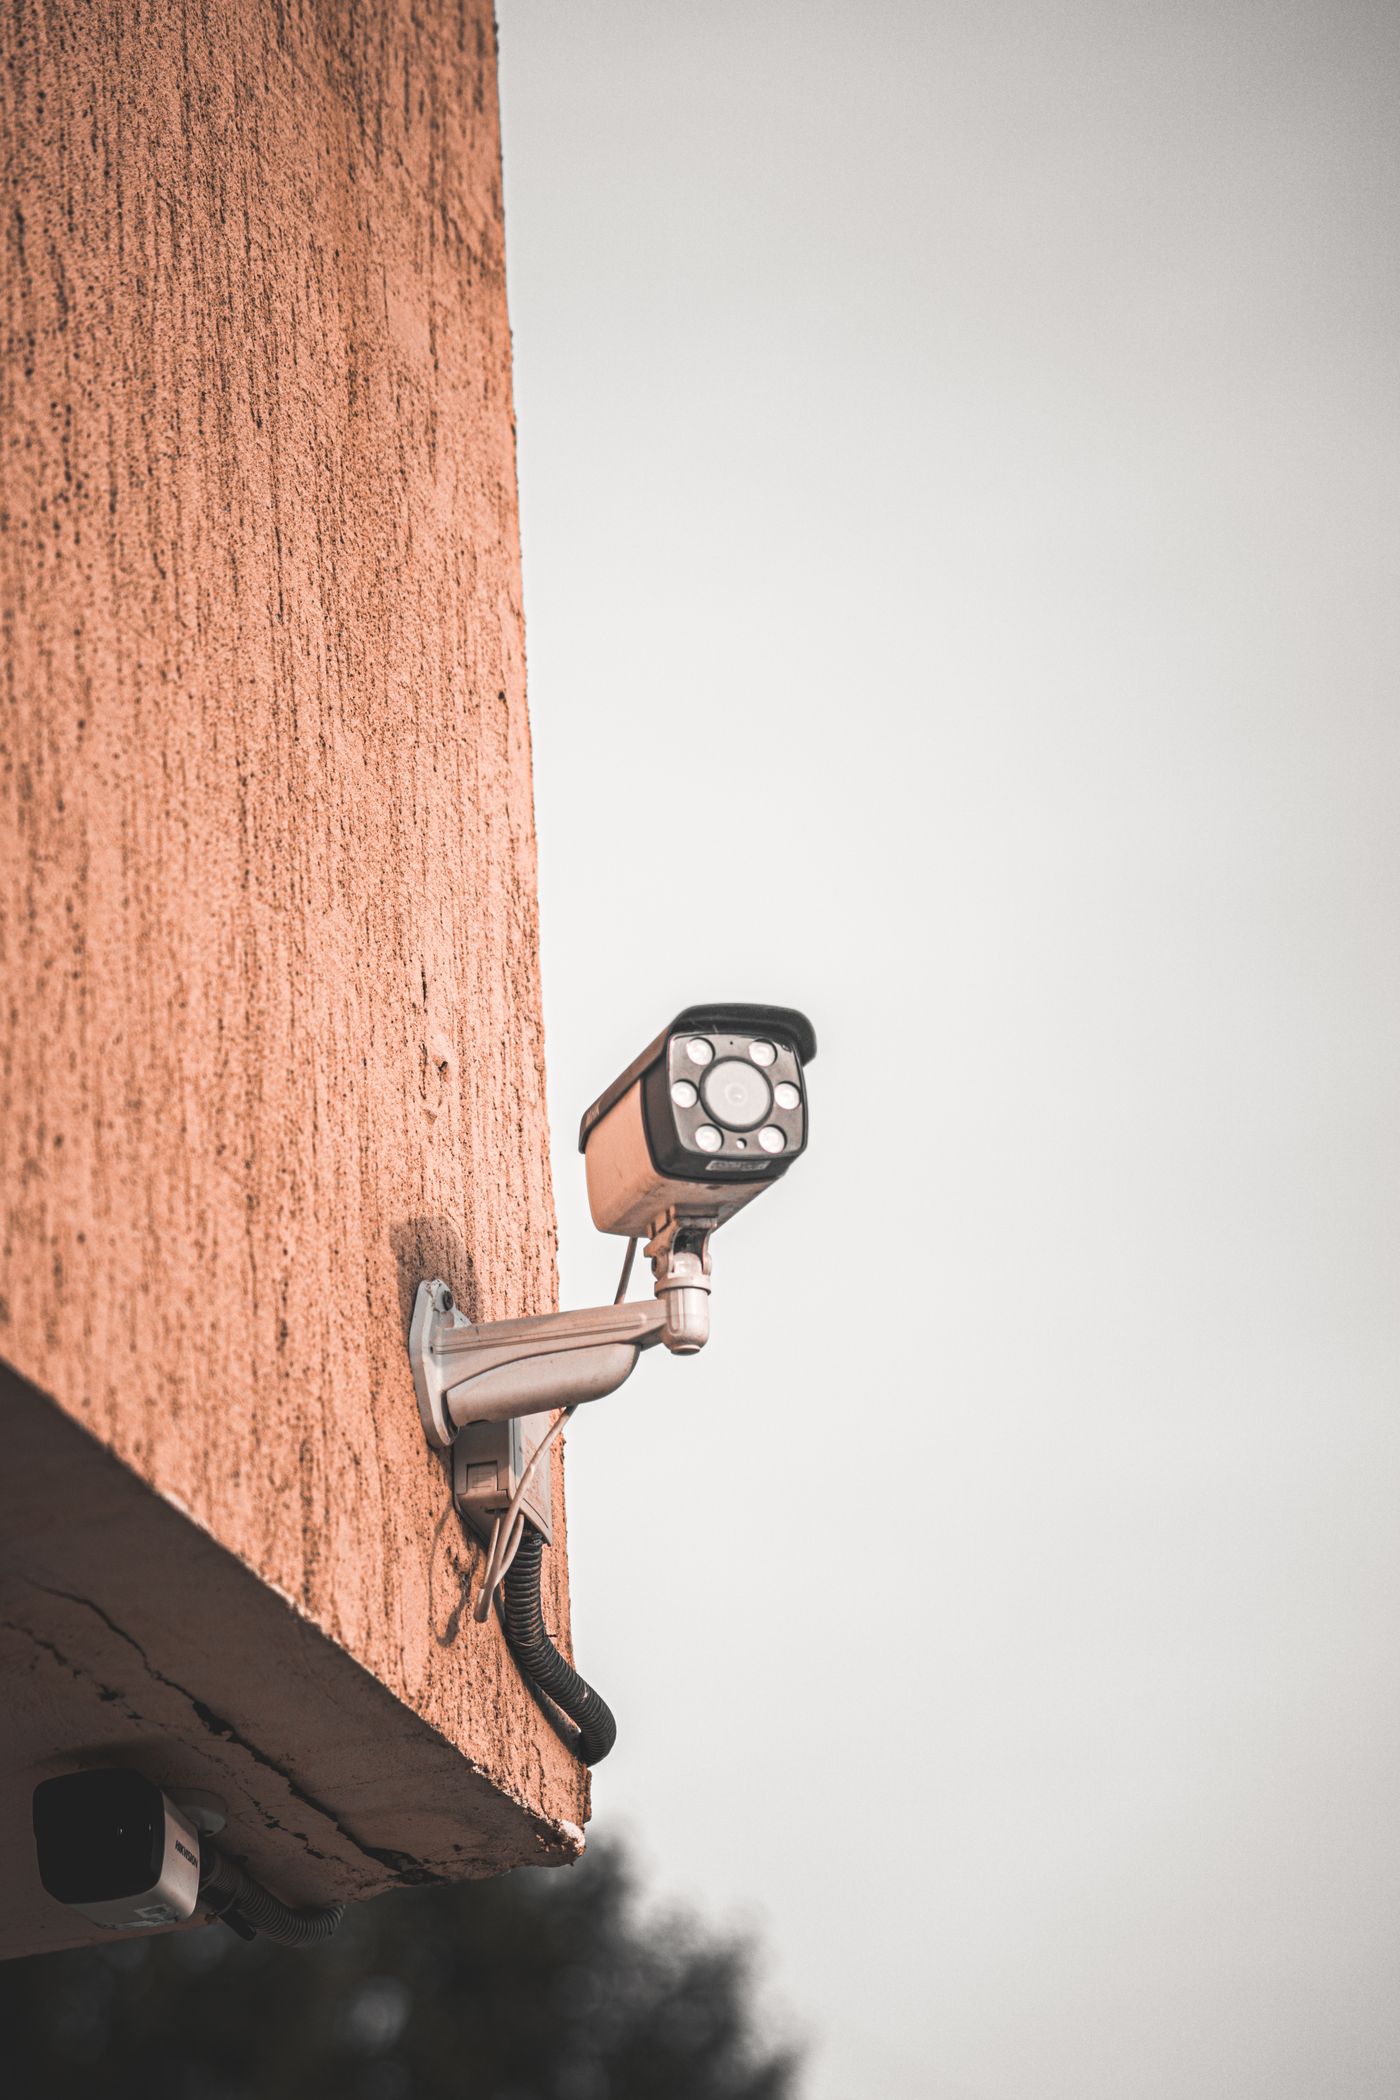 Lighting, cameras, alarms, and visible house numbers help detection and response, but they work best after the door itself has been strengthened. Photo via Pexels.
33. Illuminate the face, lock area, and approach route
Provide even lighting at the door, path, steps, and nearby hiding places. Motion activation can draw attention, while dusk-to-dawn lighting prevents a person from approaching in total darkness. Aim fixtures so they do not blind the camera, create deep shadows, or shine into neighboring windows. Replace failed lamps promptly and clean lenses and covers.
Lighting is most useful when it improves recognition and makes an attacker feel observed. Extremely bright floodlights aimed outward can reduce your own visibility and create light trespass. Test the scene from the visitor’s height and from the camera view after dark.
34. Trim hiding places without removing all privacy
Keep shrubs near doors low enough that the entrance, lock, and approach can be seen. Prune tree branches that block lighting or cameras. Move tall storage cabinets, recycling containers, and decorative screens that create a concealed work area beside the jamb. At the same time, avoid making the interior and valuables fully visible from the street.
Use layered landscaping: lower plants near entrances, taller privacy planting farther away, and thorny species only where they cannot injure children, delivery workers, utility staff, or emergency responders. Check growth each season; a camera view that was clear in winter may disappear behind summer foliage.
35. Install door and glass sensors as a second layer
A contact sensor reports that the door opened; a vibration or glass-break sensor may detect attack earlier. Position sensors according to the alarm manufacturer and test them with the door in normal closed and locked positions. Label zones clearly so an alert identifies “garage service door” rather than simply “zone 4.”
Use entry delays only where necessary and keep alarm codes private. Create separate codes for residents and service providers, and remove them when no longer needed. Confirm how the system behaves during internet and power outages and whether it has cellular or battery backup.
36. Keep address numbers visible for emergency response
Police, fire, medical responders, neighbors, and delivery personnel should be able to identify the home quickly during day and night. Use contrasting, appropriately sized numbers visible from the street and, where alleys or rear access are common, from the relevant approach. Do not let vegetation or decorations cover them.
Clear identification supports security because witnesses can report the correct property and responders waste less time. Avoid placing detailed family names or schedules on exterior signs; the address is enough.
37. Manage deliveries so the door is not advertised as unattended
Use delivery notifications, lockers, secure package boxes, a trusted neighbor, or scheduled delivery for valuable items. Do not publish travel dates while packages accumulate. Keep the porch clear enough that a visitor cannot hide behind stacked parcels or furniture.
A package box should be anchored and positioned without blocking the door swing or escape route. Camera signs and visible equipment may deter opportunistic theft, but do not display the alarm model, network name, or instructions that reveal system weaknesses.
38. Build a simple nightly locking routine
Assign a repeatable check: front door, side door, patio door, garage overhead door, garage-to-house door, and any gate. Use a short written or smart-home checklist until the habit becomes automatic. Confirm that the deadbolt actually extended rather than merely turning the thumb piece against a misaligned strike.
Do the same when leaving “for only a minute.” Fremont Police notes that many burglaries involve unlocked doors and windows. Hardware cannot help when it is not engaged. The routine should remain simple enough that every responsible household member can perform it.
Part 7: Adapt the Plan for Renters, Apartments, and Shared Buildings
39. Ask the landlord for structural repairs in writing
Report a loose frame, broken lock, missing strike screws, failed closer, damaged intercom, or door that does not latch in a dated written message. Include clear photographs and explain the safety effect. Keep copies of maintenance requests and responses. Structural reinforcement, lock replacement, and fire-door work usually require owner approval.
Do not withhold keys, drill a rated corridor door, or change the cylinder without understanding the lease and local law. Some jurisdictions require the landlord or emergency services to retain access; others regulate when locks must be changed between tenants. Use the legal repair or housing-inspection process if a serious hazard is ignored.
40. Use renter-friendly devices only if they preserve escape
Portable braces and temporary travel locks can add resistance while you are inside, but they vary widely and may damage floors, doors, or hardware. They also cannot help when the unit is empty. Test whether every occupant can remove the device quickly in darkness and whether it interferes with a required self-closing or fire-rated door.
A device that requires fine motor control, unusual strength, or several hidden steps may be unsafe for children, older adults, or people with disabilities. Never use a portable lock in a way that prevents a roommate, caregiver, emergency responder, or lawful building staff member from performing an essential safety function.
41. Do not overestimate chains and swing-bar guards
Door chains and hotel-style swing bars can help manage a partially opened door, but they are not substitutes for a locked deadbolt and reinforced frame. Their small screws often attach only to trim. Use a peephole, intercom, or camera to identify visitors before opening at all.
If the building uses a shared vestibule or controlled lobby, do not buzz in unknown people merely because they claim to have a delivery. Follow management procedures and avoid “tailgating” through access doors. Report failed closers and propped doors promptly.
42. Verify move-in key and credential control
Ask whether the unit cylinder was rekeyed, how many physical keys exist, who holds master access, and how electronic credentials from the prior tenant were revoked. Change door, intercom, alarm, mailbox, garage, and smart-home codes that you are authorized to control. Remove old app users and reset devices according to the manufacturer rather than merely changing the Wi-Fi name.
Photograph the door condition at move-in. Preexisting cracks, loose hardware, and failed seals should be documented before they become a dispute. Request a receipt for each key or fob you return when leaving.
43. Coordinate with building management after suspicious activity
Provide dates, times, descriptions, and relevant camera locations rather than broad accusations. Ask management to preserve access logs and video before retention periods expire. Do not post images of neighbors or employees publicly while facts remain uncertain.
If you return to find the door open, damaged, or apparently forced, do not enter to inspect. Move to a safe location and call police. An intruder may still be inside, and walking through the unit can disturb evidence.
Part 8: Install and Maintain Improvements Correctly
44. Measure before ordering anything
Record door thickness, backset, bore diameter, center-to-center spacing, handing, swing direction, jamb material, frame depth, and the distance to nearby glass or trim. Photograph the existing hardware from both sides. For replacement doors, measure the rough opening only after understanding how casing and jamb dimensions relate.
Buying by appearance creates problems: a beautiful handleset may not fit the existing holes, a long screw may strike masonry or wiring, and a smart lock may not accommodate the door thickness. Use manufacturer templates and confirm local code before altering a rated assembly.
45. Use pilot holes and protect hidden utilities
Structural screws can split wood or damage concealed cable and plumbing. Remove trim where appropriate, identify stud position, and drill manufacturer-specified pilot holes. Keep the drill square so the screw head seats fully without pulling the strike out of alignment. Use eye protection and control the work area so children and pets are away from sharp metal and tools.
In masonry, steel framing, or engineered assemblies, use fasteners and anchors designed for the substrate. Do not substitute a random drywall anchor. When you cannot verify what lies behind the jamb, stop and hire a professional.
46. Test resistance without damaging the door
After installation, lock the door and apply firm hand pressure at the top, lock edge, and bottom while another person observes movement. Check that the bolt stays fully extended, the strike does not flex, hinges remain tight, and the frame does not separate from the wall. Do not kick, ram, or pry the newly installed hardware as a home “test.” Such impacts can damage the building and do not produce a meaningful certification result.
Open the door and inspect for fresh cracks, metal shavings, loose screws, or rubbing. Test all household keys and codes, the interior exit, and the door closer. Confirm that weather stripping does not prevent full latching.
47. Maintain the doorway every three months
Tighten loose hardware, clean tracks, inspect weather seals, test batteries and alerts, verify camera angles, and look for new cracks or rust. Lubricate locks only with a product the manufacturer approves; heavy oils can attract dirt or harm electronic components. Check that painted-over latches and hinges move freely.
Seasonal temperature and humidity can change alignment. Correct the cause early rather than forcing the lock until the motor or key fails. After storms, construction, or foundation movement, repeat the push and alignment test.
48. Hire the right professional for high-consequence work
A qualified locksmith is appropriate for rekeying, lock selection, cylinders, multipoint systems, and diagnosing forced-entry damage. A carpenter or door contractor may be needed for structural jamb repair, replacement doors, rot, and rough-opening problems. A glazing professional should handle large, insulated, tempered, laminated, or specialty glass. Fire-rated and access-control openings may require certified technicians and permits.
Ask for identification, license information where required, a written estimate, product model numbers, warranty terms, and an itemized invoice. Be cautious of vague advertising that promises a very low service call and then adds extreme charges at the door. Do not authorize destructive drilling until the technician explains why non-destructive service is unavailable.
Part 9: Build a Budget by Risk, Not by Gadgets
49. Complete the zero- and low-cost actions first
Lock every door consistently, remove hidden spare keys, trim concealment, move tools away from service doors, close the garage, delete old smart-lock users, update passwords, and fix lights. Tighten loose hinge and strike screws using appropriate replacements, but do not assume every long screw belongs in every hole.
These steps produce immediate improvement and reveal where money is truly needed. A household that leaves the garage-to-house door unlocked gains more from a routine and rekey than from an additional camera subscription.
50. Use the first paid tier for structural resistance
Prioritize a sound deadbolt, heavy-duty strike, jamb reinforcement, proper hinge attachment, sliding-door secondary lock, and anti-lift protection. If the slab or frame is severely weak, redirect the budget to replacement rather than buying premium electronics for a failing opening.
Keep receipts, model numbers, and before-and-after photographs. Some insurers offer discounts for qualifying alarms or locks, but confirm requirements before purchasing. A marketing label alone may not satisfy the policy.
51. Use the second paid tier for detection and accountability
Add lighting, door contacts, a doorbell camera, glass detection, and monitored alarm service where the risk and budget justify them. Choose a system that household members can operate reliably. A complex system that causes frequent false alarms will soon be ignored or disabled.
Review local alarm-registration and false-alarm rules. Test emergency contacts and update them after moves, divorces, employee changes, or telephone-number changes. Protect recordings and access logs as personal data.
52. Reserve major projects for the weakest opening
Full door-and-frame replacement, multipoint locks, laminated glazing, rated security screens, access-control systems, and structural modifications can be valuable when selected for a specific risk. Obtain multiple detailed estimates and ask what part of the opening each proposal strengthens. A costly door fitted into a decayed frame remains a poor system.
For high-risk circumstances involving stalking, targeted threats, domestic abuse, valuable inventory, or public-facing work, request a professional security survey and coordinate with law enforcement or an advocate. Generic consumer upgrades may not address a known person’s access, surveillance, or coercion.
Part 10: Know What to Do When Security Has Already Failed
53. Do not enter after discovering signs of forced entry
If the door is open, the jamb is broken, glass is shattered, or you hear movement, leave the area and call emergency services from a safe location. Do not shout into the building, search rooms, or confront anyone. Tell dispatch what you observed and whether people, pets, weapons, or hazardous materials may be inside.
Wait for police clearance. Even if the event appears over, the building may contain sharp glass, structural damage, exposed wiring, or contaminated areas. Enter only when authorities say it is safe.
54. Preserve the doorway as evidence
Avoid touching the lock, handle, broken frame, tools, footprints, blood, or objects moved near the entrance. Take photographs from a safe location if police permit, but do not reorganize the scene for better pictures. Save camera clips, smart-lock logs, alarm events, and neighbor recordings before they are overwritten.
Write a timeline while memory is fresh. Distinguish facts from assumptions. Give investigators serial numbers and photographs of missing property, and obtain the report number and instructions for supplemental evidence.
55. Make temporary repairs without destroying the record
After police documentation and insurer guidance, secure the opening with a licensed board-up service, locksmith, or contractor. Keep damaged locks, strike plates, and invoices if the insurer or investigator requests them. Do not conceal damage under new trim before the structural cause is evaluated.
Change or rekey compromised locks and revoke digital credentials. If keys, identification, mail, or account information were stolen, treat the event as an identity-security incident as well as a property crime.
56. Conduct a post-incident review instead of only replacing the same lock
Determine where failure began: an unlocked door, weak jamb, reach-through glass, uncontrolled key, garage access, social engineering, or a smart-account compromise. Strengthen that pathway and inspect every similar door. An intruder who learned one weakness may know the others.
Review lighting, camera retention, alarm response, neighbor contact, emergency escape, and household routines. The objective is not to build a fortress that harms daily life; it is to remove the easy, quiet, repeatable path that allowed entry.
Door-by-Door Security Checklist
- The slab is solid, exterior-rated, undamaged, and appropriate to the location.
- The frame is square, dry, firmly attached, and free of long cracks.
- The deadbolt extends fully and operates without lifting or pushing the door.
- The strike or reinforcement plate is heavy-duty and anchored into sound structure.
- Hinges are tight, appropriately fastened, and protected on outward-opening doors.
- Glass, mail slots, pet doors, and sidelights do not allow easy reach to the lock.
- Sliding doors have a reliable latch, secondary restraint, and anti-lift protection.
- French-door inactive leaves are secured at top and bottom with suitable hardware.
- The garage-to-house door remains code-compliant, self-closing where required, and locked.
- Smart-lock accounts use unique passwords, multifactor authentication, current updates, and separate user credentials.
- Lighting reveals the approach and face without blinding cameras or neighbors.
- Cameras, door contacts, batteries, and alerts are tested and labeled.
- Keys and digital access are revoked when people move, jobs end, or devices are lost.
- Everyone can exit quickly without a key, phone, hidden tool, or complicated sequence.
Common Door-Security Mistakes
- Buying an expensive lock while leaving the original short strike screws and split jamb.
- Installing a strong door on weak, rotten, or poorly anchored framing.
- Using a keyed interior deadbolt without confirming code and emergency escape.
- Assuming a camera prevents entry instead of recording it.
- Leaving garage and service doors unlocked because they are not visible from the street.
- Using one permanent smart-lock code for family, cleaners, contractors, and guests.
- Applying film to glass without considering the frame and edge attachment.
- Blocking a sliding door or basement exit so occupants cannot escape.
- Ignoring alignment until the deadbolt no longer extends fully.
- Posting travel plans, key locations, alarm details, or live camera views publicly.
Frequently Asked Questions
Can I make a door completely burglar-proof?
No ordinary residential opening is completely attack-proof. The realistic objective is to deter opportunistic entry, delay force, create noise, improve detection, and make response more likely. Strong physical construction, visibility, alarms, and consistent locking work together.
Are three-inch screws always the right answer?
Long structural screws are often recommended for wood-framed doors because they can connect the strike and hinges to wall framing, but the correct fastener depends on the jamb, stud location, substrate, screw design, fire rating, and utilities behind the frame. Use the hardware manufacturer’s instructions and verify the structure rather than choosing length alone.
Is a smart lock safer than a normal deadbolt?
It can improve credential control, auto-locking, alerts, and audit logs, but it is not automatically stronger. Compare the mechanical bolt and certification, secure the account, maintain batteries and updates, and reinforce the strike and frame. A high-quality conventional deadbolt can be more secure than a poorly installed smart product.
Should I install a double-cylinder deadbolt beside glass?
Not without checking local code and emergency-escape requirements. Requiring an interior key can delay evacuation. Consider safer glazing, shielding, relocation, or a different door design with professional advice.
Does security film stop someone from breaking a glass door?
Film may hold fragments together and delay the creation of an opening, especially when it is compatible with the glass and properly attached to the frame. It does not make glass unbreakable and should be combined with locks, anti-lift protection, lighting, and detection.
What is the best first upgrade for a limited budget?
After confirming that the door is solid and aligned, reinforce the strike and jamb with appropriate hardware anchored into sound framing, tighten the hinge side, and use the deadbolt every time. For a weak or hollow door, replacement may take priority.
Can a renter add a door brace?
Possibly, but the device must comply with the lease, building and fire rules, and accessible emergency egress. Ask the landlord to repair structural defects first. Test any removable device so every occupant can release it quickly.
How often should locks and door hardware be checked?
Perform a quick visual and operational check monthly and a more complete inspection every three months, after severe weather, after construction, and whenever the door begins rubbing or a key becomes difficult to turn.
Official and Technical Resources
- Seattle Police — Home Security and Burglary Prevention
- Metropolitan Police Department — Burglary Prevention
- Miami-Dade Police — Home Security Checklist
- Fremont Police — Home Safety and Security
- UL Solutions — Locking Configurations for Access and Egress Control
- UL Solutions — Door Hardware Testing and Certification
Writer’s Practical View
The best door-security plan is usually less dramatic than social media suggests. It is a solid, well-fitted door; a deadbolt that reaches its full depth; a strike and jamb tied into the structure; hinges that cannot pull away; controlled glass and sliding panels; enough light to see a face; and a routine that keeps the system locked. Cameras and smart features become valuable after those fundamentals are correct.
Start with the weakest hidden entrance, not the most photogenic front door. Spend first on structure, then on detection, then on convenience. After every upgrade, stand inside in darkness and imagine smoke filling the room. If a child, guest, or injured person cannot open the door quickly, the security project is not finished—it has created a new hazard.
Final 30-Minute Action Plan
- Walk around the property and list every exterior, garage, basement, patio, and shared entry door.
- Lock each one and test for frame movement, loose hinges, and incomplete bolt travel.
- Remove hidden spare keys and identify everyone who still has physical or digital access.
- Photograph weak strikes, cracked jambs, exposed hinges, reachable glass, and sliding-door gaps.
- Fix lighting and close or lock the garage immediately.
- Choose the first structural project: weak slab, damaged frame, strike reinforcement, hinge attachment, or sliding-door protection.
- Confirm fire, rental, accessibility, and rating requirements before drilling.
- Schedule professional help where the substrate, glazing, fire door, or garage system is uncertain.
- Test emergency exit with every household member after installation.
- Add a quarterly reminder to inspect alignment, batteries, codes, screws, lighting, cameras, and vegetation.
Important: Security hardware should delay unauthorized entry without delaying lawful emergency escape. Building codes, fire rules, rental laws, insurance conditions, and approved hardware vary by location and door type. Use current manufacturer instructions and consult a qualified locksmith, contractor, glazing professional, fire official, or building authority when the work affects a rated assembly or required exit.