

Quick answer: A reliable freelance client onboarding system begins after a prospect says yes and ends when both sides can answer the same five questions without guessing: what is being delivered, who decides, what the timeline is, what the client must provide, and how changes and approvals will work. The strongest process is not a pile of forms. It is a short sequence of gates: confirm the commercial agreement, collect the minimum information you need, organize access and files safely, align on scope and success criteria, run a focused kickoff, document decisions, and only then move into production.
Freelancers often treat onboarding as administrative work that sits between “winning the client” and “doing the real work.” In practice, onboarding is part of the real work because it determines how much ambiguity enters the project. A weak start creates hidden assumptions. Hidden assumptions become rework, delayed approvals, scattered feedback, missed inputs, uncomfortable payment conversations, and scope disputes. A strong start does the opposite: it makes the project easier to manage before pressure builds.
This guide shows how to design an onboarding process that works for writers, designers, developers, marketers, consultants, photographers, virtual assistants, and other independent professionals. It is intentionally tool-agnostic. You can run it with email and shared folders, or with a client portal and project-management software. The goal is not to buy more software. The goal is to make every new engagement easier to understand, easier to start, and easier to control.
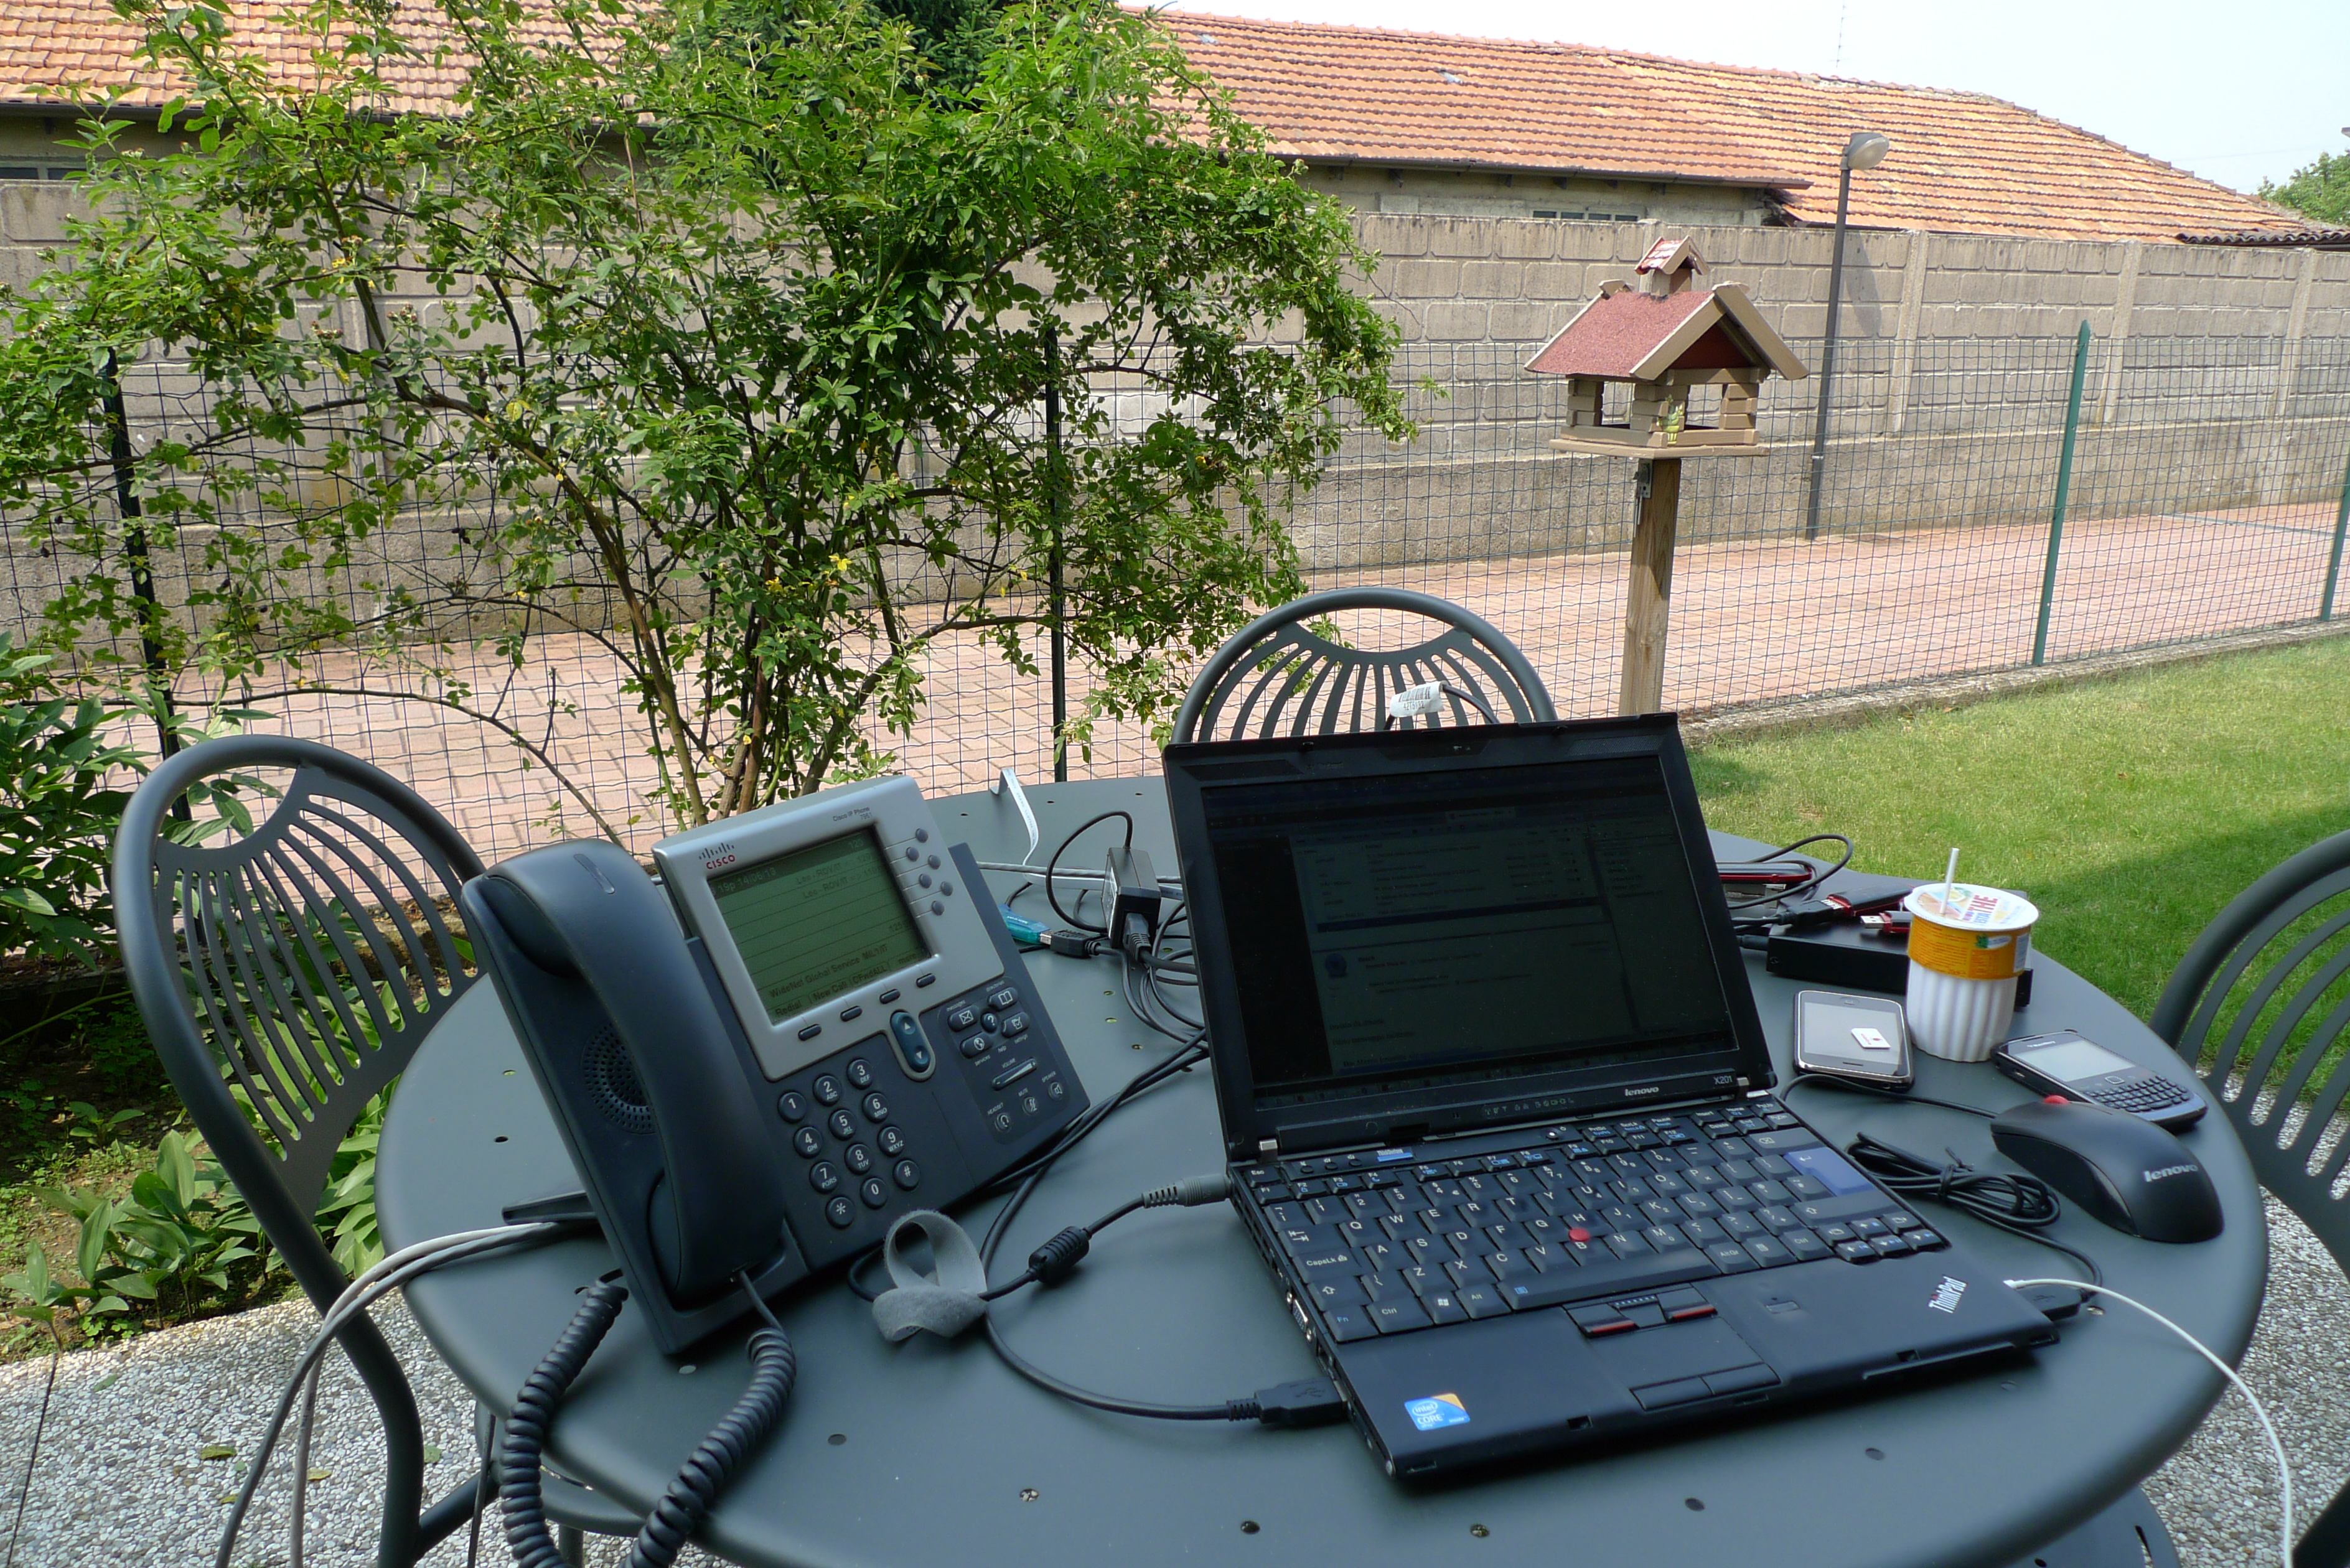 Freelance onboarding works best when the workflow is simple enough to run consistently from one workspace. Photo: Leonardo Rizzi, CC BY-SA 2.0, via Wikimedia Commons.
What a client onboarding system should accomplish
A useful onboarding system should reduce uncertainty, not merely collect information. Before you design forms, automations, or welcome packets, define the operational result you want. By the time onboarding is complete, you should know who the client is, who can approve work, what you have committed to deliver, what is excluded, when major milestones happen, what inputs are still missing, where files live, how communication works, how feedback is submitted, and what must happen before the next stage begins.
This distinction matters because it changes the way you evaluate every step. If a questionnaire asks twenty questions but only six answers affect the project, it is creating friction rather than clarity. If a kickoff call lasts ninety minutes but no decisions are documented, it creates conversation rather than alignment. If you create five shared folders but the client still emails assets as attachments in random threads, the system is not functioning.
A practical test is to ask: What mistake does this onboarding step prevent? A scope summary prevents “I thought that was included.” A decision-maker field prevents conflicting feedback from three people. A content deadline prevents an idle project waiting for assets. A single feedback channel prevents revisions being spread across email, chat, comments, and voice notes. A change-request process prevents extra work from entering the project invisibly.
Project-management guidance has long emphasized the value of aligning stakeholders around objectives, scope, roles, and initial requirements before execution. The exact paperwork used by a freelancer can be much lighter than a formal corporate project charter, but the underlying principle is the same: projects become easier to manage when the basic agreement is visible rather than assumed.
Start with a simple onboarding map before choosing tools
Draw your current process from “client says yes” to “production begins.” Do not draw the ideal version first. Write what actually happens today. Perhaps you send a proposal, wait for an email, send an invoice, ask for files, schedule a call, create a folder, and then begin. Perhaps the order changes every time. That inconsistency is useful information because it reveals where the system needs structure.
Next, divide the journey into stages. A strong baseline for most freelance services is: commercial confirmation, intake, setup, kickoff, and handoff into production. Under each stage, list the minimum output required to proceed. For example, commercial confirmation may require an accepted scope and agreed payment terms. Intake may require brand files and access. Setup may require a client folder and project board. Kickoff may require resolved questions and confirmed milestones.
Then mark each step as one of three types: required gate, helpful step, or service-specific step. Required gates should be few and meaningful. If everything is mandatory, the process becomes slow. If nothing is mandatory, the process becomes unreliable.
Success check: You should be able to show the entire onboarding process on one page. If it requires a large flowchart just to start a standard client, simplify it. Complexity should appear only when project risk or project size justifies it.
Step 1: Convert the sales conversation into a written project record
Before you send another form, collect what you already know. Review the proposal, notes, email thread, discovery call summary, quote, and any examples the client sent. Move the useful information into one internal project record. This prevents the common mistake of asking the client to repeat information they already gave you during sales.
Your internal record should include the client name, main contact, organization, project type, business objective, deliverables, proposed timing, quoted price or billing model, known stakeholders, key constraints, and unresolved questions. Include the exact wording of important commitments when possible. “Three landing pages” is clearer than “website content.” “Two revision rounds” is clearer than “revisions included.”
Do not treat a friendly sales conversation as a complete project specification. Sales discussions are often exploratory. Clients may describe aspirations that were never priced into the work. Your job is to separate context from commitment. Context explains why the project exists. Commitment defines what you agreed to do.
Common mistake: copying every sales note into the project plan. This creates noise and can accidentally elevate an idea into an obligation. Instead, label information as confirmed, tentative, background, or unresolved.
If the record is unclear: stop before production and resolve the ambiguity in writing. It is cheaper to clarify a sentence now than to redo a week of work later.
Step 2: Lock the scope in plain language
The scope should be readable by a busy client without legal training or project-management vocabulary. State what you will deliver, how many items or pages are included, the format, the major milestones, the revision allowance if relevant, and the obvious exclusions. The goal is not to predict every possible future request. The goal is to make the current agreement concrete enough to manage.
Use nouns and numbers. “Create social content” is vague. “Create twelve LinkedIn posts, each supplied as final copy in a shared document, plus one revision round per batch” is manageable. “Improve SEO” is vague. “Audit ten priority pages and deliver a prioritized technical and on-page recommendation document” is clearer.
Include assumptions that affect the price or schedule. If the client supplies product photos, say so. If the client is responsible for legal approval, say so. If translations are not included, say so. If access to a CMS is required before implementation can begin, say so.
Also define what completion means. Acceptance criteria do not need to be formal. They can be simple statements such as “final files supplied in the agreed formats,” “copy approved by the named stakeholder,” or “the page is implemented on the staging site and passes the agreed functional checks.” The clearer “done” is, the less likely the project is to drift.
Success check: Ask whether someone who did not join the sales call could read the scope and understand what is being purchased. If not, rewrite it.
Step 3: Separate scope from change control
No scope document can eliminate change. Good onboarding accepts that projects evolve and defines how that evolution will be handled. A change request is not a failure; an unmanaged change is.
Create a simple rule: any request that changes deliverables, quantity, complexity, deadline, or dependencies is reviewed before it is added to the project. The review can be lightweight. You identify the requested change, explain its effect on cost or timing, and obtain written approval before continuing.
This prevents the dangerous phrase “while you are in there, can you also…” from becoming invisible work. It also gives clients a professional way to ask for more without feeling that every change creates conflict.
Do not use scope language as a weapon. If a request is tiny and truly trivial, you may choose to include it. The point is not to reject flexibility. The point is to keep flexibility intentional.
Alternative: For ongoing retainers, replace rigid deliverable changes with a capacity model. State the monthly capacity, priorities, carryover rule, and what happens when requests exceed available time. That often fits recurring work better than a project-style change order.
Step 4: Confirm commercial and administrative details before work begins
Onboarding is the right moment to remove payment uncertainty. Confirm the legal or business name to invoice, billing email, currency, agreed fee, payment schedule, purchase-order requirement if the client uses one, and any vendor-registration process that could delay payment. For international clients, confirm the practical payment method and who bears transfer fees if that matters to your pricing.
Do not copy a universal deposit percentage from the internet and assume it is suitable for every jurisdiction, platform, client, or project. Payment structures vary. A small fixed project may be paid in full upfront. A larger project may use staged payments. An ongoing engagement may use recurring billing. Marketplace work may follow the platform’s escrow or milestone system. What matters operationally is that the schedule is clear before work begins.
If a formal agreement is appropriate, use one that fits your service and jurisdiction, and obtain qualified legal advice when the risk justifies it. Freelance articles can explain operational practices, but they should not pretend one contract template is universally valid.
Success check: There should be no unanswered question about how the project is billed, when the next payment event occurs, or who receives invoices.
Step 5: Send a short welcome message that explains the process
A welcome message is not a celebration email padded with branding. Its purpose is orientation. The client has just moved from buying to participating in a project. Tell them what happens next, what you need from them, and what they do not need to worry about yet.
A strong welcome message contains the confirmed project name, start window, link to the intake questionnaire, link to the shared project area if it already exists, the next deadline, and the expected kickoff step. Keep it scannable. Clients are more likely to complete five clear actions than interpret a long essay.
Use one message as the source of truth for the first week. Avoid sending the questionnaire in one email, scheduling link in a second, folder link in a third, and invoice note in a fourth unless there is a real operational reason. Fragmentation increases missed steps.
Common mistake: asking for everything immediately. A new client may need to involve colleagues before providing access or files. Separate “needed before kickoff” from “needed before production” and “needed later.” This makes the request manageable.
Step 6: Design an intake questionnaire that changes your decisions
The best intake form is not the longest. Ask questions only when the answer affects strategy, execution, communication, risk, or approval. Start with the project outcome: what should be different when the work succeeds? Then ask what evidence the client will use to judge that result.
For creative or marketing work, useful questions may cover target audience, brand rules, examples they like and dislike, required claims, prohibited language, competitors, existing assets, analytics access, and approval stakeholders. For development work, the form may focus on environments, technical constraints, user roles, integrations, hosting, browser support, credentials, and deployment ownership. For consulting, it may focus on decision context, data sources, internal politics, constraints, and who will use the recommendation.
Add operational questions: who is the day-to-day contact, who gives final approval, what days are difficult for meetings, what deadlines are fixed, and what events could change priorities?
Avoid asking broad questions that sound strategic but produce unusable answers, such as “What is your vision?” unless you know exactly how the answer will influence the work. Replace them with concrete prompts: “What must a customer understand within five seconds of seeing this page?” or “Which decision must this analysis help you make?”
Success check: Review every question and ask, “What will I do differently depending on the answer?” If the answer is “nothing,” remove the question.
Step 7: Identify the real decision-maker and feedback path
One of the most expensive onboarding mistakes is confusing the project contact with the final approver. The person who attends meetings may not have authority to approve the work. If you do not identify the approval path, you may reach “final” and discover a senior stakeholder who is seeing the work for the first time.
Ask who provides day-to-day feedback, who gives final approval, and whether anyone else must be consulted before milestones are accepted. If several people participate, ask the client to consolidate feedback where possible. Conflicting comments should be resolved inside the client organization rather than turned into multiple simultaneous briefs.
For larger projects, build a lightweight stakeholder map. You do not need corporate terminology. A table with name, role, involvement, decision authority, and required milestone is enough.
If stakeholders disagree: do not become the referee unless facilitation is part of your service. Record the conflict, ask the designated decision-maker for one direction, and adjust schedule estimates if approval is delayed.
Step 8: Build a clean project folder before files start arriving
Create the structure before the client sends assets. Otherwise files will accumulate in email, chat, downloads, desktop folders, and personal cloud accounts. A simple project folder can contain 01_Admin, 02_Client_Inputs, 03_Working, 04_Review, and 05_Final. Adapt the names to your service, but keep the structure small enough to understand at a glance.
Separate original client files from files you create. Originals should not be casually overwritten. If you transform a spreadsheet, edit a photo, or convert a document, save the working version separately. This makes it easier to recover from mistakes and prove what information was originally supplied.
Use descriptive filenames. A file named “final_v7_revised_FINAL2.pdf” reveals a broken version system. Use a predictable structure such as Project_Deliverable_2026-08-09_v03.pdf. For approved files, replace the version number with “APPROVED” or place them in a Final folder rather than creating endless suffixes.
Common mistake: giving the client access to internal scratch folders. Share only what supports collaboration. Internal notes, pricing calculations, draft experiments, and private contractor information should remain internal.
Step 9: Request access without turning onboarding into a security problem
Freelancers often need access to websites, analytics, advertising platforms, cloud folders, social accounts, repositories, or project tools. The easiest method is not always the safest. Avoid asking clients to email passwords in plain text when a platform supports invited users, delegated roles, temporary access, or permission-based sharing.
Request the minimum access necessary for the work. If you only need to view analytics, do not request administrator permissions. If a platform lets the client add your account as a user, prefer that over sharing the owner’s credentials. This makes access easier to revoke when the project ends.
Create an access register with the system name, owner, your permission level, date granted, and date access should be reviewed or removed. Do not place secret passwords in the same project document that contains general client notes. If credentials must be shared, use an appropriate password-management or secure-sharing method.
Explain this clearly to clients. Security-sensitive onboarding should feel reassuring, not bureaucratic: “Please invite this email as an editor rather than sending the master password.” That one sentence can prevent risky habits.
Success check: Every account you can access should have a reason, an owner, and a removal path.
Step 10: Define one communication system before the project gets busy
Clients do not need to communicate on your favorite tool. They need to know where different types of communication belong. Define the primary channel for project decisions, the channel for quick operational messages if one is needed, where feedback is submitted, and when meetings occur.
For example, email may be the official decision record, a project board may hold tasks and dates, and comments in a design file may hold visual feedback. That is already enough. Adding Slack, WhatsApp, text messages, and voice notes can make the project harder to manage rather than easier.
Set a realistic response expectation. “I reply to project messages within one business day” is more useful than “contact me anytime.” Also state your working days and time zone if international collaboration makes timing ambiguous.
Define what constitutes an emergency. In many freelance projects, almost nothing is truly urgent. If you provide support where incidents matter, create a separate escalation path and response expectation rather than allowing every message to become urgent.
Step 11: Create a project dashboard that answers practical questions
Your client should not need to email you to ask what happens next. A lightweight dashboard can show project status, current stage, next milestone, outstanding client inputs, recent decisions, and upcoming dates. This can be a page in a project-management tool, a shared document, or a simple spreadsheet.
Do not overbuild it. A dashboard that requires ten minutes of maintenance every day will probably stop being accurate. The useful fields are usually: status, owner, due date, dependency, and decision or approval state.
A Kanban-style board can work well when the project contains many small units of work. Columns such as Backlog, Ready, In Progress, Client Review, and Done give both sides a visible picture of flow. For a linear project, a milestone list may be simpler.
 A simple visual board can make project status and bottlenecks easier to see. Image: Garbanea, CC BY-SA 4.0, via Wikimedia Commons.
Common mistake: turning the dashboard into a reporting performance. The project system exists to reduce communication cost, not create administrative work.
Step 12: Build the timeline around dependencies, not wishful dates
A timeline is only credible when it includes what the freelancer needs from the client. Many missed deadlines begin with a schedule that assumes instantaneous feedback, instant access, and no revision time.
For every milestone, identify the dependency that can stop it. A website build may depend on approved copy. A campaign may depend on tracking access. A photo shoot may depend on products arriving. A report may depend on source data. Put these dependencies on the timeline instead of leaving them in private notes.
Use conditional wording when dates depend on client inputs: “Draft delivery is five business days after receipt of the completed brief and required assets.” This is often more realistic than promising an absolute date before the inputs exist.
Include review windows. If the client needs three business days to review, that time belongs in the schedule. If their internal approval normally takes a week, pretending it takes a day does not make the project faster.
Success check: Look at every date and ask, “What must be true for us to hit this?” Record the answer.
Step 13: Decide how revisions and feedback will work
“Revisions included” is not a process. Define when the client reviews, how feedback is collected, whether comments should be consolidated, what counts as a revision, and what happens after the agreed rounds are used.
Encourage outcome-based feedback rather than unexplained preferences. “Make it pop” is difficult to act on. “The headline needs to communicate that this service is for first-time buyers” gives direction. You can help clients provide better feedback by asking what problem they see, what goal is not being met, and what change they want the audience to experience.
For visual work, request comments directly on the design or proof when possible. For writing, use document comments or a single tracked-review system. For development, use reproducible bug reports that include the page, action, expected result, actual result, and device or browser when relevant.
If feedback arrives in multiple places, consolidate it before acting. Starting revisions while comments are still arriving is a common cause of duplicated work.
Step 14: Run a kickoff meeting that resolves decisions
The kickoff meeting should not repeat everything in the proposal. It should resolve uncertainty that blocks work. Send a short agenda before the call so the client can involve the right people and prepare missing information.
A practical agenda is: confirm objective, confirm scope, review milestones and dependencies, confirm decision-makers, review communication and feedback, discuss unresolved questions, verify required access and assets, and agree on immediate next actions. Thirty to sixty minutes is enough for many freelance projects if preparation is good.
Ask direct questions. “What would make this project feel unsuccessful even if we deliver everything in the scope?” can expose hidden expectations. “What cannot move?” identifies fixed constraints. “Who could stop approval at the end?” reveals stakeholders. “What is the first decision this work needs to support?” clarifies priorities.
 Remote kickoff meetings work best when participants, decisions, and follow-up are structured. Image licensed CC BY-SA 4.0 via Wikimedia Commons.
Do not: fill the meeting with a long presentation about yourself. The client already hired you. Use the time to make the work easier to execute.
Step 15: Send a decision summary immediately after kickoff
Within the same day when practical, send a concise written summary. Record decisions, changes, open questions, owners, and next dates. This is one of the highest-value habits in client work because memories diverge quickly after meetings.
Use language such as “We agreed that…” and “Client will provide…” rather than vague meeting notes. If the kickoff changed the scope, do not quietly update your internal plan. Trigger the change-control process and confirm the commercial effect before doing the additional work.
Store the summary in the project record as well as sending it. Months later, when someone asks why a choice was made, you will have the answer.
Success check: Every open item should have one owner and one next action. “Team to discuss” is not an actionable owner.
Step 16: Use a readiness gate before production begins
Create a short “ready to start” checklist. This prevents you from beginning work because the calendar says Monday when the project is not actually ready.
- Scope and commercial terms are confirmed.
- The required payment event has been completed according to the agreement.
- The primary contact and final approver are known.
- Critical assets and inputs have been received.
- Required access has been tested.
- Milestones and client review windows are visible.
- Communication and feedback channels are agreed.
- Open kickoff questions are resolved or explicitly accepted as risks.
If one item is missing, decide whether it truly blocks work. Some tasks can begin while a noncritical asset is pending. Others cannot. The point is deliberate risk acceptance rather than accidental risk.
This approach is especially useful when you are busy. Under pressure, freelancers often start early to appear responsive, then spend the next week waiting for basic inputs while their schedule is already committed.
How to create a client onboarding packet without overwhelming people
A client onboarding packet can be useful, but it should be a navigation tool rather than a handbook. Include the project summary, key contacts, how communication works, milestone view, feedback method, file link, invoice contact, and what happens next.
Avoid duplicating the full contract, full proposal, twenty-page brand questionnaire, and every process policy inside one giant document. Link to detailed material instead. Clients need a map of the project, not an encyclopedia of your business.
Use progressive disclosure: show what matters now, then introduce later processes when they become relevant. A client does not need final handoff instructions before the first draft exists.
For recurring clients, the packet can become a standing operating guide with service cadence, monthly cutoff dates, reporting schedule, request process, priorities, and escalation rules.
How to adapt onboarding for different freelance services
Writers and content strategists
Focus on audience, editorial voice, source requirements, expert access, factual review, claims that require approval, SEO brief ownership, content management access, publishing responsibility, and revision workflow. Clarify whether the freelancer is responsible for research, interviews, image sourcing, upload, metadata, and post-publication edits.
Designers
Prioritize brand assets, dimensions, production specifications, usage context, file formats, source-file policy, stakeholder approval, revision rounds, and how design feedback will be consolidated. Ask whether external printers, developers, or media buyers impose technical requirements.
Developers
Prioritize environments, repositories, hosting, access roles, deployment responsibility, backups, test data, supported devices, dependencies, acceptance tests, bug reporting, and post-launch support. Keep production credentials controlled and document who owns each system.
Marketers
Clarify account ownership, tracking, attribution, existing campaigns, brand restrictions, budgets, approval timelines, creative responsibilities, data access, reporting definitions, and what the freelancer can change without approval. Distinguish performance goals from guaranteed outcomes; marketing involves variables no freelancer controls completely.
Consultants
Focus on the decision the client must make, stakeholders, evidence, access to data, interview availability, confidentiality, boundaries of analysis, presentation audience, implementation ownership, and what the final recommendation must enable.
Photographers and video professionals
Prioritize date, location, permits where applicable, shot list, talent or participant coordination, usage requirements, deliverable formats, selection process, editing scope, storage period, rescheduling conditions, and delivery method. Operational logistics often matter as much as the creative brief.
Build two onboarding lanes instead of forcing every client through the same process
One size rarely fits all. Create a standard lane and an enhanced lane. The standard lane handles familiar, low-complexity work with a small number of stakeholders. The enhanced lane adds more discovery, documentation, approval gates, security review, or stakeholder mapping for higher-risk work.
Use objective triggers for the enhanced lane: several decision-makers, sensitive data, access to production systems, high project value, unfamiliar technical requirements, very compressed deadlines, regulated content, cross-border complexity, or a client who cannot clearly define the outcome.
This keeps simple projects fast while giving complex projects the structure they deserve. The mistake is either using enterprise-level onboarding for a two-hour task or using a casual email thread for a high-stakes engagement.
Automate repetition, not judgment
Automation can create folders, duplicate project templates, send standard reminders, create calendar events, populate a project board, and notify you when an intake form is complete. These are good uses because the action is repetitive and the rule is clear.
Do not automate important judgment simply because software allows it. A client’s answer may reveal a scope problem, security risk, unrealistic deadline, or conflict between stakeholders. That requires human review.
Start by recording how long onboarding tasks take for five clients. Automate the recurring steps that consume meaningful time and rarely need customization. Leave the rest manual until the pattern is stable.
Common mistake: building a complex automation before the process itself is proven. This turns a bad workflow into a faster bad workflow.
Create templates that preserve thinking instead of replacing it
Templates are valuable when they remind you what to consider. They become dangerous when you stop reading them. Build reusable templates for the welcome email, intake form, kickoff agenda, decision summary, folder structure, project dashboard, and closeout checklist. Then design each template with prompts that force project-specific decisions.
For example, a scope template can include fields for deliverables, exclusions, assumptions, dependencies, acceptance, and change handling. A kickoff template can include “largest unresolved risk” and “final approver.” These prompts improve thinking while still saving time.
Review templates every few months. Remove questions that never matter. Add safeguards after real project problems. Your onboarding system should learn from experience.
How to handle a client who will not complete onboarding
Some clients delay forms, ignore file requests, skip the kickoff, or ask you to “just start.” Do not respond with passive frustration. Identify exactly what is blocked and communicate the consequence.
Say, in practical terms, that work can begin when the required input arrives, or that the delivery date will move if approval is late. If one noncritical field is missing, proceed without making the process rigid. If the missing item affects scope, access, payment, or safe execution, treat it as a gate.
Make requests easier to complete. Replace “send all your brand assets” with a checklist: logo files, brand guide, approved fonts, product photos, and two examples of previous work. Give a single upload link. Set a due date. Name the owner.
If delays persist, follow the rescheduling or pause terms in your agreement. Do not silently absorb client delay by compressing your own production time unless you deliberately choose to do so.
How to detect onboarding red flags before they become project problems
Onboarding often reveals risk that was hidden during sales. Watch for contradictory goals, undefined authority, refusal to put scope in writing, impossible deadlines, requests for excessive system access, pressure to bypass agreed payment steps, missing source data, unexplained urgency, frequent stakeholder changes, or a pattern of blaming every previous supplier.
A red flag does not automatically mean the client is bad. It means you need more clarity. For example, a changing scope may reflect genuine uncertainty. You can respond with a paid discovery phase rather than pretending the project is ready for fixed-price execution.
Use three responses: clarify, restructure, or decline. Clarify when the issue is informational. Restructure when the commercial model or process needs to change. Decline when the work would require unsafe, unlawful, deceptive, or clearly unmanageable behavior.
Measure whether your onboarding system is actually working
Do not judge onboarding by how polished it looks. Measure operational outcomes. Useful metrics include time from accepted proposal to ready-to-start, number of missing-input reminders, hours spent on unplanned rework, number of scope changes discovered after production begins, average approval delay, invoice errors, and client questions that should have been answered during onboarding.
Also track qualitative signals. Did the client know what happened next? Did your team or subcontractor know where to find information? Were important decisions recoverable later? Did you begin with all critical access? Was the first milestone reviewed by the right person?
After each project, write one sentence: “Next time, onboarding should prevent…” That sentence is a direct input for improving the system.
A complete freelance client onboarding workflow you can implement this week
Day 1: Build the foundation. Map your current onboarding flow. Create one internal project record, one scope checklist, and one standard folder structure. Decide your required readiness gates.
Day 2: Improve intake. Review the questions you currently ask. Remove questions that do not change decisions. Add fields for objective, success evidence, final approver, dependencies, fixed dates, and missing assets.
Day 3: Standardize communication. Write a concise welcome message, kickoff agenda, and decision-summary template. Define your primary communication channel and normal response expectation.
Day 4: Fix file and access handling. Create client-input and final-delivery folders. Decide how you request account access. Build a small access register and stop requesting master passwords where delegated access is available.
Day 5: Build the project view. Create a simple dashboard or milestone sheet. Include client dependencies and review windows rather than showing only your own work.
Day 6: Test with a past project. Pretend a recently completed client has just signed. Run the project through your new onboarding system. Look for missing questions, unnecessary steps, and duplicate data entry.
Day 7: Use it live and review. Apply the system to the next real client. After kickoff, note every moment where either side was confused. Improve the workflow while the experience is fresh.
Common onboarding mistakes and how to fix them
Collecting too much information
Fix: shorten the form until every question has an operational purpose. Ask later-stage questions later.
Starting before scope is stable
Fix: use a discovery or definition phase when the client cannot yet describe the work well enough to price or schedule.
Letting feedback arrive everywhere
Fix: define one review location per deliverable and ask the client to consolidate stakeholder comments.
Forgetting the final approver
Fix: identify approval authority during intake and include that person at the correct milestone.
Promising dates before dependencies are ready
Fix: tie delivery estimates to receipt of required inputs and include review time.
Requesting excessive access
Fix: use least-necessary permissions, invited-user roles, and a documented removal process.
Automating too early
Fix: run the workflow manually until repeated steps are obvious, then automate only stable rules.
Using a beautiful portal nobody checks
Fix: choose the simplest system the client will actually use. Reliability beats novelty.
Frequently asked questions
When does client onboarding begin?
Operationally, onboarding usually begins when the client has accepted the engagement and you are moving from sales into project setup. The exact trigger depends on your business model. Some freelancers begin after proposal acceptance; others wait until an agreement is signed or a required payment step is completed. Define one trigger so you do not improvise every time.
How long should freelance onboarding take?
There is no universal duration. A simple assignment may be ready in a few hours. A complex project with several stakeholders and system access may need days or longer. Measure readiness rather than forcing every client into the same time target.
Do I need a client portal?
No. A portal is useful only if it reduces fragmentation. Email, a shared folder, a calendar, and a simple project document can be enough. Add a portal when it genuinely centralizes communication, files, approvals, or billing.
Should I have a kickoff call for every project?
No. A short, well-defined task may not justify a call if the written brief is complete. Use a kickoff when conversation will resolve ambiguity faster than more messages, or when several stakeholders need alignment.
What should be automated first?
Automate predictable setup tasks: duplicating folders, creating project templates, sending standard reminders, or creating calendar events. Do not automate scope interpretation, risk decisions, or client-specific strategy until a human has reviewed the information.
What if the client changes the brief during onboarding?
That is exactly when you want the change to appear. Compare the new request with the agreed scope, assess cost and timing, and confirm the revised arrangement before production. Discovering a change during onboarding is far cheaper than discovering it after delivery.
Final takeaway: onboarding is a control system, not paperwork
The most useful freelance onboarding process is the one that makes the first week boring in a good way. Nothing important is hidden. The client knows what happens next. You know what you need. The right person is ready to approve. Files and access are organized. Dates reflect dependencies. Feedback has a home. Changes have a path. Production begins because the project is ready, not because everyone is tired of preparing.
Start with one improvement: create a readiness checklist and refuse to treat “client said yes” as the same thing as “project is ready.” Then build the rest of the system around the mistakes you want to prevent. A clear onboarding workflow protects your time, improves the client’s experience, and makes your work easier to deliver consistently without turning your freelance business into an administrative machine.
Sources and further reading
- Project Management Institute: project charter, scope, roles, stakeholders, and project baselines
- Upwork: preparing client onboarding materials, reviewing scope, gathering information, and kickoff preparation
- Wikimedia Commons licensing page: ThinkPad X201 Home Office
- Wikimedia Commons licensing page: Kanban board
- Wikimedia Commons licensing page: Video conference workflow