

Your smartphone can replace a boarding-pass folder, city map, phrasebook, camera, wallet, authenticator, train timetable, hotel directory, and emergency contact list. That convenience is exactly why traveling with an unprepared phone can create so many problems at once. A roaming mistake can produce an expensive bill. A failed eSIM activation can leave you without data when you land. A stolen phone can become an account-recovery emergency. An offline map that was never downloaded can turn a simple transfer into a stressful search for Wi-Fi.
The most reliable way to prepare a smartphone for international travel is to treat connectivity, security, offline access, power, and recovery as one system rather than five separate tasks. This guide walks through that system from several days before departure until you return home. It is written for both iPhone and Android users, with platform-specific notes where the official behavior differs.
Quick answer: before an international trip, verify that your phone will work at the destination, decide whether you will use carrier roaming, a travel eSIM, a local SIM, or mostly Wi-Fi, back up the device, update it, strengthen theft protection, download maps and critical documents for offline use, save emergency contacts outside the phone, test your charging setup, and make a simple plan for what you will do if the phone is lost or stolen.
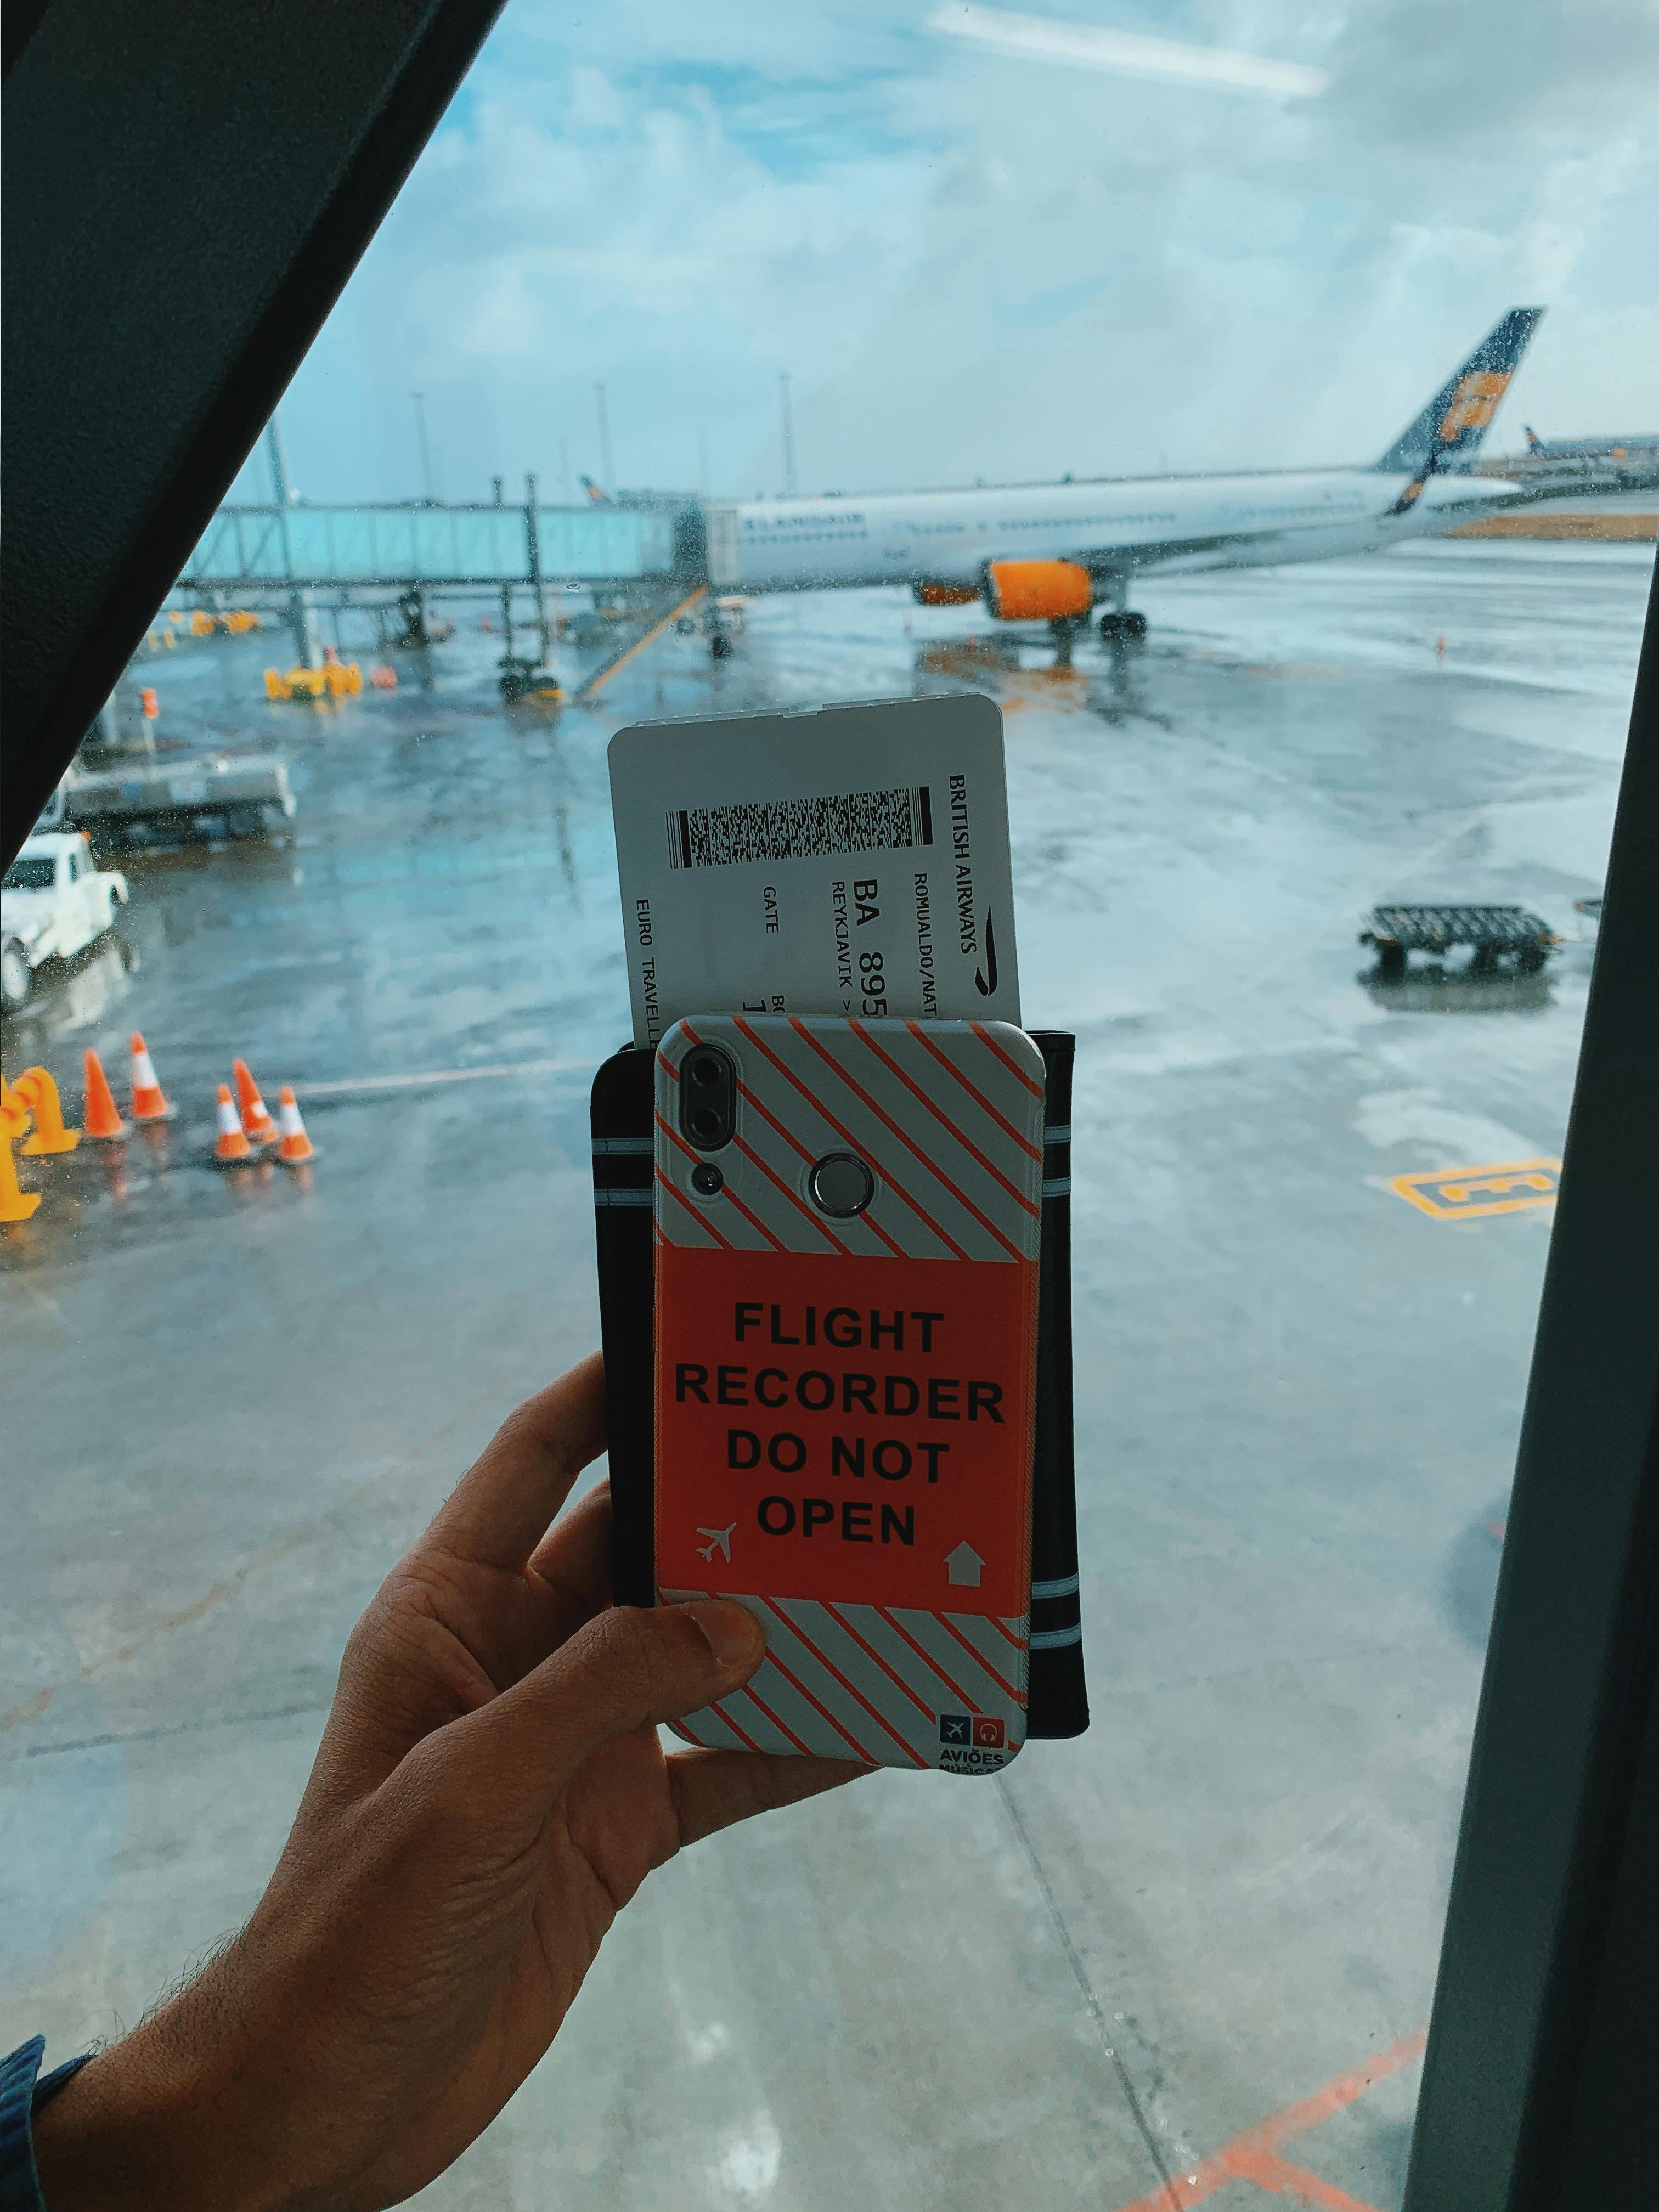
A travel phone should be prepared before you reach the airport, when you still have reliable internet, access to account passwords, and time to fix activation problems.
Start With One Decision: How Will Your Phone Get Online Abroad?
The most important preparation is not installing an app. It is choosing your connectivity plan before you travel. Most travelers use one of four approaches: international roaming from the home carrier, a travel eSIM, a local physical SIM or local eSIM, or Wi-Fi with very limited cellular service. Each method has a different balance of convenience, price, phone-number continuity, and setup risk.
Option 1: Keep your home carrier and use international roaming
Roaming is usually the simplest choice because your existing number, SMS messages, and carrier relationship stay in place. You do not need to swap SIM cards or teach family members a temporary number. This can matter when banks, airlines, employers, or account-recovery systems still send security messages to your normal number.
The weakness is cost uncertainty. Some plans include selected countries. Some carriers sell a daily travel pass. Others charge by megabyte, minute, or message when no travel package is active. Never assume that because your phone shows signal, the connection is inexpensive. The U.S. State Department’s current guidance for travelers recommends checking the cell-phone plan before departure and considering roaming, a local SIM, or an international eSIM according to the destination and device.
Before relying on roaming, open your carrier’s official website or app and write down four facts: which countries are included, the data allowance or fair-use limit, the daily or monthly price, and what happens after the allowance is exceeded. Screenshot the important terms so you can refer to them after arrival even if the carrier website will not load.
Option 2: Add a travel eSIM
A travel eSIM is often the most flexible option for a compatible unlocked phone. You can install a second cellular plan without removing your home SIM, then choose which line supplies mobile data. Apple currently notes that supported iPhones can use two active eSIMs at the same time and can store multiple eSIM profiles, although exact capability depends on the iPhone model, carrier, and region.
The practical advantage is separation. Your home line can remain available for calls or messages while the travel line handles data. The practical risk is configuration: if both lines are allowed to roam or the phone is set to switch cellular data automatically, you can accidentally use the expensive line.
If you buy a travel eSIM before departure, read the activation rule carefully. Some plans begin their validity period when installed; others begin when they first register on a supported destination network. Do not guess. The provider’s written terms should tell you exactly when the clock starts, whether tethering is allowed, which networks are used, and whether the plan includes only data or also a local phone number and SMS service.
Option 3: Buy a local SIM or local eSIM
A local carrier plan can be attractive for longer stays or heavy data use. It may also give you a local number that hotels, restaurants, delivery services, or local contacts can call at domestic rates. In some countries, however, SIM registration requires a passport or other identification. Storefront availability, tourist plans, taxes, activation rules, and supported bands vary by destination.
Before choosing this route, confirm that your phone is carrier-unlocked. On an iPhone, Apple says you can check Settings > General > About and look for the Carrier Lock field; an unlocked device should report no SIM restrictions. Android menus differ by manufacturer and carrier, so use the carrier or device maker’s official instructions rather than relying on a menu path copied from a different model.
Option 4: Use Wi-Fi and keep cellular data mostly off
This can work for a highly planned trip with reliable hotel Wi-Fi, downloaded maps, offline tickets, and messaging apps. It is also the least resilient approach. Airport changes, taxi pickups, authentication prompts, border delays, ride-hailing, and emergency communication often happen exactly when trusted Wi-Fi is unavailable.
If you intentionally choose a Wi-Fi-heavy setup, build redundancy. Download what you need, carry a printed hotel address and important phone numbers, and have a small emergency cellular option if practical. The State Department recommends a backup communication method and a printed list of important contacts in case a phone is lost or stolen.
Build a Travel Connectivity Plan Instead of Chasing the Cheapest Data
A low price per gigabyte is not useful if the plan cannot receive an important message, does not cover your transit country, expires halfway through the trip, or fails on the phone you own. Compare travel connectivity by what your trip actually requires.
- Trip length: a three-day city break and a six-week multi-country trip need different plans.
- Countries and transit airports: make sure layovers are covered if you expect to use mobile data there.
- Data volume: navigation, messaging, email, and occasional browsing use far less data than video calls, cloud photo uploads, or hotspot use.
- Phone-number needs: decide whether you must keep the home number reachable for SMS or calls.
- Hotspot needs: verify tethering rules if you plan to connect a laptop or another traveler’s phone.
- Network quality: a cheap plan that roams only on a weak partner network may be a poor value.
- Support: know how to contact the provider if activation fails after arrival.
A useful strategy for many travelers is to keep the home line active but disable its data roaming, then use a separate travel line for cellular data. This preserves access to the home number while reducing the chance of accidental data charges. The exact settings differ by device and plan, so confirm the configuration with your carrier and phone maker.
Five to Seven Days Before Departure: Update and Back Up the Phone
Do not wait until the airport lounge to install an operating-system update. Updates can take time, require significant free storage, trigger restarts, or expose an app compatibility problem. The State Department’s technology-safety guidance specifically recommends installing current updates for phones, tablets, and apps before traveling.
Update the operating system first, then update the apps you will depend on: airline, rail, hotel, maps, translation, password manager, authenticator, banking, ride-hailing, and messaging apps. Open each important app after updating it. A successful installation is not the same as a successful login.
Make a backup and verify that the backup is real
A backup is valuable only if you know what it contains and can access the account that holds it. On Android, Google says device backup can include apps and app data, call history, contacts, device settings, SMS and MMS, with additional data backed up by services such as Google Photos and Google Messages. Google also notes that restoration depends on the device and Android version, so do not assume every app will return exactly as it was.
On iPhone, review your iCloud backup or computer backup and confirm that the data you care about is included. If you are planning any account changes before travel, be especially careful not to sign out and erase local information that has not finished syncing. LordAI’s guide to signing out of an Apple Account safely explains why sync status and Find My matter before removing an account from a device.
After backing up, test your access to the cloud account from another device or browser. You do not need to expose all your data; the goal is to confirm that you know the account address, password, and recovery method. If the only way to approve a login is the phone that might be lost, your backup plan is incomplete.
Do not put every recovery secret on the travel phone
Travelers often make a subtle mistake: they store the password manager, authenticator, recovery codes, scanned passport, banking apps, and emergency email all on the same phone. That is convenient until the phone disappears.
Create a second path to recovery. Depending on your security model, that might be a trusted family member, a hardware security key stored separately, recovery codes stored in a protected location that is not the phone, or a secondary device. The correct method depends on the accounts you use, but the principle is simple: one lost object should not remove every way to prove who you are.
Strengthen Theft Protection Before the Phone Leaves Home
A phone that is lost while locked is a very different problem from a phone that is stolen while unlocked or with a passcode that someone has observed. Prepare for both.
Use a strong screen lock and biometrics
Use a real passcode, PIN, or password, not swipe-only access. Avoid a code that is easily guessed from your birthday or visible travel documents. Keep Face ID, Touch ID, fingerprint, or another supported biometric method enabled when it improves security on your device.
Be careful when typing a passcode in crowded areas. A thief who knows the device passcode may be able to do far more than unlock the screen, depending on the phone and account settings. Shield the screen the same way you would shield an ATM PIN.
On iPhone: review Find My and Stolen Device Protection
Apple’s Stolen Device Protection adds extra requirements for sensitive actions when an iPhone is away from familiar locations. Depending on the action and settings, it can require Face ID or Touch ID without a passcode fallback and can apply a security delay before critical account changes. Apple says it must be enabled before the device is lost or stolen and requires supporting security features such as a device passcode, biometric authentication, two-factor authentication for the Apple Account, Location Services settings, and Find My.
Before traveling, open Settings > Face ID & Passcode (or Touch ID & Passcode), review Stolen Device Protection, and decide whether the normal location-aware behavior or the stronger “Always” security-delay setting matches your needs. Also confirm that Find My is enabled and that you know how to reach iCloud.com/find from another device.
Apple’s current stolen-device instructions say that if an iPhone is stolen, you can use iCloud.com/find to mark it as lost, and a verification code is not required to sign in to that specific Find Devices flow. Knowing this before a theft is much easier than trying to learn it during one.
On Android: review Theft Protection and Find Hub
Google’s current Android guidance includes Theft Protection features on supported devices and Android versions. The settings can include functions designed to lock the device in suspicious theft situations as well as Remote Lock. Google also recommends checking that the device is ready to be found through Find Hub, that the correct Google Account is signed in, and that location-related requirements are enabled where needed.
Because Android manufacturers can change menus and supported features, search Settings for “Theft protection,” “Find Hub,” or the equivalent terms provided by your manufacturer. Then use Google’s or the manufacturer’s official help page to confirm what is actually active on your model.
Security settings are easiest to fix before departure, while your trusted networks, recovery devices, and account documents are still available.
Reduce the Damage a Lost Phone Could Cause
Security is not only about preventing theft. It is also about reducing the value of the information a thief could reach.
Remove travel-irrelevant sensitive data
If a file does not need to travel with you, ask whether it belongs on the phone at all. Old tax documents, unencrypted identity scans, work exports, private client lists, database dumps, or sensitive photos may create unnecessary exposure. Move them to an appropriate protected storage location before departure if you do not need them on the trip.
Lock particularly sensitive apps where your platform supports it
Recent iPhone software supports locking selected apps with Face ID, Touch ID, or a passcode, and Apple’s current documentation explains how app locking can combine with Stolen Device Protection for stronger biometric requirements away from familiar locations. Android also offers security controls that vary by version and manufacturer. Banking, email, password-management, and cloud-storage apps deserve special attention because they can provide a path into many other accounts.
Review notification previews
A locked phone can still leak information through notifications. Consider hiding message contents and one-time codes on the lock screen. You still want useful alerts, but a stranger holding the device should not be able to read a bank code, password-reset email, hotel room message, or private conversation without unlocking it.
Know your IMEI, carrier contact route, and account details
If a phone is stolen, the carrier may ask for account information or device identifiers. Save the information you may need somewhere separate and secure. Do not publish it, and do not keep your only copy on the phone itself.
Download the Things You Will Need When the Network Fails
International travel creates small connection gaps even on a good plan. You may be underground, in a rural area, inside a concrete building, on an aircraft without Wi-Fi, in a crowded stadium, or waiting for a new eSIM to register. Offline preparation turns those gaps from emergencies into inconveniences.
Download offline maps for every important area
Google Maps allows users to download areas for offline navigation on supported devices and regions. Google notes important limitations: offline availability is not supported everywhere, and when offline, features such as live traffic and alternative routes are unavailable; on Android, public-transit, cycling, and walking directions may also be unavailable offline.
That means “I downloaded the city” is not the end of the task. Download the airport area, hotel neighborhood, any day-trip region, and the route to a major station or meeting location. Then test airplane mode at home and confirm that the map still opens.
On Google Maps, review the Offline maps section and enable automatic updates if that suits your storage and data preferences. Google says downloaded maps can expire and may be automatically updated when the device has Wi-Fi, so verify them shortly before departure rather than relying on a download from months earlier.
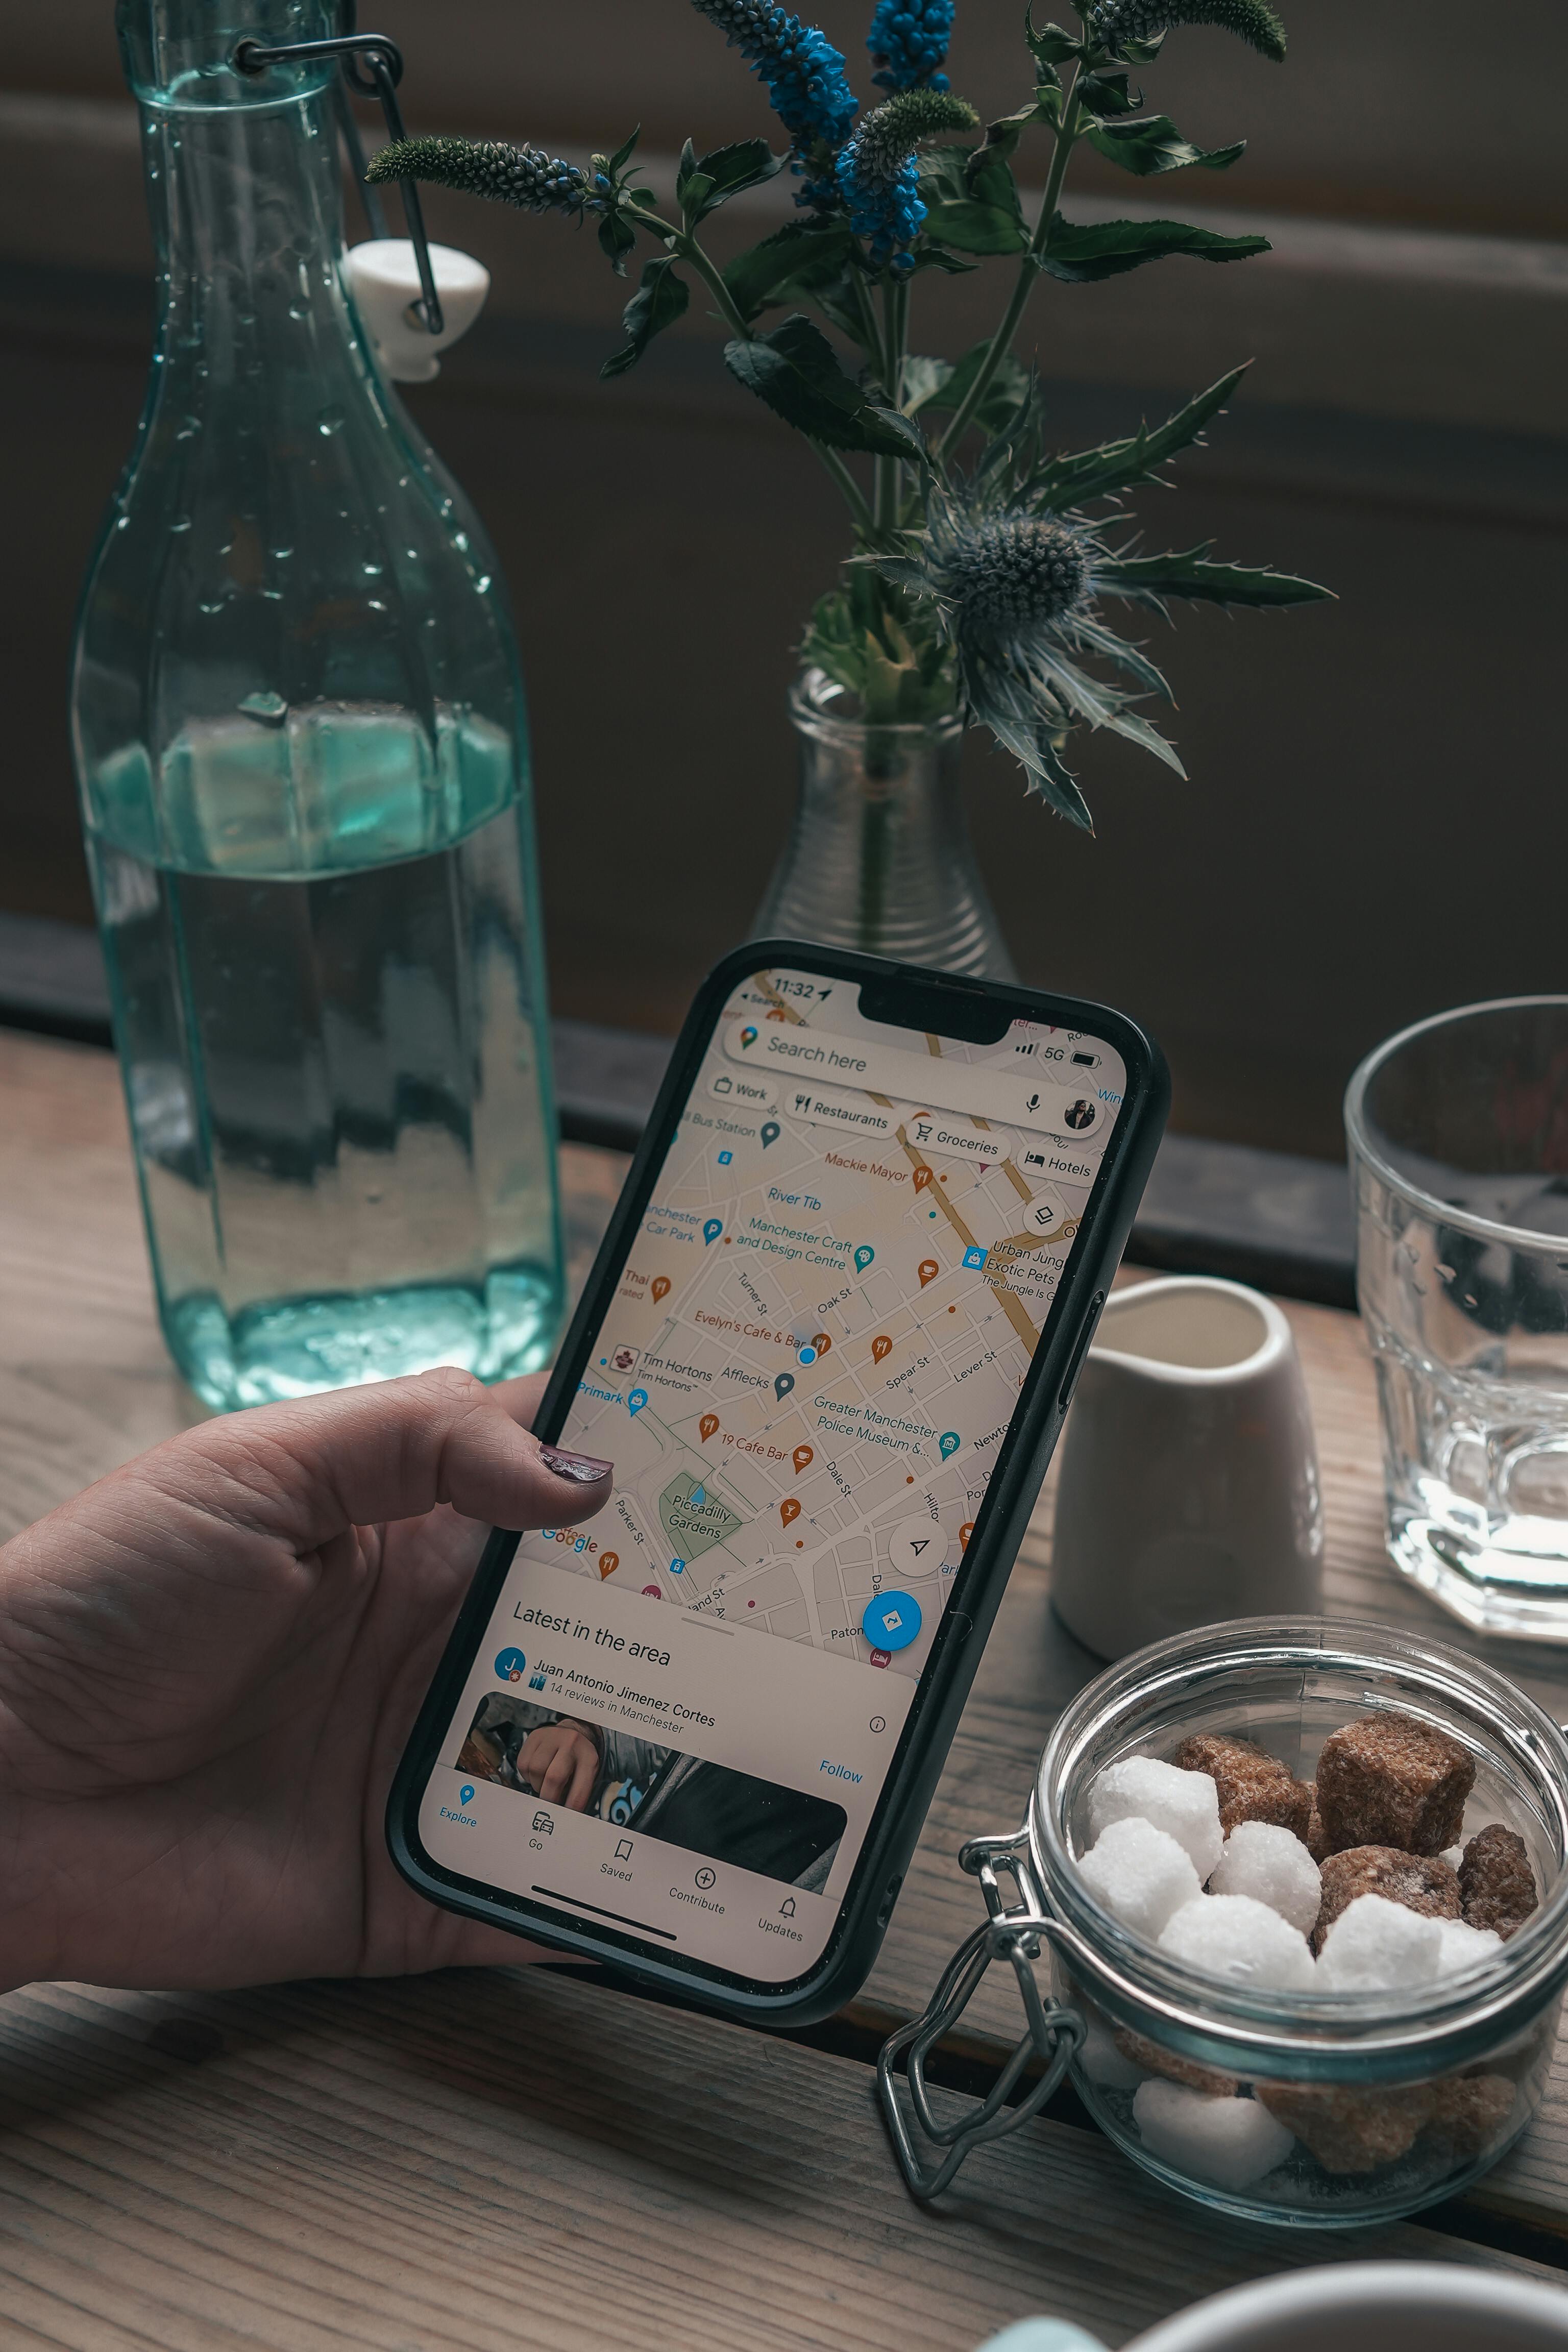
Test downloaded maps before leaving. A saved area is most useful when you already know its offline limitations.
Save addresses in a format a human can use
Do not store only a hotel pin. Save the written street address, property name, local-language spelling when useful, and a phone number. A taxi driver may need text rather than a map pin. A border officer may ask where you are staying. A second phone may not have your saved map account.
Keep the first night’s hotel address and at least one emergency contact on paper or in a separate bag. The State Department specifically recommends keeping backup communication information outside the primary phone.
Save tickets and reservations outside their original apps
Airline and rail apps can log you out, undergo maintenance, or require a fresh connection. Where the service allows it, add boarding passes to the phone’s wallet and also save a PDF or screenshot for offline reference. Do the same with hotel confirmation numbers, car-rental bookings, event tickets, and important transfer instructions.
Be sensible about screenshots. A screenshot containing a QR code or booking reference can be sensitive. Store it in the normal protected phone environment and remove unneeded travel documents after the trip.
Download translation resources
If you are visiting a place where you do not speak the primary language, download the language pack or offline features offered by your preferred translation app before departure. Then test a basic phrase with cellular data and Wi-Fi disabled. The State Department also recommends downloading and practicing with translation apps before travel.
Download entertainment intentionally
Streaming video and music can destroy a travel data allowance quickly. If you want entertainment on flights or trains, download it over home Wi-Fi before departure using the app’s legitimate offline feature. This also reduces battery drain from constant cellular streaming in weak-signal areas.
Prepare Your Authentication and Banking Access
Travel can trigger fraud-detection systems, new-device checks, IP-location changes, and extra authentication. You cannot eliminate all of these controls, and you should not try to bypass them. You can, however, make sure you have legitimate recovery methods.
Confirm the phone number attached to important accounts
If an account still depends on SMS verification, determine whether your home line can receive SMS while abroad and what it will cost. Some data-only travel eSIMs do not provide a phone number, which means they cannot replace a home line for ordinary carrier SMS.
Where an account supports an authenticator app, passkey, hardware key, or another stronger method, review the setup well before the trip. Do not make major security changes on departure day unless necessary; a mistake could lock you out when support is difficult to reach.
Carry a second payment method
A digital wallet is convenient, but it should not be the only way you can pay. A dead, stolen, or damaged phone should not strand you financially. Carry a separate physical card or another appropriate payment method and store it separately from the phone when practical.
Know how to reach financial institutions through official channels
Save official support numbers or secure-app contact methods before departure. Avoid searching for a bank’s phone number in a panic after a theft, because search ads and fake support listings can lead to impersonation scams. Use the number on the card, the official app, or a known official website.
Configure Mobile Data Before You Cross the Border
Once you know which line will supply data, configure the phone so that the decision is reflected in settings.
For iPhone with two lines
Apple’s current travel-eSIM guidance says you can choose the cellular-data line in Settings > Cellular > Cellular Data. If you keep a home line and a travel line active together, verify which one is selected for data and whether data switching is enabled. Apple also warns that keeping both lines active can still result in roaming fees from the home eSIM depending on your settings and carrier behavior.
If your home plan does not include roaming, Apple documents a Data Roaming control under Cellular Data Options. The safe configuration depends on your carrier package, so do not blindly turn options on or off. Match the phone settings to the plan you actually purchased.
For Android
Dual-SIM controls differ across Google Pixel, Samsung Galaxy, Motorola, OnePlus, and other devices. Usually you can choose a preferred SIM for mobile data, calls, and messages, but labels and auto-switching options vary. Use the device maker’s current documentation for your exact model and Android release.
Regardless of platform, label the lines clearly. “Home” and “Travel” are easier to understand at 2 a.m. in an airport than two carrier abbreviations that look almost identical.
Control Data Use So the Plan Lasts the Whole Trip
Many people overestimate how much data navigation and text messaging use and underestimate how much cloud photos, app updates, video, and hotspot use consume. Instead of obsessively switching mobile data off, control the high-volume background activities.
- Pause automatic operating-system and large app downloads over cellular.
- Consider pausing full-resolution cloud photo and video uploads until Wi-Fi, especially after a day of heavy camera use.
- Download podcasts, playlists, movies, maps, and documents before the trip.
- Disable cellular access for apps that have no reason to use travel data.
- Use low-data modes offered by the operating system or individual apps when appropriate.
- Watch hotspot use; a laptop can consume far more background data than a phone.
- Check the provider’s own usage meter because the phone’s counter and the carrier billing cycle may not match exactly.
Do not sacrifice essential security updates merely to save a tiny amount of data. The better approach is to install updates before the trip, then keep normal security protections active.
Prepare Power, Charging, and Battery Rules for the Flight
A perfectly configured phone is useless at zero percent battery. International travel often means longer screen time, weaker cellular signals, more camera use, navigation, and repeated QR-code scans. Prepare for that load.
Bring the correct plug adapter
A plug adapter changes the shape of the plug; it does not necessarily convert voltage. Most modern phone chargers are designed for a broad input-voltage range, but check the printed electrical input on your own charger. Do not assume that every hair dryer, travel kettle, or other device behaves like a phone charger.
Use reputable chargers and cables
Bring at least one cable that you have tested. A spare short cable takes little space and can save the trip if the primary cable fails. If you use USB-C for several devices, check the power requirements so one charger can safely cover the phone, tablet, and laptop if appropriate.
Know the current rules for power banks
The U.S. Federal Aviation Administration states that spare lithium batteries, including power banks and portable chargers, must be carried in carry-on baggage rather than checked baggage. The FAA currently allows most rechargeable batteries from 0 to 100 watt-hours on passenger aircraft, while batteries from 101 to 160 Wh generally require airline approval and larger batteries are prohibited; individual airlines and international rules can be stricter.
If your carry-on bag is gate-checked, remove the power bank and other spare lithium batteries first. Protect batteries from damage and short circuits, and check your airline’s own rule before departure. A damaged, swollen, overheating, or recalled battery should not be treated as normal travel equipment.
Pack charging equipment deliberately, and keep power banks in carry-on baggage in line with airline safety rules.
Create an Arrival Routine Before You Land
The first thirty minutes after landing are when configuration mistakes become obvious. You may be tired, navigating immigration, collecting luggage, and trying to contact a driver. A short routine prevents random toggling of cellular settings.
- Keep airplane mode on until you are ready to configure service. If your eSIM provider gave specific activation instructions, follow them before experimenting.
- Turn on the intended travel line. Confirm that the correct line is selected for cellular data.
- Check roaming only on the line that requires it. Many travel eSIMs technically roam on partner networks, so they may need Data Roaming enabled even though your home line should remain disabled. Follow the provider’s written setup instructions.
- Wait for network registration. Give the device time to connect before repeatedly restarting or deleting the eSIM.
- Test a low-risk task. Open a lightweight webpage, send a message, or refresh the map.
- Verify the home line’s behavior. If you need SMS on the home number, confirm it works without accidentally assigning cellular data to that line.
- Check the local time. Apple recommends automatic date and time as one troubleshooting step for roaming problems. Accurate time also matters for authentication codes and travel schedules.
If the phone shows no service
Do not immediately delete the eSIM. First check that the plan is active, the correct line is turned on, the destination is covered, and the provider’s roaming setting is correct. Toggle airplane mode, allow the phone to reselect a network, and review the provider’s troubleshooting page. If necessary, use trusted Wi-Fi to contact support.
Deleting an eSIM can make the problem worse if the provider does not allow unlimited reinstallations. Treat removal as a later troubleshooting step, not the first one.
Use Public Wi-Fi as a Convenience, Not a Trust Signal
Hotels, airports, cafés, trains, and conference venues may provide useful Wi-Fi, but the network name alone does not prove who operates it. The State Department warns travelers to exercise caution with Wi-Fi because it may not be secure and could put personal information at risk.
Confirm the network name
Ask staff or read an official sign instead of connecting to the strongest network with the right-looking name. An attacker can create a hotspot called something like “Airport Free WiFi.”
Prefer encrypted websites and apps
Modern apps and HTTPS websites encrypt traffic in transit, but you should still be cautious on untrusted networks. Do not ignore browser certificate warnings. A certificate warning during a bank login is a reason to stop, not click through.
Avoid sensitive account recovery on a network you do not trust
If you can use your own cellular data for banking, password resets, identity verification, or business administration, that may reduce dependence on a shared public network. If your organization requires a trusted VPN for work, configure and test it before travel rather than installing an unknown “free VPN” after arrival.
Turn off auto-join for networks you no longer need
After leaving a hotel or venue, forget the network or disable automatic joining if you do not want the phone reconnecting later. This also reduces clutter from dozens of old travel networks.
Prepare for Border, Business, and High-Risk Travel Separately
Most leisure travelers need ordinary theft protection and privacy hygiene. Journalists, activists, government employees, executives carrying confidential data, researchers, or employees traveling to high-risk locations may need a stricter device policy established by their organization.
If your employer has a travel-security program, follow it. That can include using a temporary travel device, minimizing locally stored data, avoiding certain accounts, applying mobile-device management, or following country-specific communication rules. Do not improvise around corporate security controls merely for convenience.
The goal is proportionality. A family vacation does not require an intelligence-agency threat model. A trip involving confidential corporate systems should not be treated like a casual weekend away.
Make a Lost-or-Stolen Phone Plan You Can Execute From Another Device
A recovery plan should fit on one page. You want to know what to do while stressed, not search the internet for a dozen disconnected instructions.
Step 1: Try to locate the device safely
Use Apple’s Find My or Google’s Find Hub from a trusted device. If the map suggests the phone is in a place that may be unsafe, do not confront a suspected thief. Use local authorities or appropriate venue security.
Step 2: Lock or mark the phone as lost
Apple recommends marking a stolen iPhone or iPad as lost through iCloud.com/find. Google provides options to secure supported Android devices through its device-finding services and Theft Protection features. Use the platform’s official process.
Step 3: Contact the mobile carrier
Ask the carrier to protect the line and explain what it can do about the SIM or eSIM. If you depend on the number for account recovery, understand the replacement process before making irreversible changes.
Step 4: Protect high-value accounts
If you believe the thief had access to an unlocked device, knew the passcode, or may have reached email or a password manager, prioritize the accounts that can reset everything else: primary email, Apple or Google account, password manager, financial accounts, and work identity. Use another trusted device.
Step 5: Decide whether remote erase is necessary
Remote erase can protect data but may affect your ability to track or recover the device depending on platform and circumstances. Read the current official instructions before erasing. If you have theft-and-loss insurance, also check the claim requirements. Apple, for example, says eligible theft-and-loss claims require Find My to remain enabled during the claim process.
Step 6: Report theft when appropriate
A police report may be required for insurance, carrier procedures, or official records. Save the report number and relevant device identifiers. Do not include more sensitive account information than necessary.
Prepare a Backup Communication Method
Your backup does not need to be another expensive smartphone. It can be a combination of small redundancies.
- A printed list with key contacts, hotel address, airline number, and local emergency number.
- A secondary payment card stored separately.
- A trusted person’s number memorized or written down.
- A tablet or laptop that can access your email account securely.
- A spare phone for longer or higher-risk trips, if that fits your situation.
- A copy of essential itinerary information accessible from another device.
Learn the emergency number for the destination. Do not assume every country uses 911. The State Department explicitly recommends knowing the local emergency number before arrival.
Use the Phone More Safely During the Trip
Keep the phone physically controlled in crowded places
Pickpocketing and grab-and-run theft are easier when the phone is left on a café table or held loosely near a street. In crowded transit stations, markets, festivals, and nightlife districts, use the phone deliberately and put it away when you do not need it.
Do not hand an unlocked phone to strangers unnecessarily
If someone needs to read an address, show the relevant screen while keeping control of the device. If a hotel or official process legitimately requires the phone, stay attentive to what is being done.
Be cautious with QR codes
QR codes are common in restaurants, transit systems, museums, and payment flows. They can also direct you to phishing sites. Check the domain before entering credentials or payment information, especially if a sticker appears to have been placed over an original code.
Watch battery temperature
Navigation on maximum brightness, fast charging, direct sunlight, and a hot car can raise device temperature. If the phone displays a temperature warning, follow the manufacturer’s instructions and let it cool naturally. Do not place a hot phone in a freezer or expose it to condensation.
Keep Photos Safe Without Burning Through Mobile Data
Travel photos are often the most irreplaceable data created during a trip. Decide how you will back them up.
If you have generous data, automatic cloud backup may be appropriate. With a small travel plan, set photo uploads to Wi-Fi or perform a deliberate backup each evening on a trusted network. Confirm that “backup complete” actually appears before deleting images or resetting anything.
For photographers using a separate camera, consider a second copy on a laptop, portable drive, or cloud service according to your workflow. The classic backup principle still applies: one copy on one device is not a backup.
Returning Home: Do Not Leave Travel Settings Running Forever
Travel preparation has an ending. When you return, clean up temporary settings and plans so they do not create later confusion.
- Confirm that the home cellular line is active and selected for data.
- Turn off or remove the travel eSIM only after you are sure you no longer need it.
- Check whether the travel plan renews automatically and cancel recurring service if you do not want it.
- Review mobile-data usage and the next carrier bill for unexpected roaming charges.
- Remove expired tickets and unnecessary travel documents.
- Forget public Wi-Fi networks you do not want to rejoin.
- Run app and operating-system updates that you postponed during the trip.
- Confirm that photos and other new data are backed up.
- Review account security if the phone was ever out of your control.
Apple’s current iOS travel-eSIM behavior can automatically turn off a travel eSIM and restore the home line in some situations when you return, depending on country and region, but you should still verify the final settings yourself. Automation is convenient; verification is safer.
A Practical 30-Minute Preflight Smartphone Checklist
If you have already done the deeper preparation, use this checklist on the day before departure.
- Phone operating system and essential apps are current.
- Device backup has completed and you know how to access the account from another device.
- Find My or Find Hub is enabled and tested conceptually.
- Strong screen lock and biometrics are active.
- iPhone Stolen Device Protection or Android Theft Protection features have been reviewed where supported.
- Travel eSIM is installed if the provider recommends pre-installation.
- Home and travel lines are clearly labeled.
- You know which line will provide cellular data.
- Roaming settings match the carrier or eSIM provider’s instructions.
- Offline maps for the airport, hotel, and key destinations are downloaded.
- Boarding passes, reservations, and first-night hotel details are available offline.
- Translation resources are downloaded if needed.
- Emergency numbers and important contacts exist outside the phone.
- Authenticator and account-recovery methods do not depend entirely on the travel phone.
- Charger, plug adapter, and tested cables are packed.
- Power bank is within airline rules and packed in carry-on baggage.
- A second payment method is stored separately.
- You know what you will do if the phone is lost or stolen.
Common Mistakes That Create Avoidable Travel Problems
Mistake: Buying an eSIM without checking whether the phone is unlocked
A compatible eSIM phone can still be restricted to its original carrier. Verify the lock status before paying for a plan.
Mistake: Assuming a data-only eSIM replaces the home phone number
Many travel eSIMs provide data only. If you need ordinary SMS or calls on your home number, plan for that separately.
Mistake: Leaving data switching on without understanding it
Automatic switching can be useful, but on an international trip it can also move data to a more expensive line. Know what the setting does before enabling it.
Mistake: Downloading maps but not testing them offline
A traveler can discover too late that the wrong city area was saved, the route crosses outside the download, or a transit mode is unavailable offline. Test airplane mode at home.
Mistake: Keeping all recovery information on the same phone
If the phone is the password manager, authenticator, email inbox, recovery-code folder, and only trusted device, losing it becomes much harder to recover from.
Mistake: Storing the power bank in checked baggage
FAA guidance requires spare lithium batteries and power banks to travel in carry-on baggage, and airlines may impose additional restrictions. Check the current rule for your airline and route.
Mistake: Connecting to any network named “Free Wi-Fi”
A familiar-looking network name is not proof of legitimacy. Confirm it with the venue and avoid sensitive activity when you do not trust the connection.
Mistake: Deleting a malfunctioning eSIM too quickly
Some eSIM providers limit reinstallations. Troubleshoot the line, network selection, roaming requirement, and activation status before deleting the profile.
Mistake: Treating battery percentage as the only power problem
A weak cable, wrong plug adapter, overheating device, or power bank packed in the wrong bag can matter more than starting the day at 100 percent.
Frequently Asked Questions
Should I turn off my home SIM when using a travel eSIM?
Not necessarily. Many travelers keep the home line on so they can receive calls or SMS while using the travel eSIM for data. The correct configuration depends on the home carrier’s roaming charges and the phone’s dual-SIM behavior. If you keep the home line active, make sure you understand its voice, SMS, and data-roaming costs.
Do I need Data Roaming turned on for a travel eSIM?
Often, yes, because many travel eSIM providers connect through roaming agreements with local networks. But this is provider-specific. Follow the eSIM provider’s instructions for the travel line and do not assume the home line should use the same setting.
Can I install an eSIM before I leave?
Many providers allow or recommend pre-installation, which gives you time to fix setup issues while you still have reliable home internet. However, activation and plan-validity rules differ. Check whether validity begins at installation, activation, or first connection to a destination network.
Will WhatsApp, iMessage, or other messaging apps still work if I change SIMs?
Internet-based messaging apps can usually continue working over the new data connection, but account behavior varies. Some apps are associated with a phone number and may ask about number changes. Do not change the registered number unless you actually intend to migrate the account. Review the app’s official guidance before making changes.
How much data do I need for a trip?
There is no single correct amount. Navigation, email, text messaging, and light browsing can fit into a modest allowance, while video, hotspot use, high-resolution uploads, and social-media streaming can use many times more. Check your normal phone’s recent cellular-data statistics and adjust for the number of travel days.
Is public airport Wi-Fi safe?
It can be useful, but treat it as an untrusted shared network unless you have good reason to trust the operator. Confirm the network name, use encrypted apps and websites, avoid certificate warnings, and prefer cellular data for highly sensitive tasks when practical.
Should I carry a second phone?
For an ordinary short trip, a printed contact list, separate payment method, and another way to access email may be enough. A spare phone becomes more attractive for long trips, business travel, remote areas, or situations where losing the primary device would cause a major operational problem.
Can a power bank go in checked luggage?
Under current FAA rules, spare lithium batteries, including power banks and portable chargers, must be carried in carry-on baggage and cannot be checked. Airline and international requirements can be stricter, so verify the rules for your specific itinerary.
What should I do first if my phone is stolen abroad?
Use the platform’s official device-finding service from another trusted device, mark or lock the phone as lost, contact your carrier, and protect critical accounts if you think the thief could access them. Avoid confronting a suspected thief yourself. If needed, make a local police report and contact your insurer according to its requirements.
Final Takeaway
The best travel-phone setup is not the one with the most apps. It is the one that still works when one thing fails. Your data plan should have a clear purpose. Your maps and reservations should survive a connection outage. Your accounts should remain recoverable if the device disappears. Your battery plan should survive a long day. Your home line should not generate surprise charges simply because you forgot which SIM was supplying data.
Start with connectivity, then secure the device, back it up, make essential information available offline, and create a recovery path that does not depend on the same phone. The single most useful test is simple: switch on airplane mode at home and ask, “Could I still reach my hotel, prove my reservation, find an emergency number, and begin recovering my accounts if this phone stopped working?” Any answer that is “no” identifies the next preparation step.
Sources and Further Reading
- Apple Support: Use eSIM while traveling internationally with your iPhone
- Apple Support: About cellular data roaming options for iPhone and iPad
- Apple Support: About Stolen Device Protection for iPhone
- Google Maps Help: Download areas and navigate offline
- Android Help: Back up or restore data on your Android device
- Android Help: Protect your personal data against theft
- Android Help: Be ready to find a lost Android device
- U.S. Department of State: Communicating While Abroad
- Federal Aviation Administration: Airline Passengers and Batteries