

How to Perform a DIY Home Energy Audit and Cut Your Utility Bills
 A home energy audit starts by looking at the entire building as one connected system. Photo by Max Vakhtbovych via Pexels.
A home energy audit is a structured investigation of where your home uses energy, where it loses conditioned air, which systems are working harder than necessary, and which improvements are likely to produce the greatest combination of comfort, safety, and savings. It is not simply a hunt for old light bulbs. A useful audit connects your utility bills with the building envelope, insulation, air leakage, heating and cooling equipment, ductwork, water heating, appliances, ventilation, moisture, and daily habits.
The U.S. Department of Energy describes an energy evaluation as a practical first step for identifying specific efficiency measures. A professional assessment may use an infrared camera, blower door, combustion-safety equipment, and other diagnostic tools. A careful homeowner cannot reproduce every professional test, but can complete a valuable first-pass audit that identifies obvious waste, establishes a baseline, prevents random spending, and reveals when a qualified professional is needed.
This guide follows a WikiHow-style process: prepare, inspect, document, compare, prioritize, act, and verify. It is designed for homeowners and long-term renters who want a useful plan rather than a list of disconnected tips. The goal is not to promise a fixed percentage of savings. Actual results depend on climate, energy prices, home size, equipment, construction, occupancy, existing problems, and the quality of the repair. ENERGY STAR estimates that typical homes may save an average of about 15% on heating and cooling costs, or about 11% on total energy costs, by combining cost-effective air sealing with insulation in key areas. That is a modeled average, not a guarantee for every house.
Important safety note: Do not disturb suspected asbestos-containing material, vermiculite insulation, mold, damaged wiring, fuel-burning equipment, refrigerant lines, or structurally unsafe areas. Do not enter an attic or crawl space that lacks secure access, adequate walking surfaces, safe temperatures, and proper protective equipment. When in doubt, stop and hire the appropriate licensed professional.
Part 1: Understand What a DIY Energy Audit Can and Cannot Do
1. Treat the house as one system
Energy problems often interact. An oversized air conditioner can short-cycle and fail to control humidity. Leaky return ducts can pull hot attic air into the system. Heavy attic insulation can still underperform when air leaks bypass it. New windows may not solve discomfort caused by unsealed rim joists, disconnected ducts, or inadequate shading. A tightly sealed house may require better mechanical ventilation. This is why the audit should follow the path of heat, air, moisture, and energy instead of focusing on a single product.
Think of the home as five connected layers:
- The exterior shell: roof, walls, windows, doors, foundation, and penetrations.
- The air barrier: materials and seals that limit uncontrolled airflow.
- The thermal barrier: insulation that slows heat flow.
- Mechanical systems: heating, cooling, ventilation, water heating, and distribution.
- Occupant use: thermostat settings, schedules, appliances, hot-water habits, and plug loads.
Your audit should produce evidence for each layer. A cold bedroom is a symptom, not a diagnosis. The cause may be a closed register, crushed duct, insufficient insulation, air leakage, solar exposure, pressure imbalance, or a heating system that was never balanced correctly.
2. Know when a professional assessment is worth paying for
A professional home performance assessment becomes especially valuable when bills are unusually high, comfort problems persist after basic maintenance, combustion appliances are present, moisture or mold is visible, major insulation or HVAC work is planned, or you are considering an expensive upgrade such as a heat pump, window replacement, or solar installation. ENERGY STAR describes a comprehensive assessment as including an occupant interview, bill review, visual evaluation, safety checks, diagnostic testing, and prioritized recommendations.
Ask prospective auditors whether they use a blower door, infrared imaging under suitable conditions, duct leakage testing, combustion-safety testing, and a written prioritization method. Ask whether the auditor also sells the recommended work. Selling services is not automatically a problem, but you should understand the incentive and obtain competing bids for large projects.
3. Do not confuse energy savings with financial payback
A measure can save energy but still have a long financial payback. Replacing functional windows solely for energy savings may be less cost-effective than air sealing, insulation, duct repair, shading, or HVAC maintenance. On the other hand, windows may still be justified for comfort, noise, damage, security, condensation, or a planned renovation.
Use at least four decision criteria:
- Safety: Does the measure reduce fire, electrical, moisture, combustion, or health risk?
- Comfort: Does it solve drafts, hot rooms, cold floors, humidity, or noise?
- Energy impact: How much of the home’s energy use does the affected system represent?
- Cost and lifespan: What is the installed cost, maintenance burden, and useful life?
Part 2: Gather the Information and Tools
4. Collect at least 12 months of utility bills
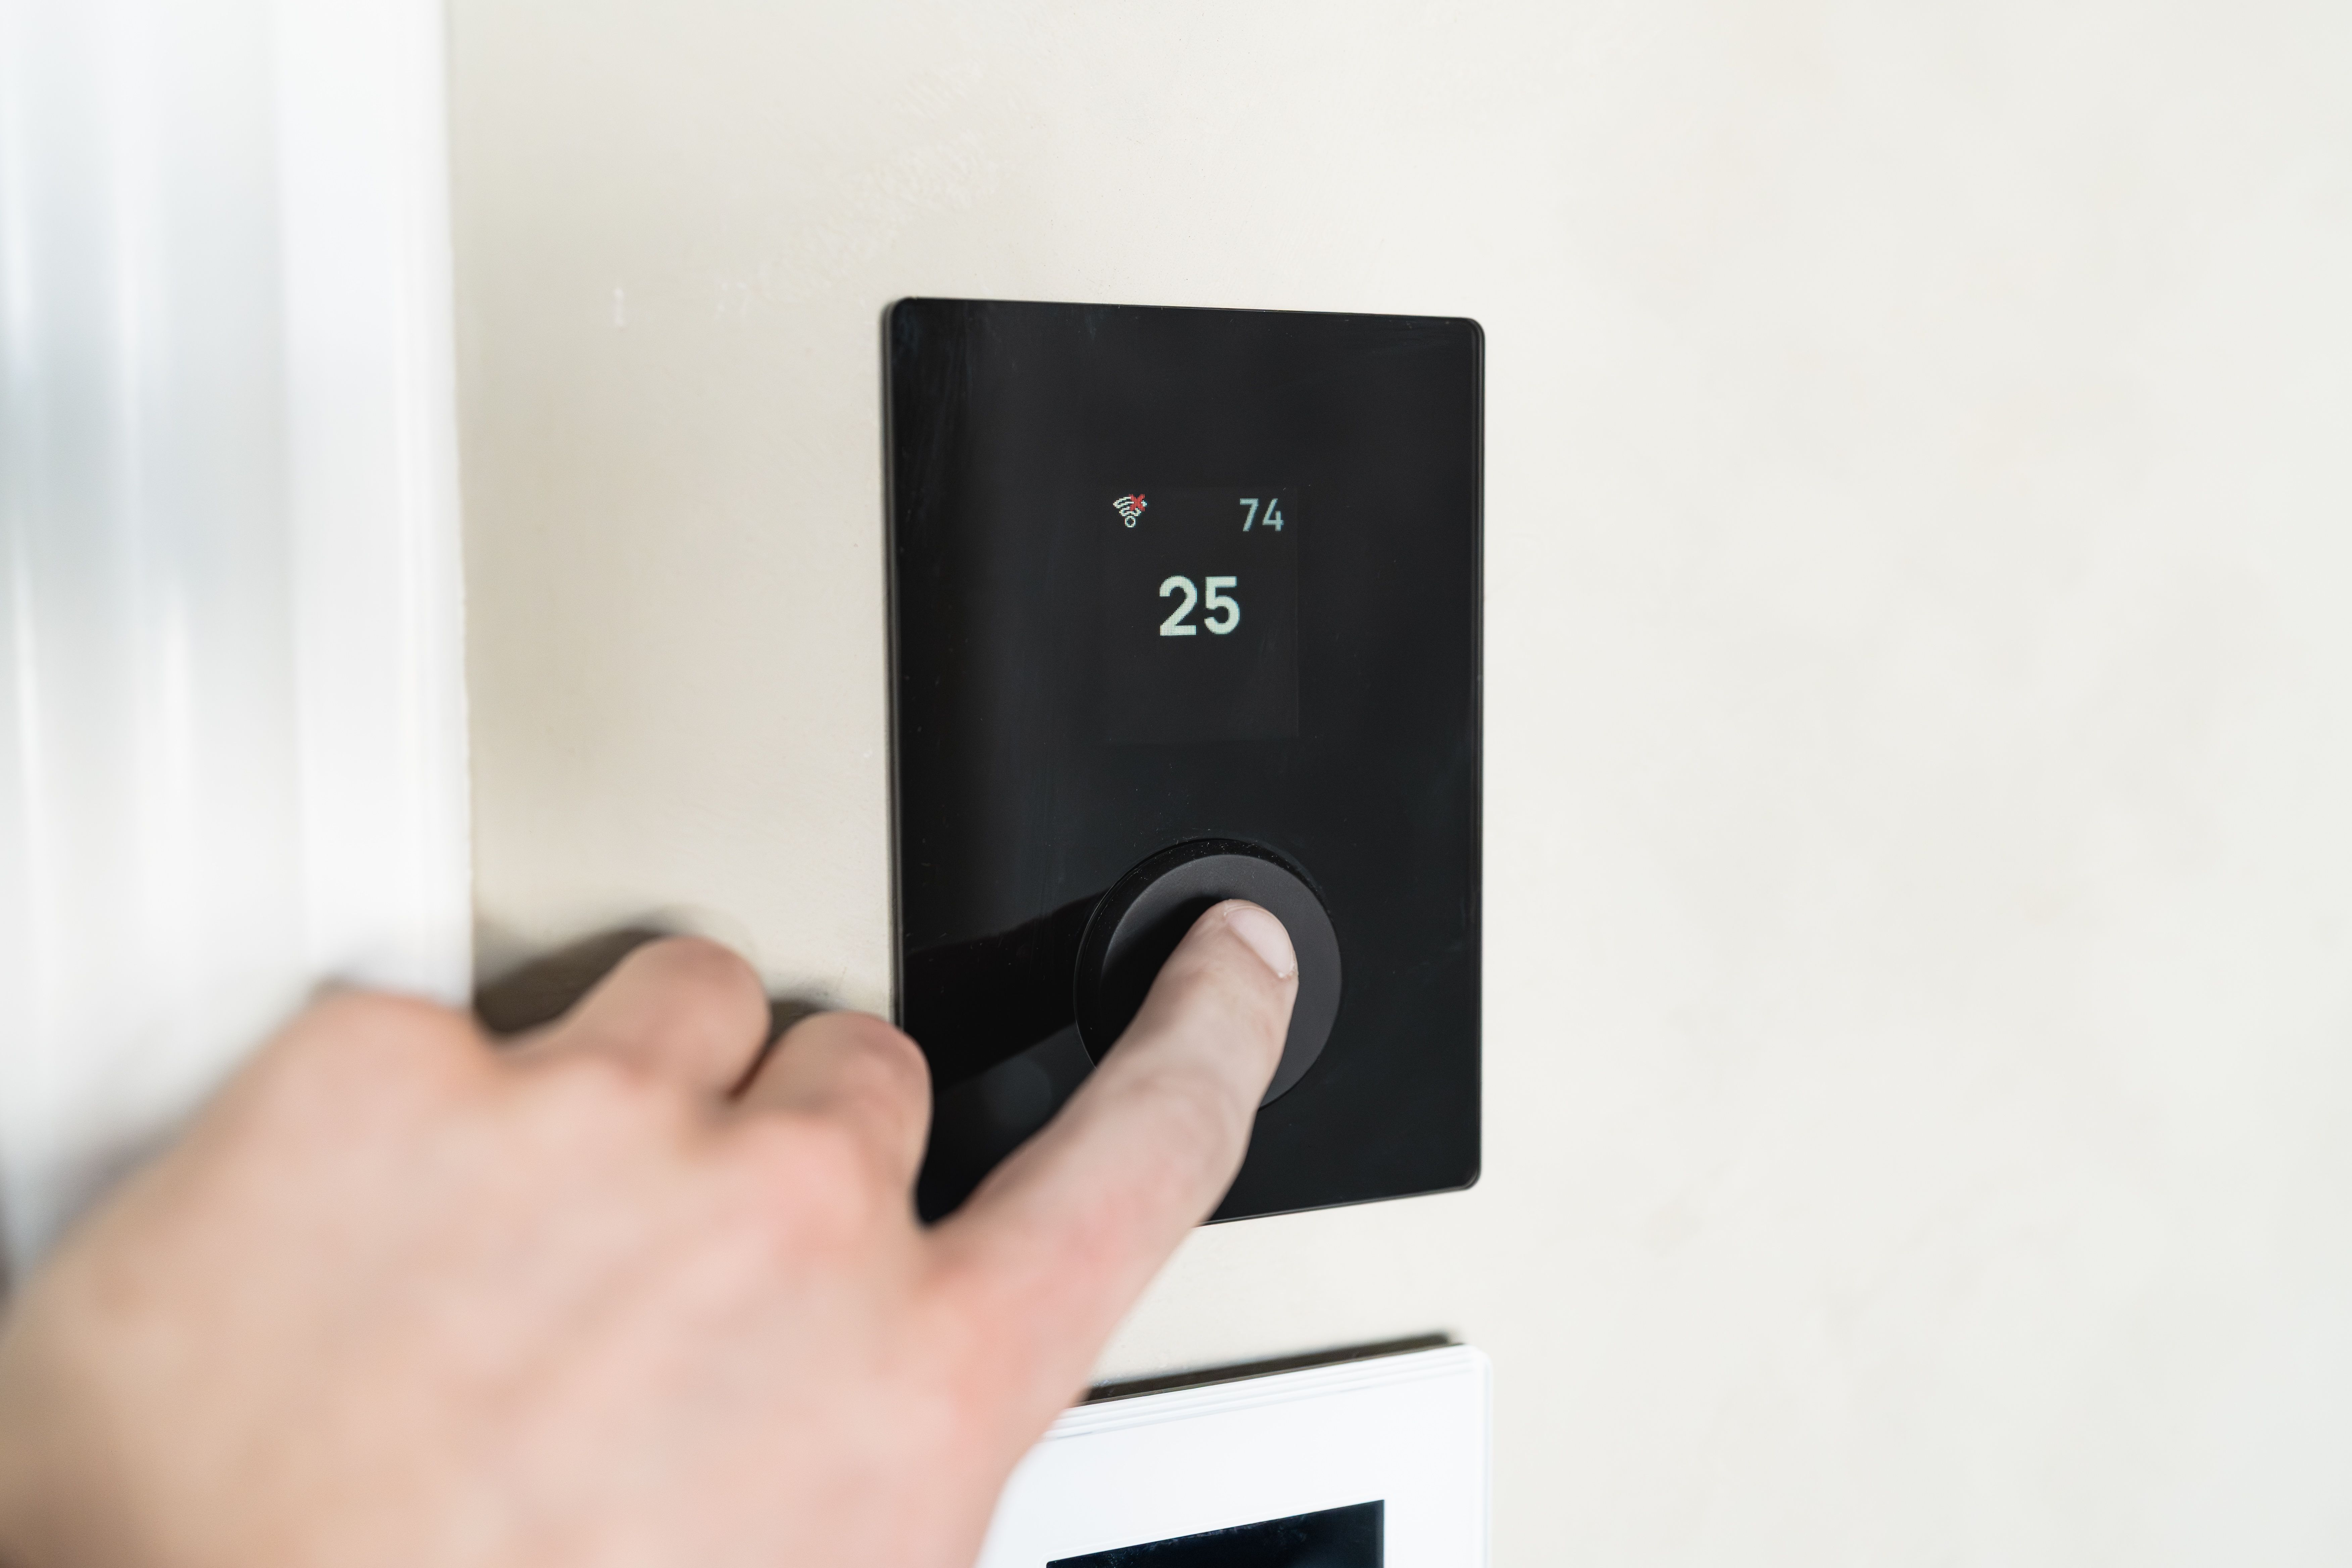 Thermostat schedules should be compared with actual occupancy and utility use. Photo by HUUM sauna heaters via Pexels.
Download electricity, gas, oil, propane, district-energy, and water bills where applicable. Record both consumption and cost. Prices can change, so cost alone does not show whether usage improved. Use kilowatt-hours, therms, cubic meters, gallons, or the unit shown by the supplier.
Create a simple table with:
- Billing start and end dates.
- Number of billing days.
- Total energy consumed.
- Total amount charged.
- Average outdoor temperature if available.
- Major household changes, such as guests, remote work, a new appliance, vacancy, or construction.
Compare the same season across different years rather than comparing January with May. Divide consumption by billing days to create a daily average. Note estimated meter readings, catch-up bills, rate-plan changes, and unusually severe weather. If your utility offers interval data, inspect hourly or daily use. A high overnight baseline may indicate continuous loads such as electric water heating, pool equipment, dehumidification, server equipment, heat tape, a malfunctioning appliance, or HVAC operation.
5. Prepare a low-cost audit kit
You do not need expensive instruments for a first inspection. Assemble:
- Flashlight or headlamp.
- Clipboard, phone, or tablet for notes.
- Camera for wide shots and close-ups.
- Painter’s tape and marker for temporary labels.
- Tape measure.
- Non-contact infrared thermometer for surface comparisons.
- Hygrometer for indoor temperature and relative humidity.
- Plug-in electricity meter for compatible appliances.
- Incense stick or smoke pencil only where safe and permitted.
- Protective gloves, eye protection, dust protection, and suitable clothing.
An inexpensive infrared thermometer reads surface temperature at a spot; it does not see through walls. A thermal camera can be more useful, but images are easily misinterpreted. Reflective surfaces, solar heating, wind, recent HVAC operation, moisture, and small temperature differences can create misleading patterns. Use thermal observations as clues that need confirmation, not as proof of missing insulation.
6. Make a floor-by-floor problem map
Sketch the home and mark rooms that are too hot, too cold, humid, drafty, noisy, or slow to reach the thermostat setting. Add locations of supply registers, return grilles, exhaust fans, fuel-burning appliances, attic hatches, crawl-space access, exterior doors, large windows, plumbing chases, recessed lights, and additions.
Interview everyone who lives in the home. One person may know that a bedroom is uncomfortable only in the afternoon, another may notice condensation after showers, and someone else may have blocked a register because of noise. These details help connect symptoms to causes.
Part 3: Inspect the Building Exterior
7. Walk around the home in daylight
Start outside before entering the attic or mechanical room. Look for gaps, cracks, damaged cladding, failed sealant, open utility penetrations, missing weatherstripping, unsealed pipe entries, detached vents, and deteriorated roof or foundation areas. Pay attention to where different materials meet because transitions are common leakage points.
Inspect:
- Window and door perimeters.
- Hose bibs, electrical service, cable, telephone, and heat-pump lines.
- Dryer, bath, kitchen, and combustion vents.
- Foundation-to-wall transitions.
- Attached garages and shared walls.
- Porches, cantilevers, bay windows, and additions.
- Roof-to-wall joints and visible flashing.
Do not seal intentional drainage or ventilation openings. Weep holes in masonry and windows, roof vents, combustion-air openings, and certain siding gaps perform important functions. When you cannot identify an opening, photograph it and ask a qualified contractor before filling it.
8. Evaluate sun exposure and shading
Mark which windows receive strong morning, afternoon, and late-day sun. West-facing glass can create severe afternoon cooling loads in warm climates. Exterior shading, awnings, solar screens, shutters, vegetation, roof overhangs, and appropriate window coverings may reduce heat gain more effectively than lowering the thermostat.
In cold climates, winter solar gain can be helpful while summer overheating remains a problem. The correct strategy depends on orientation, season, climate, glazing type, and whether the shade blocks desired daylight. Avoid planting large trees where roots or branches threaten the structure, utilities, or solar access.
Part 4: Inspect the Attic and Insulation Safely
9. Check whether the attic is safe to enter
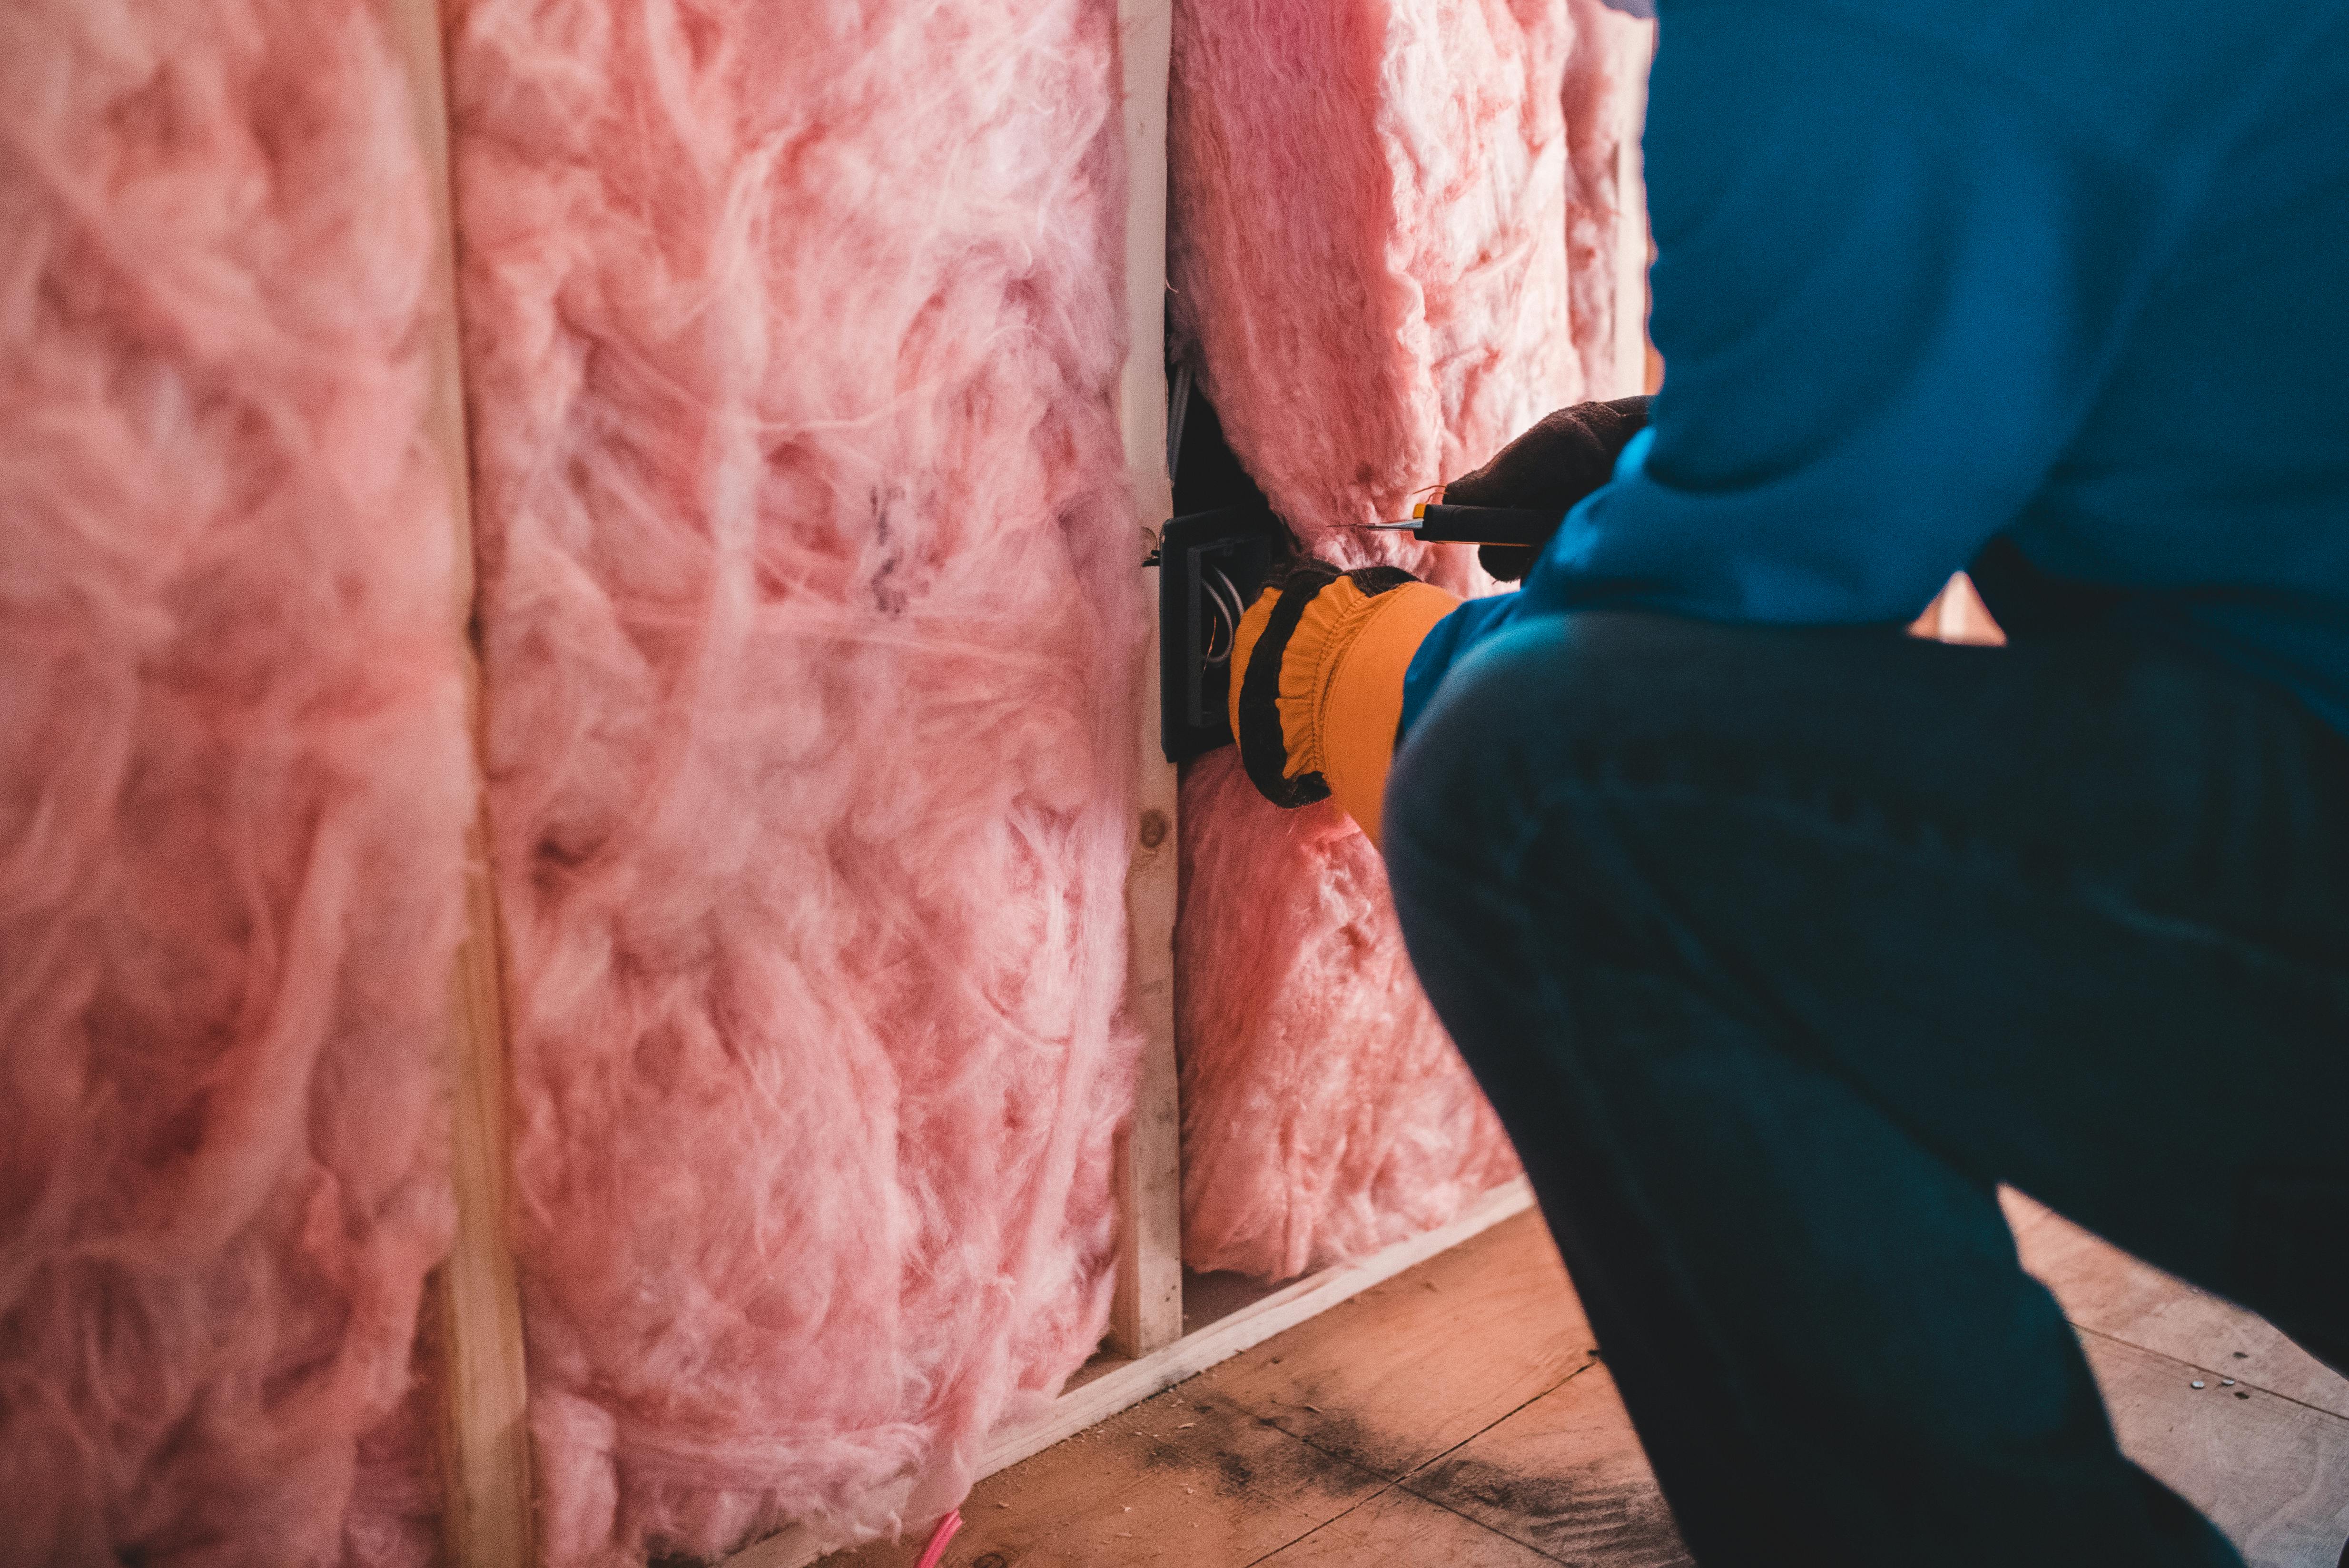 Insulation must be continuous, correctly placed, and supported by an effective air barrier. Photo by Erik Mclean via Pexels.
Before entering, look for safe access, secure flooring or visible joists, adequate headroom, moderate temperature, and absence of exposed electrical hazards. Never step on drywall. In hot weather, attic temperatures can become dangerous. Take a second person, tell someone where you are, use lighting, and avoid working alone around fragile ceilings.
Do not disturb vermiculite insulation. ENERGY STAR warns that some attic vermiculite may contain asbestos and should not be disturbed unless properly tested. Also stop if you see suspected asbestos pipe insulation, extensive mold, animal contamination, active leaks, charred wiring, or structural damage.
10. Identify the insulation type and condition
Common insulation types include fiberglass batts, loose-fill fiberglass, cellulose, mineral wool, rigid foam, and spray foam. Record approximate depth, location, compression, gaps, settling, water damage, wind washing, pest damage, and areas where insulation has been moved.
Insulation works by resisting heat flow, but gaps and compression reduce performance. A batt stuffed around wiring or plumbing may leave voids. Loose-fill insulation can settle or be displaced near soffit vents. Insulation placed over a large ceiling opening does not stop air from flowing through the opening; the air barrier must be sealed first.
Look for:
- Bare attic-floor areas.
- Darkened insulation that may indicate air movement filtering dust.
- Water stains or damp material.
- Uninsulated attic hatches.
- Open wall cavities and dropped soffits.
- Bath fans exhausting into the attic.
- Disconnected or poorly insulated ducts.
- Recessed lights and flues requiring special clearance.
Do not place ordinary foam, insulation, or combustible materials against chimneys, metal flues, or heat-producing fixtures. Fire-blocking details and clearance requirements depend on the assembly. This is a professional task when the correct method is uncertain.
11. Inspect the attic hatch
Attic hatches and pull-down stairs are often weak points because they interrupt both the air and thermal barriers. Check for weatherstripping, latches that compress the seal, insulation attached to the hatch, and gaps around the frame. A lightweight hatch that does not close tightly may leak significantly even when the surrounding ceiling is well insulated.
Photograph the condition and measure the opening. A simple insulated cover or properly weatherstripped hatch can be a high-value project, but it must preserve safe operation and required clearances.
Part 5: Find Air Leaks Without Damaging the Home
12. Inspect the most likely leakage paths
Many homeowners start with windows, but large leaks are often hidden around plumbing penetrations, attic bypasses, chimneys, recessed fixtures, duct chases, rim joists, garage connections, and unfinished spaces. The Department of Energy notes that many small invisible openings can collectively equal a much larger opening.
Check these interior locations:
- Baseboards on exterior walls.
- Window and exterior-door trim.
- Electrical outlets and switches on exterior walls.
- Pipe penetrations under sinks.
- Fireplace dampers and surrounds.
- Whole-house fans and attic hatches.
- Built-in cabinets against exterior walls.
- Connections between additions and the original structure.
- Basement rim joists and sill plates.
- Shared walls or ceilings next to garages.
13. Use smoke carefully
On a cool, windy day, turn off local fans and keep combustion safety in mind. Hold a smoke pencil near a suspected gap and watch for movement. Do not use an open flame. Do not depressurize a home with fuel-burning appliances unless a professional is conducting appropriate combustion-safety tests.
Smoke movement is influenced by wind, stack effect, exhaust fans, open doors, and the HVAC system. Record the conditions and repeat suspicious tests. A professional blower-door test is more systematic because it creates a controlled pressure difference and measures total leakage.
14. Prioritize large and connected leaks
Not every hairline crack deserves immediate attention. Prioritize leaks that connect conditioned space directly to an attic, crawl space, garage, outdoors, or a large wall cavity. Focus on continuous air-barrier repairs rather than cosmetic caulk applied to random surfaces.
 Use the correct sealant for the material, movement, exposure, and gap size. Photo by Erik Mclean via Pexels.
For small stationary gaps, compatible caulk may be appropriate. For moving components such as doors and operable windows, weatherstripping is commonly used. Larger gaps may require backer rod, rigid blocking, sheet material, flashing, or approved foam. Low-expansion foam designed for windows and doors helps avoid distorting frames. Fibrous insulation alone does not stop airflow.
Part 6: Evaluate Windows and Doors
15. Separate air leakage from heat transfer
A window can be airtight but still conduct heat through the glass and frame. It can also have efficient glazing but leak around the rough opening. Determine whether the problem is air movement, surface temperature, solar gain, condensation, damaged seals, or failed installation.
Inspect locks, weatherstripping, sash alignment, door sweeps, thresholds, exterior sealant, interior trim gaps, and evidence of water intrusion. A door that requires force to latch may need adjustment before adding thicker weatherstripping.
16. Use low-cost improvements before replacement
Possible measures include repairing hardware, replacing worn weatherstripping, sealing installation gaps correctly, adding insulated coverings, using exterior shading, applying temporary storm panels, or repairing a damaged storm window. Window-film products have different purposes; some control solar heat, some improve safety, and some add limited insulation. Verify compatibility with the glazing manufacturer because certain films can increase thermal stress.
Do not assume that visible condensation always means the window is defective. Interior condensation can indicate high indoor humidity or a cold surface. Condensation between sealed panes may indicate a failed insulated-glass seal.
Part 7: Audit Heating, Cooling, and Thermostat Operation
17. Record equipment information
Photograph each model and serial number. Record fuel type, approximate age, rated efficiency if available, filter size, maintenance history, thermostat type, and which rooms are served. Include boilers, furnaces, heat pumps, mini-splits, air conditioners, electric resistance heat, fireplaces, portable heaters, evaporative coolers, and dehumidifiers.
Do not remove service panels or work around exposed electrical components, gas controls, burners, or refrigerant connections. A visual homeowner inspection should remain external and non-invasive.
18. Inspect filters and airflow
A dirty filter can restrict airflow, but a filter that becomes dirty unusually quickly may indicate duct leakage, renovation dust, high particle levels, or an undersized filter area. Use the filter type and replacement interval recommended for the equipment. A filter with a very high resistance can reduce airflow when the system was not designed for it.
Check whether supply registers and return grilles are open, unobstructed, and clean. Do not close many registers to save energy unless the system was specifically designed for zoning. Excessive restriction can create pressure and comfort problems.
19. Observe operating cycles
During normal weather, note how long the system runs, whether it starts and stops frequently, whether rooms reach the setpoint evenly, and whether unusual noise, odor, vibration, water, or ice appears. Short cycling can have several causes, including oversizing, airflow restriction, controls, refrigerant problems, or equipment faults. Long operation during extreme weather is not automatically a defect.
For a heat pump, do not judge performance by the supply air feeling less hot than furnace air. Heat pumps transfer heat and often deliver gentler, longer heating. The Department of Energy explains that modern heat pumps can provide efficient heating and cooling across a wide range of climates, but correct sizing, installation, controls, and weatherization matter.
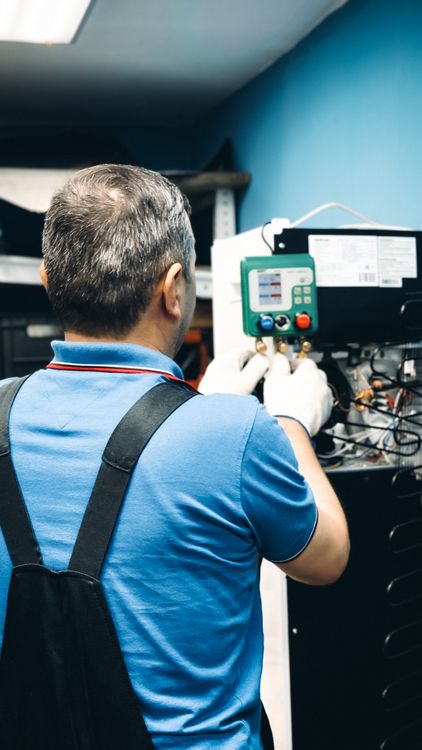 Refrigerant, electrical, combustion, and internal equipment diagnostics belong to trained professionals. Photo by Bulat843 via Pexels.
20. Audit thermostat schedules
List weekday, weekend, sleep, away, and vacation settings. Compare them with actual occupancy. A smart thermostat cannot compensate for severe duct leakage, poor insulation, or malfunctioning equipment, but it can reduce unnecessary conditioning when schedules are predictable.
Avoid extreme setbacks that trigger inefficient backup heat or create humidity problems. Heat-pump controls, radiant floors, boilers, and high-mass buildings may need different strategies. Change one setting at a time and compare comfort and consumption over several weeks.
Part 8: Inspect Ducts and Distribution
21. Find accessible duct problems
ENERGY STAR identifies duct sealing as an important home improvement because leaks, holes, poor connections, inadequate insulation, and crushed runs can reduce comfort and efficiency. Inspect only accessible ducts in attics, crawl spaces, basements, garages, and utility rooms.
Look for disconnected joints, loose flex duct, sharp bends, crushed sections, torn outer jackets, exposed insulation, condensation, unsupported runs, rust, and gaps at register boots. Photograph each defect and its location.
Do not use ordinary cloth-backed “duct tape” as a permanent repair. Professional duct-sealing methods may use approved mastic, mesh, UL-rated tapes, mechanical fasteners, and insulation appropriate to the system and local code.
22. Check room pressure clues
A room with a supply register but no adequate return path may become pressurized when the door is closed, reducing supply airflow and pushing conditioned air through leaks. Signs include doors moving when the system starts, whistling under doors, temperature differences, and reduced airflow.
Solutions can include transfer grilles, jump ducts, larger door undercuts, dedicated returns, balancing, and duct redesign. Because pressure changes can interact with combustion appliances, professional evaluation is wise.
Part 9: Audit Water Heating and Hot-Water Use
23. Identify the water-heating system
Record whether the home uses a storage tank, tankless heater, heat-pump water heater, boiler coil, solar thermal system, or another method. Photograph the label and note fuel, capacity, age, location, visible corrosion, discharge piping, leaks, and maintenance history.
Do not alter gas controls, temperature-and-pressure relief valves, venting, electrical wiring, or combustion-air openings. A leaking tank, scorch marks, exhaust odor, backdrafting, or improperly terminated relief pipe requires professional attention.
24. Measure delivery time and waste
Time how long hot water takes to reach frequently used fixtures. Long waits waste water and may indicate long uninsulated pipe runs, poor layout, or recirculation problems. Insulating accessible hot-water pipes can reduce heat loss, but maintain clearances from flues and follow material instructions.
Check for dripping faucets, showerheads with excessive flow, and hot-water recirculation that operates continuously. A demand-controlled or scheduled recirculation system may reduce waste compared with continuous operation, but the best design depends on the plumbing layout.
Part 10: Audit Appliances, Lighting, and Plug Loads
25. Measure before replacing
Use a plug-in meter for refrigerators, freezers, entertainment systems, computers, office equipment, aquariums, and other compatible 120-volt devices. Do not use it for hardwired equipment or loads beyond the meter’s rating. Measure over enough time to capture cycling.
Compare annualized consumption with replacement cost. Replacing a small efficient device may save little, while an old secondary refrigerator in a hot garage can be a substantial load. Also consider reliability, repairability, size, and whether the replacement will actually remain in efficient operating mode.
26. Find the overnight base load
Review utility interval data late at night when major appliances are off. List devices that remain active: networking equipment, security systems, standby electronics, pumps, water heaters, dehumidifiers, chargers, and server hardware. Turn off one safe circuit or device at a time only if you understand the consequence and will not interrupt medical, safety, sump-pump, refrigeration, or network-critical equipment.
Standby power matters most when many devices operate continuously. Use smart power strips or schedules where they do not interfere with updates, security, recording, or device health.
27. Convert remaining high-use lighting
Prioritize fixtures that operate many hours per day. LEDs generally produce less heat and use less electricity than incandescent lamps, but choose the correct base, brightness, color temperature, dimmer compatibility, enclosure rating, and moisture rating. Do not exceed fixture limits or place incompatible bulbs in sealed fixtures.
Part 11: Check Moisture, Ventilation, and Indoor Air
28. Never pursue efficiency at the expense of safety
Air sealing changes how air moves through the home. In houses with atmospherically vented combustion equipment, large exhaust fans, fireplaces, or attached garages, uncontrolled pressure changes can increase risk. A professional home performance contractor can perform combustion-safety and ventilation testing before and after major sealing work.
Install and maintain smoke and carbon-monoxide alarms as required by local rules and manufacturer instructions. An alarm is not a substitute for correcting unsafe equipment.
29. Track humidity and condensation
Use hygrometers in problem areas and record time, weather, temperature, and relative humidity. Look for condensation on windows, cold pipes, ducts, toilet tanks, basement surfaces, or attic sheathing. Moisture can come from leaks, ground water, cooking, bathing, drying clothes, humid outdoor air, unvented combustion, or air leakage.
Do not cover a moisture problem with insulation. Find and correct the source. Wet insulation performs poorly and can damage materials.
30. Verify exhaust fans terminate outdoors
Bathroom, kitchen, and dryer exhaust should terminate at approved exterior locations, not in an attic, crawl space, garage, or wall cavity. Check exterior dampers for operation and lint blockage. Dryer ducts should use suitable smooth metal materials and safe routing according to the appliance instructions and code.
Part 12: Turn Findings Into a Prioritized Upgrade Plan
31. Create a findings table
For every problem, record:
- Location.
- Observed symptom.
- Evidence or photograph number.
- Likely cause.
- Safety concern.
- Recommended next test or repair.
- DIY or professional.
- Estimated cost range.
- Expected comfort and energy impact.
- Verification method after repair.
Do not assign savings percentages without a defensible model or measurement. Use relative rankings such as low, medium, and high impact until you have contractor calculations or a professional audit.
32. Use the correct order of operations
A sensible sequence is:
- Correct urgent safety, water, electrical, structural, and combustion issues.
- Complete maintenance: filters, controls, drains, obvious duct damage, and failed seals.
- Reduce major air leakage while preserving ventilation and combustion safety.
- Improve insulation continuity after leakage and moisture issues are addressed.
- Seal and balance distribution systems.
- Optimize controls and operating schedules.
- Replace major equipment when justified by condition, sizing, comfort, and lifecycle cost.
- Evaluate renewable energy after reducing avoidable loads.
This order prevents common mistakes such as buying a larger HVAC system before reducing the load, installing insulation over active moisture, or sizing solar panels to cover waste that could have been removed more cheaply.
33. Calculate simple payback carefully
Simple payback equals installed cost divided by estimated annual savings. It is a useful screening tool but ignores financing, maintenance, energy-price changes, equipment life, comfort, resale, incentives, and interactions with other measures.
Example: if a professionally verified repair costs $600 and is estimated to save $150 per year, the simple payback is four years. But the estimate should account for local rates and realistic operation. A measure that also fixes severe comfort or moisture may be worthwhile even with a longer payback.
34. Get comparable contractor proposals
For major projects, ask each contractor to bid the same scope. A good proposal identifies materials, areas, quantities, preparation, air-sealing details, ventilation implications, disposal, permits, testing, warranties, exclusions, and completion verification.
For HVAC replacement, request a documented load calculation rather than automatic replacement with the same size. Ask how duct condition, airflow, filtration, humidity, electrical capacity, controls, and commissioning will be addressed.
Part 13: Complete a 30-Day Home Energy Action Plan
Week 1: Establish the baseline
- Download utility data.
- Create the floor plan and comfort map.
- Photograph equipment labels.
- Record thermostat schedules.
- Measure indoor temperature and humidity.
Week 2: Inspect the shell and systems
- Walk the exterior.
- Inspect accessible attic, basement, and crawl-space areas safely.
- Check windows, doors, filters, registers, ducts, and exhausts.
- Measure selected plug loads.
- Create a defect list with photos.
Week 3: Complete safe low-cost work
- Replace or clean filters as specified.
- Repair simple weatherstripping.
- Seal appropriate small stationary gaps with compatible materials.
- Adjust schedules.
- Remove safe airflow obstructions.
- Repair minor water leaks.
Week 4: Plan professional work and verification
- Request an audit or diagnostic tests for unresolved issues.
- Obtain comparable proposals.
- Check current utility, state, local, or national incentive programs.
- Choose projects based on safety, evidence, and lifecycle value.
- Set a date to compare normalized energy use after improvements.
Part 14: Special Guidance for Renters
Renters can still audit usage, document comfort problems, measure plug loads, optimize schedules, use permitted window coverings, replace approved bulbs, report leaks, and request maintenance. Do not alter wiring, HVAC equipment, exterior penetrations, ventilation, or building materials without written permission.
When contacting the landlord, provide dates, photographs, measured temperatures, humidity readings, equipment behavior, and relevant lease or habitability requirements. Frame improvements around maintenance, property protection, comfort, and operating cost. A written record is more effective than a vague complaint that the apartment “uses too much energy.”
Part 15: Climate-Specific Priorities
Hot-humid climates
Prioritize moisture control, duct leakage in hot spaces, solar gain, roof and attic conditions, air-conditioning performance, ventilation design, and dehumidification. Excessive air sealing without a moisture strategy can make problems worse.
Hot-dry climates
Prioritize shading, roof and attic performance, controlled ventilation, evaporative-cooling suitability, duct location, and large day-night temperature swings. Night ventilation can help only when outdoor conditions are favorable and security permits.
Cold climates
Prioritize attic bypasses, rim joists, insulation continuity, ice-dam causes, heating equipment, duct or hydronic distribution, and safe ventilation. Weatherization should be coordinated with combustion-safety testing where applicable.
Mixed climates
Choose measures that work in both seasons: air sealing, insulation continuity, duct repair, shading that preserves winter sun where useful, efficient heat pumps, and humidity-aware controls.
Common Mistakes to Avoid
- Buying products before diagnosing the problem. A new thermostat cannot repair a disconnected duct.
- Assuming windows are always the largest loss. Hidden attic and basement bypasses may be more important.
- Adding insulation before air sealing and moisture repair. Insulation can hide problems without stopping airflow.
- Sealing intentional vents. Drainage, combustion, and ventilation openings serve critical functions.
- Using one month of bills as proof. Weather, rates, occupancy, and billing days distort comparisons.
- Ignoring installation quality. A high-efficiency product can perform poorly when sized or installed incorrectly.
- Closing many supply registers. This can increase system pressure and reduce performance.
- Relying on thermal images alone. Confirm patterns with inspection and controlled testing.
- Disturbing hazardous materials. Suspected asbestos, vermiculite, mold, and damaged wiring require specialist handling.
- Skipping post-work verification. A completed invoice does not prove the intended result.
How to Verify That Improvements Worked
Verification should match the repair. After air sealing, use a blower-door test where possible. After duct work, use duct leakage and airflow testing. After HVAC installation, request commissioning data, temperature split, static pressure, refrigerant or combustion checks as applicable, and documented thermostat setup. After insulation work, inspect coverage before areas are closed.
For utility comparisons, use the same units, normalize by billing days, compare similar weather, and note occupancy changes. Evaluate comfort and humidity as well as cost. A lower bill caused by milder weather is not proof of better performance, and a slightly higher bill after adding conditioned space or improving ventilation is not necessarily failure.
Writer’s Opinion
The most valuable result of a home energy audit is not a shopping list. It is a ranked explanation of how the house behaves. Homeowners frequently spend thousands of dollars on visible products while hidden air, moisture, and distribution problems remain untouched. The strongest audit turns symptoms into testable causes and matches each cause with a repair and a verification method.
I would begin with safety, water, maintenance, air leakage, insulation continuity, and ducts before considering glamorous upgrades. Solar panels, premium windows, and advanced controls can be excellent investments in the right situation, but they should be installed on top of a sound, well-understood building—not used to conceal preventable waste.
 Renewable energy is easier to size effectively after avoidable household loads have been reduced. Photo by Stefan de Vries via Pexels.
Frequently Asked Questions
How long does a DIY home energy audit take?
A basic walkthrough may take two to four hours, while a thorough audit with bill analysis, measurements, photographs, and follow-up testing can take several days. It is better to inspect in stages than rush through unsafe areas.
What is the first thing I should fix?
Correct active safety, water, electrical, combustion, and structural problems first. After that, maintenance and major air leaks often provide better value than cosmetic upgrades. The correct order depends on the home.
Can I perform a blower-door test myself?
Blower-door equipment requires correct setup, interpretation, and combustion-safety awareness. Homeowners can hire a trained auditor and observe the test. Improper depressurization can create risk in homes with fuel-burning appliances.
Will replacing windows cut my bills dramatically?
Sometimes, but not always. Savings depend on existing windows, climate, air leakage, glazing area, orientation, installation, shading, and the replacement product. Compare window replacement with lower-cost measures first.
How often should I repeat the audit?
Review utility data monthly and repeat a walkthrough annually. Perform a deeper assessment after major renovations, equipment replacement, storm damage, persistent moisture, unusual bill increases, or significant household changes.
Do smart thermostats always save energy?
No. They help when schedules and controls reduce unnecessary operation without causing inefficient recovery or comfort problems. Savings depend on equipment, climate, settings, occupancy, and whether people override the schedule.
Should I add insulation to every accessible space?
No. First resolve leaks, moisture, electrical hazards, ventilation, fire clearances, and the location of the intended air and thermal boundaries. More insulation in the wrong location can be ineffective or harmful.
Can an energy audit improve indoor air quality?
It can identify moisture, exhaust, filtration, garage leakage, and ventilation issues, but energy work must be designed carefully. Tightening the shell may require verified ventilation and combustion safety.
How do I know whether an auditor is independent?
Ask how the auditor is paid, whether they sell improvements, which diagnostic tests are included, what credentials they hold, whether the report ranks measures, and whether savings assumptions are documented. Obtain independent bids for major work.
Is solar the final step?
It does not have to be literally last, but load reduction and equipment planning should inform system size. Coordinating efficiency, roof condition, electrical upgrades, future heat pumps, water heating, and electric vehicles can prevent redesign.
Conclusion
A strong DIY home energy audit follows evidence rather than assumptions. Begin with a year of utility data, map comfort and moisture complaints, inspect the exterior and accessible building envelope, evaluate insulation and air leakage, observe heating and cooling performance, check ducts and hot water, measure plug loads, and rank improvements by safety, comfort, energy impact, and lifecycle cost.
Use the DIY audit to complete safe maintenance and low-risk repairs, then bring in qualified professionals for diagnostic testing, hazardous materials, combustion, refrigerant, electrical, structural, moisture, and major retrofit work. Most importantly, verify results after the work. The best energy plan is not the one with the most upgrades; it is the one that solves documented problems in the correct order and proves that the home became safer, more comfortable, and more efficient.