

Quick answer: Better coffee at home comes from controlling a small number of variables consistently. Start with fresh coffee stored airtight, grind immediately before brewing when practical, weigh both coffee and water, use a repeatable starting ratio around 60 grams of coffee per liter of water for filter-style brewing, use water that tastes clean, and change only one variable at a time when the cup tastes wrong. If coffee tastes sharp, thin, or sour, you often need more extraction: grind a little finer, extend contact time, or improve saturation. If it tastes harsh, drying, or overly bitter, reduce extraction: grind a little coarser, shorten contact time, or lower agitation. The goal is not to follow one “perfect” recipe forever; it is to build a process you can repeat and adjust deliberately.
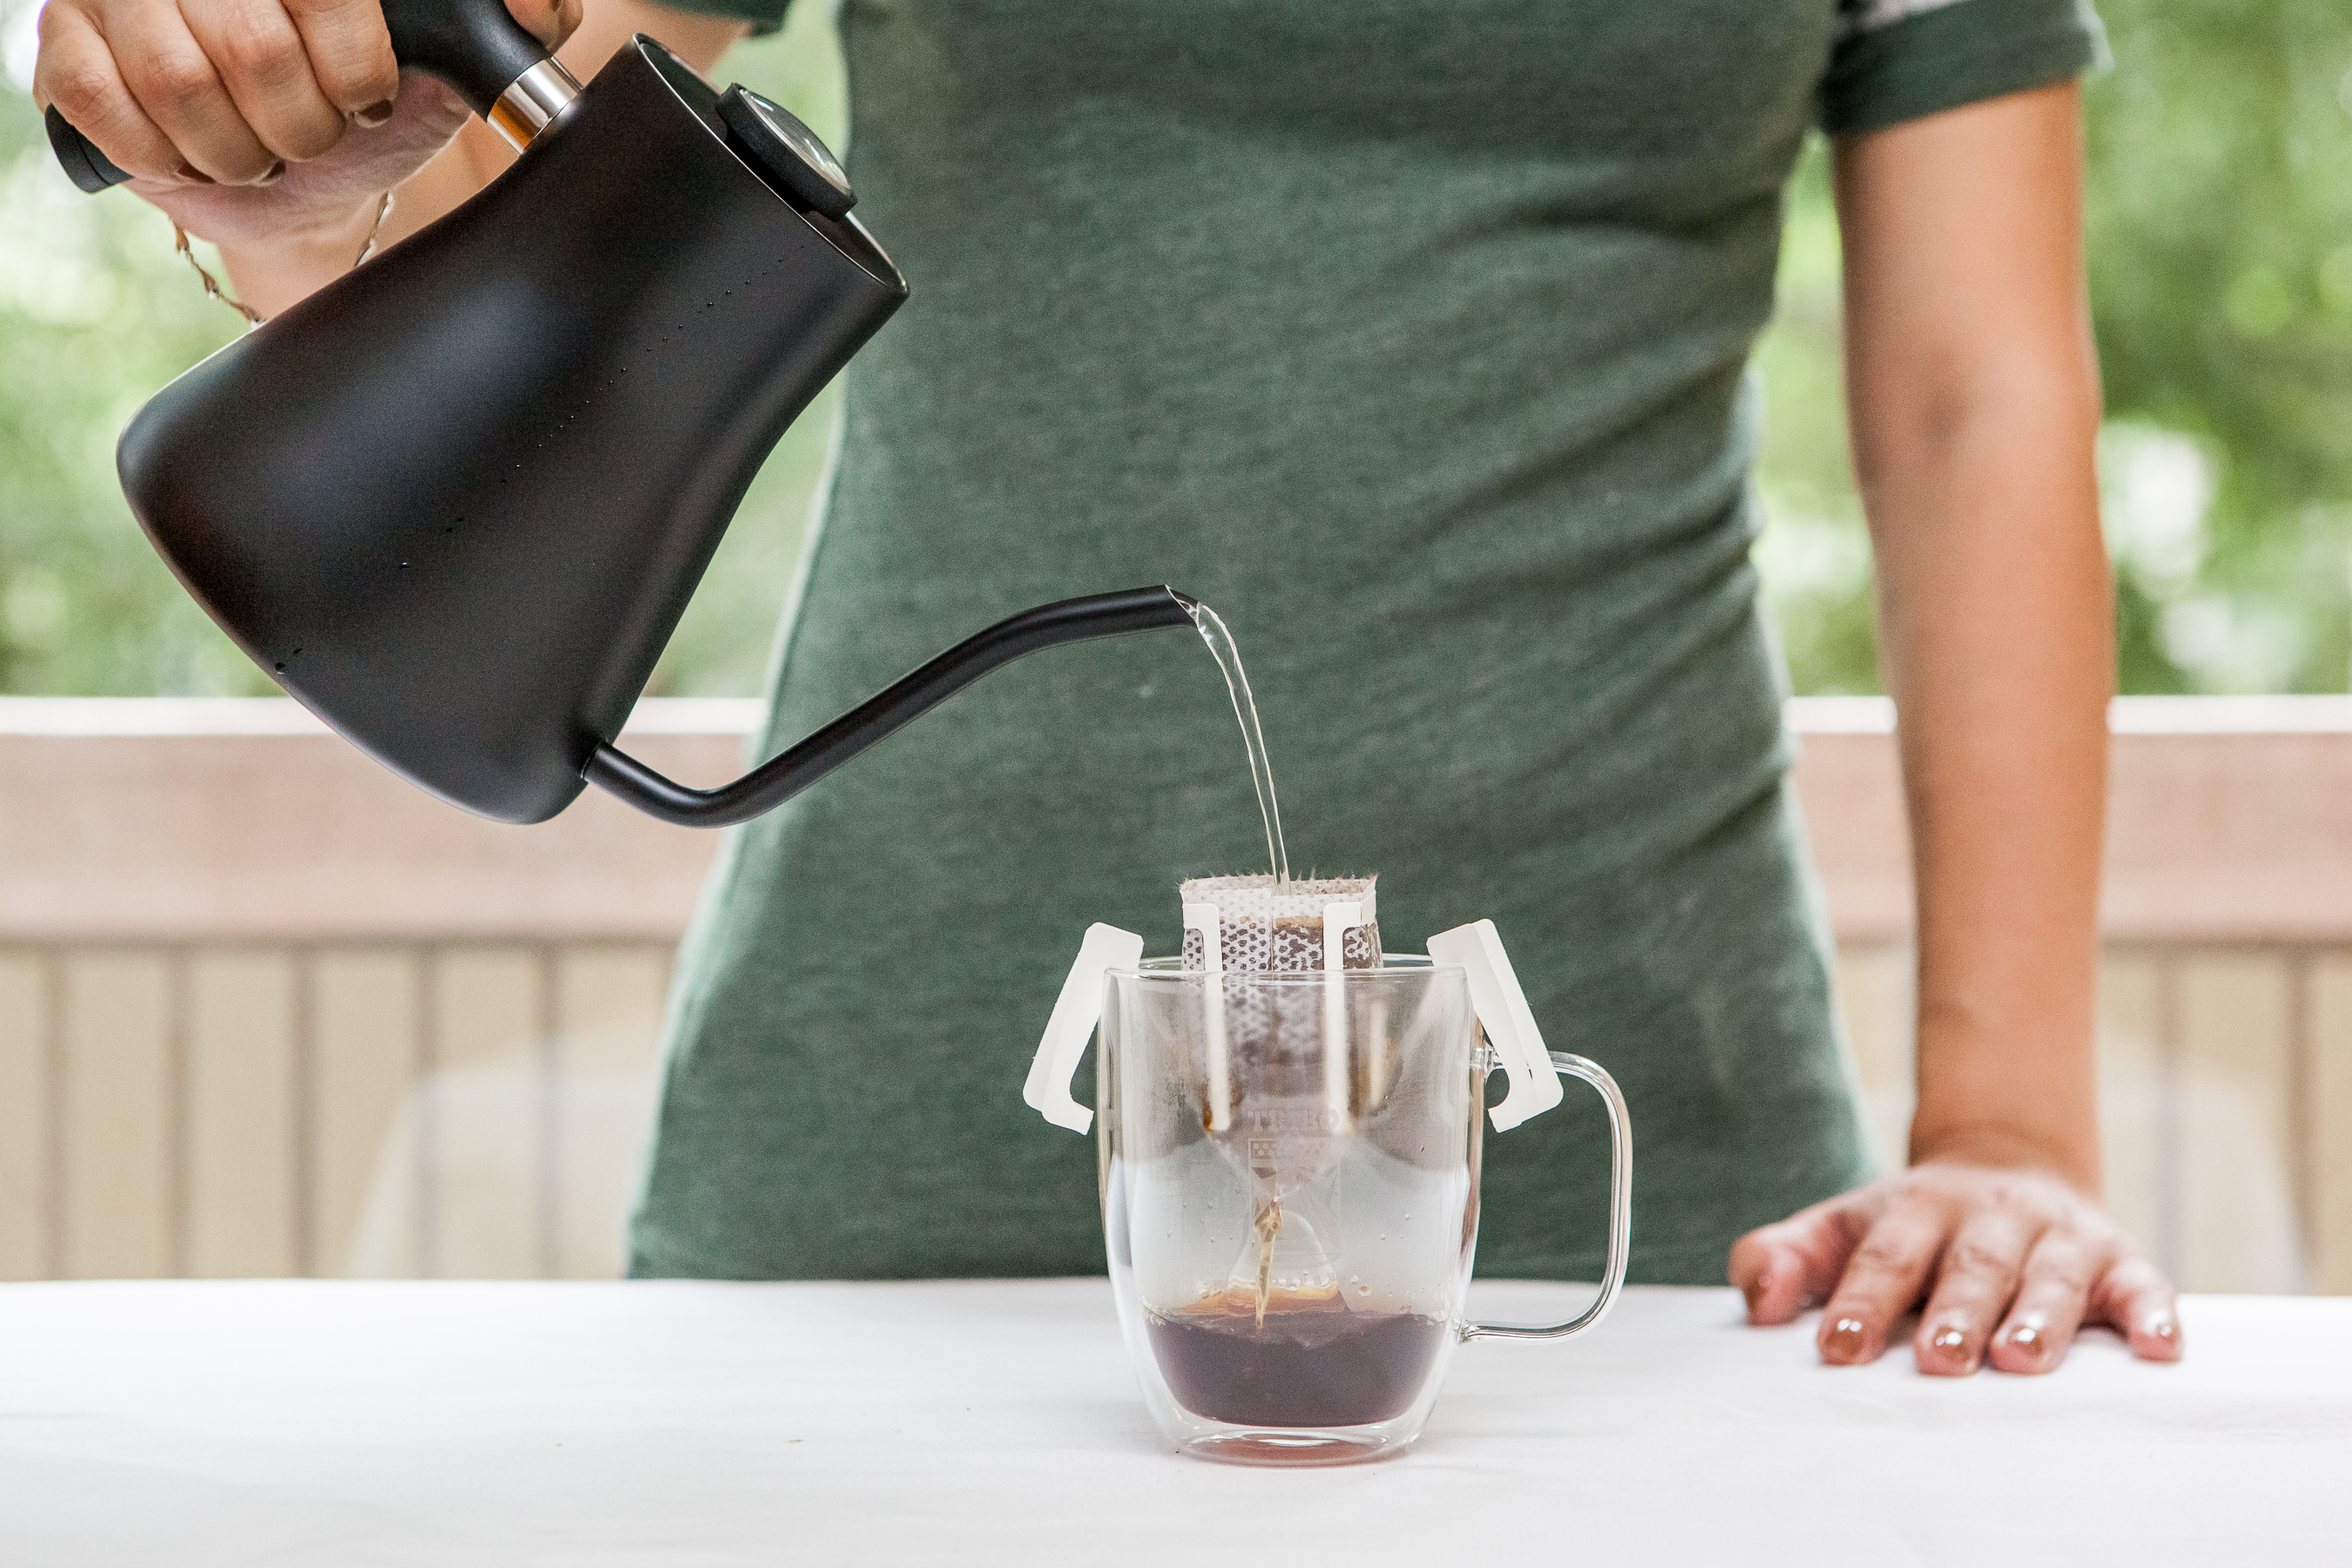 Consistency starts with controlling the same variables from cup to cup: coffee dose, water, grind, contact time, and technique. Image: JoeSeyd, Wikimedia Commons, CC BY-SA 4.0.
Home coffee becomes confusing when every problem is blamed on the beans, the brewer, the grinder, the water, or the recipe at the same time. One morning the cup tastes dull, so you buy a new coffee. The next morning it tastes bitter, so you lower the water temperature. Then you change the grind, pour faster, add more coffee, and wonder why nothing is predictable. The result is expensive experimentation without a learning loop.
A better approach is to treat brewing as a controlled process. Coffee flavor changes because water dissolves compounds from roasted coffee. Your recipe controls how much coffee you use, how much water contacts it, how finely the coffee is ground, how long water and coffee interact, how evenly the bed is saturated, and what the water itself contributes. You do not need a laboratory to use those principles. A scale, grinder, timer, and a willingness to change one thing at a time are enough to make your morning coffee far more consistent.
The Specialty Coffee Association’s current brewing research also cautions against treating any single temperature, extraction number, or strength as universally “perfect.” Modern sensory work shows that people can prefer coffee across a range of strengths and extraction yields, and that brewing variables interact. That is useful news for a home brewer: you are not trying to satisfy an abstract chart. You are trying to create a cup you enjoy and can reproduce.
1. Define What “Better” Coffee Means to You
Before changing equipment or recipes, describe the cup you want. “Better” is not one flavor.
You may want coffee that is:
- clean and tea-like;
- sweet and balanced;
- full-bodied and heavy;
- bright and fruit-forward;
- chocolatey and low in perceived acidity;
- strong enough for milk;
- easy to brew consistently before work.
Those goals can point toward different coffees and methods. A paper-filter pour-over tends to emphasize clarity because the filter retains more oils and fine particles. A French press allows more oils and sediment into the cup, often producing heavier body. An automatic drip machine trades manual control for repeatability and convenience. None is inherently superior.
What to do: Write three words describing your ideal cup and one practical constraint. Example: “sweet, chocolatey, smooth; under five minutes.” That constraint matters. A recipe you love only on weekends may not be the best daily method.
2. Choose a Brewing Method That Matches Your Routine
Start with the method you can repeat. Common home options include automatic drip, pour-over, French press, AeroPress-style immersion/pressure brewers, moka pot, and espresso machines. This guide focuses mainly on filter and immersion coffee because those methods make the core variables easy to learn.
Automatic drip: good for larger batches and morning convenience. Quality depends heavily on brewer design, water distribution, temperature control, and batch size. The Specialty Coffee Association’s Certified Home Brewer program evaluates machines for factors including brew temperature, brew time, extraction, and consistency.
Pour-over: offers direct control over pouring rate, agitation, and contact time. It is excellent for learning because you can observe the coffee bed, but technique introduces more variability.
French press: simple immersion brewing. Coffee and water remain together for most of the brew, so pouring technique matters less. Grind size, ratio, steep time, and decanting matter more.
Moka pot: produces a concentrated beverage using steam pressure. It behaves differently from filter coffee, so do not apply every pour-over rule directly.
Espresso: uses a much more concentrated beverage ratio and high pressure. Small changes in grind and dose have large effects. It deserves its own workflow.
3. Stop Measuring Coffee With Random Scoops
Volume is unreliable because coffee density changes with roast level, bean size, grind size, and how tightly grounds settle in a scoop. A tablespoon of dark-roasted coffee may weigh differently from the same spoonful of a dense light roast.
A small digital scale removes that uncertainty. Weigh coffee in grams. Weigh brewing water in grams as well; for everyday coffee brewing, one gram of water is close enough to one milliliter that the workflow is simple.
If you use 30 grams of coffee and 500 grams of water today, you can repeat it tomorrow. If the cup is weak, you can change the ratio deliberately rather than guessing whether yesterday’s “two scoops” were actually the same.
Common mistake: Buying a more expensive grinder while still changing the dose by several grams each day. Measurement consistency often improves coffee before new equipment does.
4. Start With a Repeatable Coffee-to-Water Ratio
A useful starting point for filter and immersion coffee is around 60 grams of coffee per liter of brewing water. That is approximately a 1:16.7 coffee-to-water ratio. The Specialty Coffee Association discusses 60 g/L as a common brewing-ratio expression in its technical material, but it should be treated as a starting reference rather than a law.
Examples:
- 15 g coffee + 250 g water;
- 18 g coffee + 300 g water;
- 24 g coffee + 400 g water;
- 30 g coffee + 500 g water;
- 36 g coffee + 600 g water.
If you prefer a stronger-tasting cup, you might use slightly more coffee for the same water. If you prefer lighter strength, use less. But first establish a baseline so you know what changed.
Important distinction: Brew strength and extraction are not the same thing. You can make a strong but under-extracted cup by using lots of coffee and extracting it poorly. You can make a lighter but well-extracted cup by using more water. This is why adding more coffee is not always the correct fix for sourness.
5. Buy Coffee in Quantities You Can Use While It Still Tastes Fresh
Coffee changes after roasting. Aromatic compounds escape and oxygen gradually alters flavor. National Coffee Association guidance recommends buying smaller batches more frequently rather than keeping large quantities exposed for long periods.
You do not need to obsess over a single “expiration day.” Roast level, packaging, storage, and personal preference all matter. The practical approach is to buy an amount you can consume in a reasonable period and notice when the flavor becomes flatter or less aromatic.
If you drink one 30-gram batch per day, a 250-gram bag lasts about eight days. A kilogram bag lasts more than a month. The larger bag may be economical, but only if you store it well or divide it appropriately.
6. Store Coffee Away From Air, Moisture, Heat, and Light
National Coffee Association guidance identifies air, moisture, heat, and light as major enemies of coffee freshness. Store beans in an airtight, opaque container in a cool, dark location.
A cupboard away from the oven, dishwasher, and direct sun is usually better than a decorative clear jar on a bright counter.
Do not leave the bag open while you make breakfast. Close it promptly or use a suitable container. If the original bag has a good resealable closure and one-way valve, it may be adequate for short-term use; moving coffee into another container is not mandatory merely for aesthetics.
7. Understand the Trade-Offs of Refrigerating or Freezing Coffee
Coffee absorbs moisture and odors. Repeatedly moving a container between a cold refrigerator and a humid kitchen can encourage condensation. For coffee you will consume quickly, a cool dark cupboard is often simpler.
Freezing can be useful for longer storage if portions are sealed well and are not repeatedly opened while cold. Divide coffee into small airtight portions, remove one portion when needed, and allow the sealed package to approach room temperature before opening to reduce condensation risk.
The main mistake is using the freezer as permission to store coffee indefinitely in a poorly sealed bag.
8. Grind Immediately Before Brewing When Practical
Grinding dramatically increases surface area. That helps water extract flavor during brewing, but it also accelerates exposure to oxygen and aroma loss during storage. National Coffee Association guidance recommends waiting to grind until close to brewing for the freshest flavor.
If convenience requires pre-ground coffee, you can still improve the cup with accurate ratio, fresh water, correct storage, and appropriate brewing time. Do not let “ideal” technique prevent a practical routine.
 Grinding just before brewing lets you control particle size while reducing the time freshly ground coffee is exposed to air. Image: Shixart1985 / Nenad Stojković, Wikimedia Commons, CC BY 2.0.
9. Use a Burr Grinder if Consistency Matters
A burr grinder crushes beans between two cutting surfaces and generally produces a more controlled particle-size distribution than a blade grinder, which repeatedly chops coffee with spinning blades.
You can brew acceptable coffee with a blade grinder, but dialing in recipes becomes harder because one batch may contain both powdery fines and large chunks. Fines tend to extract quickly and can slow filters; large particles extract more slowly.
If buying one piece of equipment specifically to improve repeatability, a capable burr grinder often produces a bigger improvement than decorative brewing accessories.
10. Treat Grind Size as Your Main “Dial”
Grind size controls how quickly water can extract soluble material from coffee and how water flows through a bed in percolation methods.
General starting direction:
- French press: coarse to medium-coarse;
- large-batch drip: medium;
- cone pour-over: medium to medium-fine;
- AeroPress-style recipes: variable, often medium-fine;
- moka pot: finer than drip but generally not espresso-fine;
- espresso: very fine, adjusted precisely.
Those labels are relative. “Medium” on one grinder is not the same as “medium” on another. Use taste and brew behavior.
11. Change Grind Before You Change Five Other Variables
Once your dose, water amount, temperature, and technique are reasonably stable, grind is often the easiest variable to adjust.
If a pour-over drains unusually fast and tastes thin, sharp, or undeveloped, grind a little finer. Finer grounds increase surface area and usually slow flow, increasing extraction.
If it drains very slowly and tastes dry, harsh, or unpleasantly bitter, grind coarser.
Move in small steps. Large grinder changes can take you from one problem to the opposite problem without teaching you where the useful range lies.
12. Use Water You Would Be Happy to Drink
Brewed coffee is mostly water, so unpleasant water produces unpleasant coffee. Strong chlorine odor, extreme hardness, or very unusual mineral composition can affect flavor and equipment.
Specialty Coffee Association research emphasizes that water chemistry—especially alkalinity and mineral content—interacts with perceived acidity and extraction. You do not need to mix laboratory water at home, but you should not ignore water quality.
If tap water tastes good, start there. If it has strong chlorine or off-flavors, a suitable filter may help. If your water is extremely hard, filtration or a manufacturer-approved water treatment approach may also reduce scale in kettles and machines.
Do not use distilled water automatically. Very low-mineral water can produce a different extraction and flavor profile, and some appliance manufacturers have specific water recommendations.
13. Do Not Chase One Magic Brewing Temperature
Classic coffee advice often presents a narrow temperature as universally correct. Modern SCA-supported research is more nuanced. Research discussed by the SCA found that when brew strength and extraction were controlled, changes in brewing temperature within roughly 87–93°C had relatively little effect on sensory profile compared with the extraction outcome itself.
For home use, a sensible approach is to choose a stable hot-water range and adjust based on roast and method. Water just off the boil is a practical starting point for many light and medium filter coffees. Darker roasts may taste better to you with somewhat cooler water.
The important thing is not to change temperature randomly every cup. Keep it stable while adjusting grind and ratio first.
14. Preheat Brewing Equipment When Heat Loss Is Significant
A cold ceramic dripper, thick glass carafe, or metal French press can absorb heat from the brew. Rinse or preheat the brewer and serving vessel with hot water when practical.
For paper-filter pour-over, rinsing the paper can also help seat the filter and remove loose paper dust. Discard rinse water before adding coffee.
Preheating matters more for small brews and heavy equipment because a larger fraction of the available heat can be lost to the brewer.
15. Saturate All the Grounds Evenly
Uneven saturation creates uneven extraction. In pour-over coffee, water can find easier paths through the bed while leaving other grounds relatively untouched.
At the beginning of the brew, wet the entire coffee bed. Many brewers use a short bloom phase: add enough water to saturate the grounds, wait briefly while gas escapes, then continue pouring.
Freshly roasted coffee often releases visible carbon dioxide during bloom. The amount of bubbling is not a direct quality score, but allowing the bed to wet evenly can improve consistency.
16. Use a Bloom as a Tool, Not a Ritual
A bloom is useful mainly because it helps saturate coffee and release gas before the main brew. It does not need theatrical precision.
A practical starting approach for pour-over is to add roughly two to three times the coffee dose in water. For 20 grams of coffee, use about 40–60 grams of bloom water. Gently swirl or stir if dry pockets remain. Wait about 30–45 seconds, then continue.
If coffee is older and releases little gas, a long bloom may not provide much benefit. Adjust to the actual coffee rather than treating 45 seconds as sacred.
17. Control Agitation
Agitation means moving water and grounds through pouring, stirring, swirling, or turbulence. It can help water contact coffee evenly and can increase extraction, but excessive agitation may move fines into the filter and slow flow.
Choose a repeatable pattern. If you swirl the bloom, do it similarly each brew. If you stir French press coffee, use the same number of gentle stirs.
When a recipe suddenly drains much slower even though grind size did not change, ask whether your pouring or agitation became more aggressive.
18. Use Pour Height and Flow Rate Deliberately
With pour-over, a high, fast pour creates more turbulence than a low, controlled pour. A gooseneck kettle makes flow easier to control, but it is not mandatory for basic brewing.
Keep the stream stable and avoid repeatedly pouring onto the filter wall. The goal is to distribute water through the coffee bed, not create a moat around it.
If your brewer constantly channels or stalls, simplify your pouring pattern before adding complex pulse recipes.
19. Learn One Simple Pour-Over Recipe First
For a 300-gram cup:
- Use 18 g coffee.
- Use 300 g brewing water.
- Grind medium-fine as a starting point.
- Rinse the filter and preheat the brewer.
- Add coffee and level the bed.
- Bloom with 45–55 g water for about 40 seconds.
- Pour steadily in controlled pulses until total water reaches 300 g.
- Let the brewer drain completely.
- Taste after the coffee cools slightly.
If it tastes sour and hollow, grind finer next time. If it tastes drying and harsh, grind coarser. Do not change the dose, temperature, pour structure, and grind simultaneously.
20. Use Total Brew Time as a Diagnostic, Not a Target to Worship
Recipes often include a target time, such as three minutes. Time is useful because it reveals flow changes, but it is not the ultimate goal.
If your coffee tastes excellent at 3:30, do not ruin it simply to hit 3:00. If it tastes bad at exactly the published time, the recipe is not magically correct.
Use time to identify unexpected changes. If a recipe normally drains in 3:15 and suddenly takes 5:00, check grind, filter placement, agitation, grinder fines, and coffee dose.
21. Learn a Simple French Press Recipe
French press is forgiving because the coffee is immersed rather than relying on water flowing through a bed.
For 500 grams of water:
- Use 30 g coffee.
- Grind coarse to medium-coarse.
- Preheat the press if desired.
- Add coffee, then water.
- Make sure all grounds are wet.
- Steep for about four minutes as a starting point.
- Gently break the crust or stir according to your preferred method.
- Press slowly.
- Pour the brewed coffee out of the press rather than leaving it sitting on the grounds.
If the cup tastes weak but not sour, you may prefer a stronger ratio. If it tastes sour or thin, try finer grind or longer contact. If it is excessively bitter or muddy, try coarser grind and cleaner decanting.
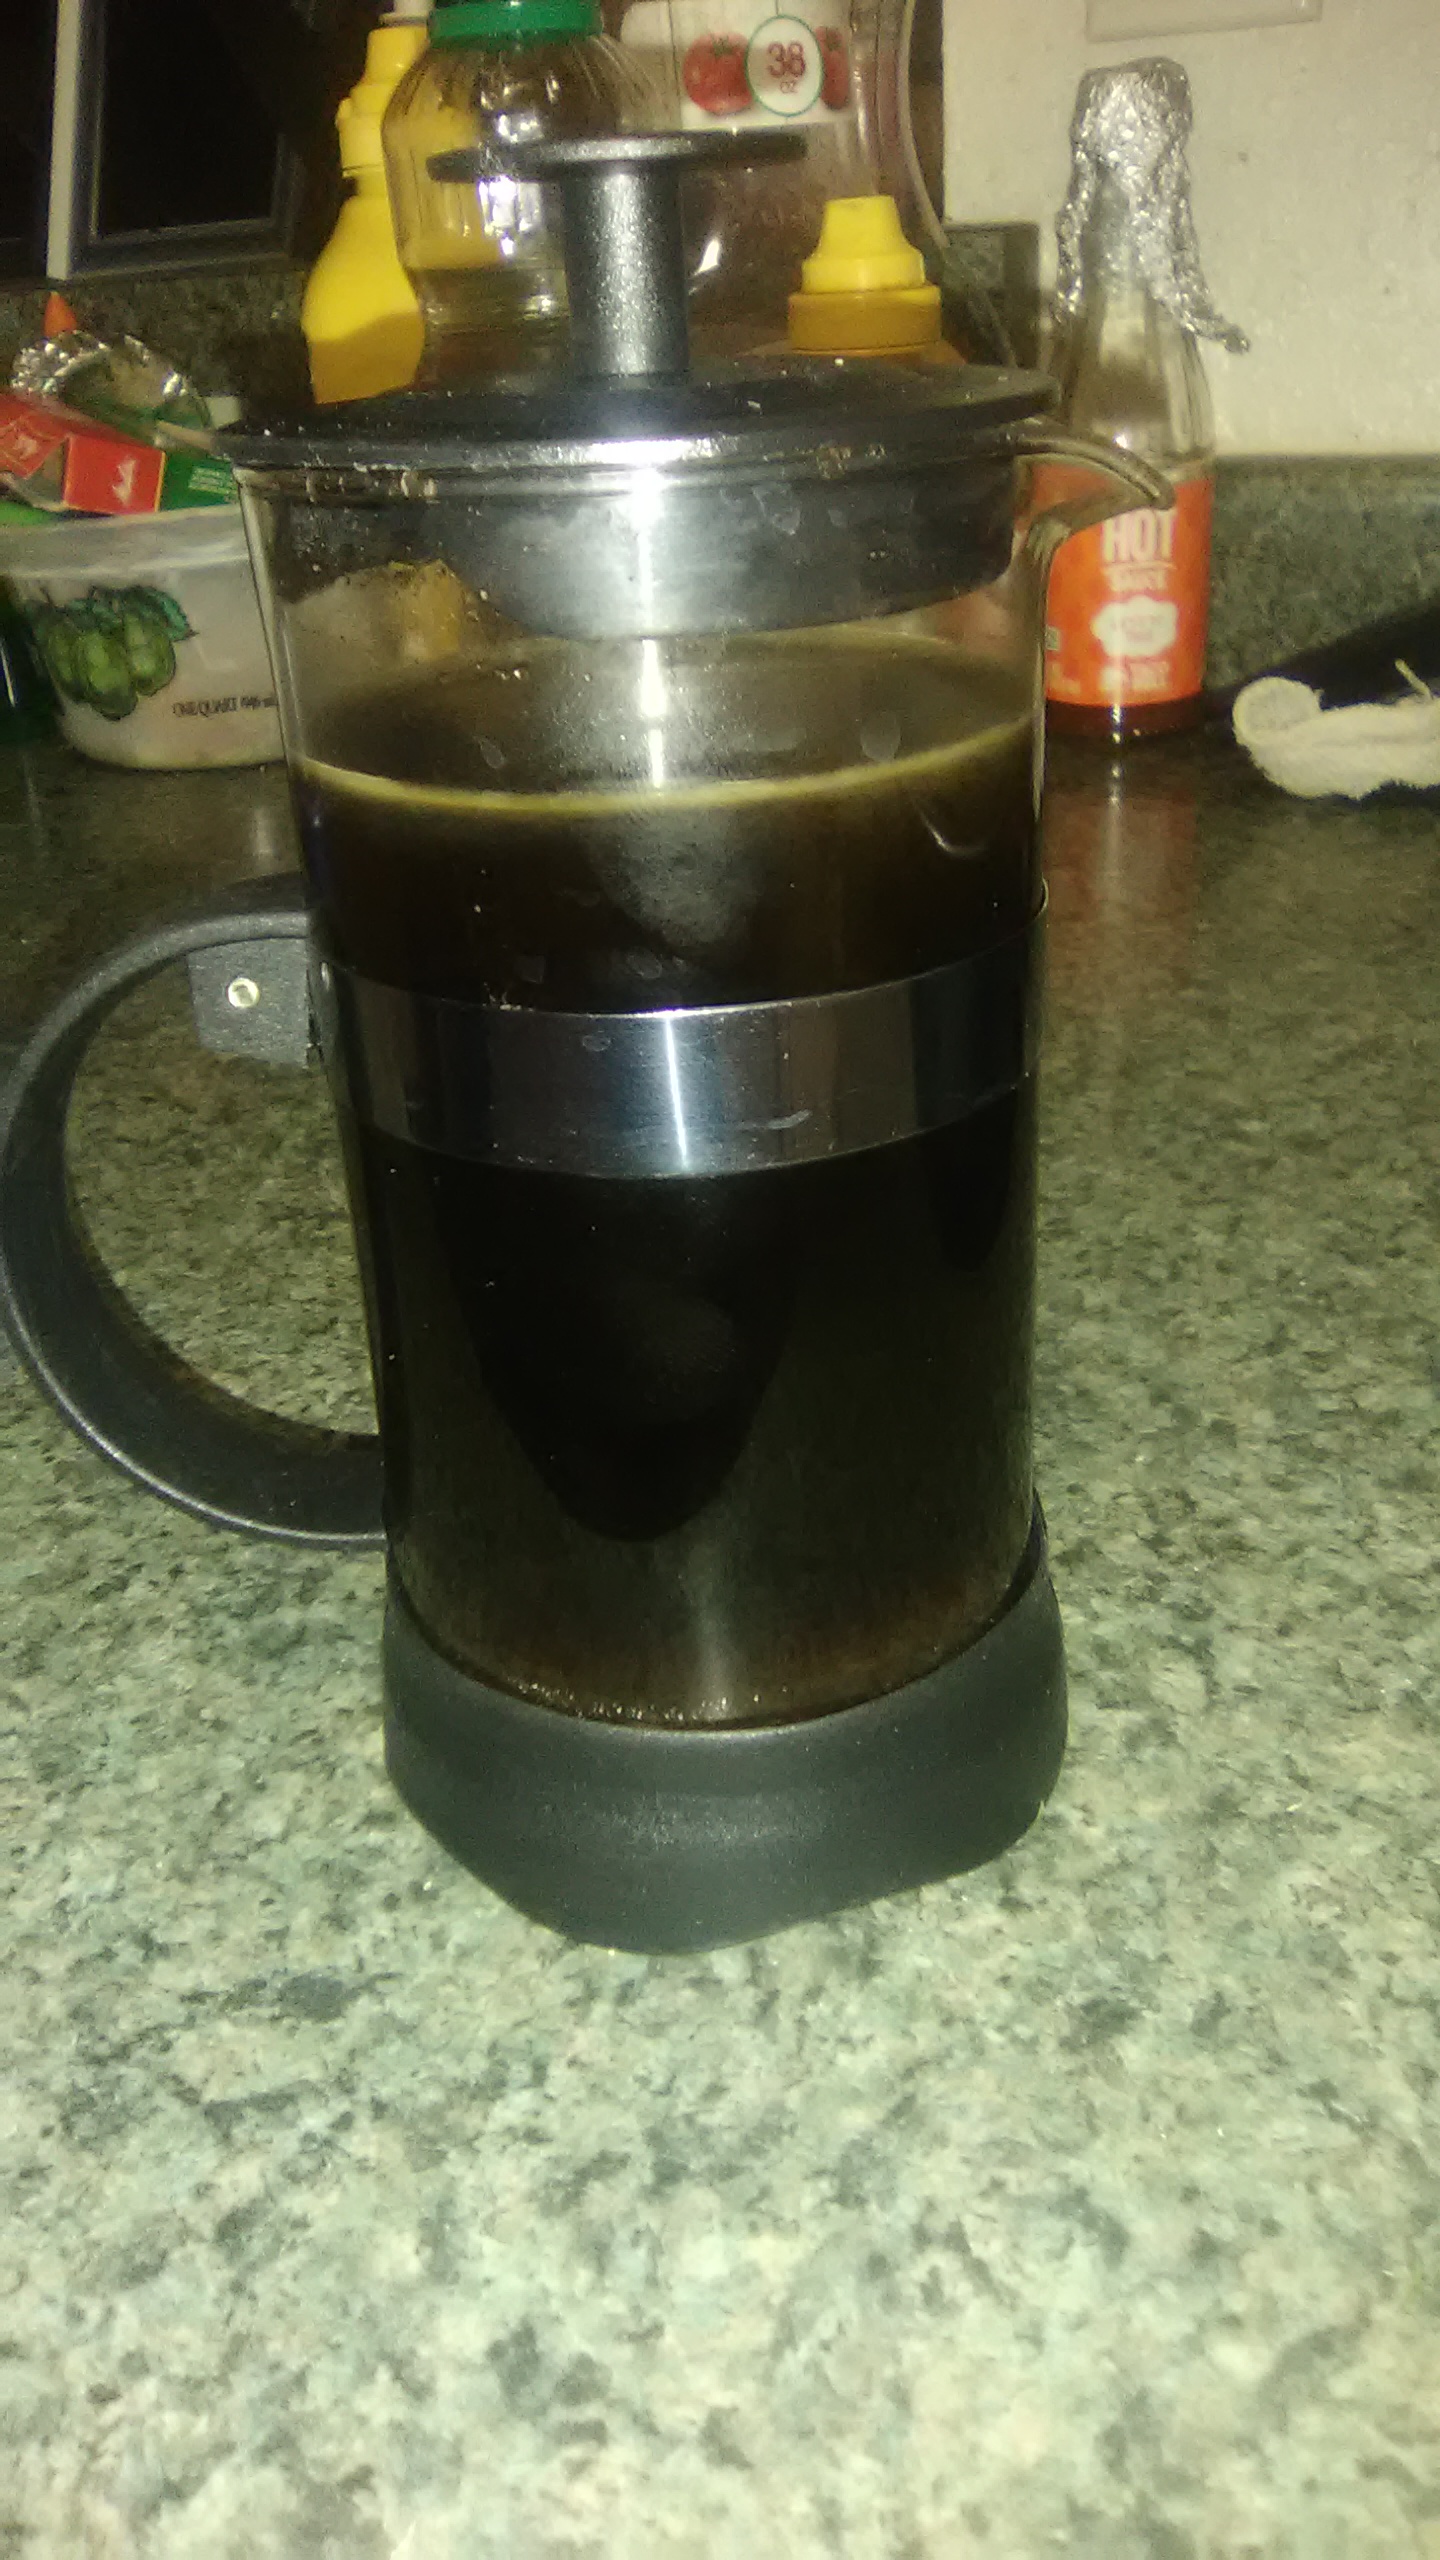 Immersion brewing reduces the importance of pouring technique and makes ratio, grind, steep time, and decanting the main variables. Image: Corn cheese, Wikimedia Commons, CC BY-SA 4.0.
22. Decant French Press Coffee After Pressing
Pressing the plunger does not completely separate every fine particle from the beverage. Leaving coffee in the press can continue changing flavor and temperature.
If you brew more than one cup, pour the entire batch into cups or a separate carafe after pressing. This makes the first and second serving more similar.
23. Understand Why Coffee Can Taste Sour
Perceived sourness can come from the coffee itself—some coffees are naturally bright and fruit-forward—but unpleasant sharpness often indicates insufficient extraction.
Try one change:
- grind finer;
- increase contact time;
- use hotter water if you were brewing unusually cool;
- improve saturation;
- increase agitation slightly;
- make sure your grinder is not producing many large particles.
Do not automatically add more coffee. More coffee with the same water can create a stronger but even less extracted brew.
24. Understand Why Coffee Can Taste Bitter or Dry
Bitterness is a natural part of coffee, especially dark roasts. The problem is excessive bitterness, dryness, or an astringent sensation that overwhelms sweetness.
Possible fixes:
- grind coarser;
- reduce contact time;
- reduce excessive agitation;
- use a slightly cooler brew for very dark roasts;
- check whether the coffee itself is roasted darker than you enjoy.
Astringency can also come from channeling and uneven extraction, where some areas are over-extracted while others are under-extracted.
25. Understand Why Coffee Can Taste Weak
Weakness is about concentration. If the flavor is pleasant but too diluted, increase the coffee dose or reduce brewing water while keeping grind and technique similar.
If it is both weak and sour, extraction may also be low. In that case, first improve extraction with finer grind or longer contact, then evaluate strength.
This distinction is one of the most useful brewing skills you can learn.
26. Understand Why Coffee Can Taste Too Strong
If flavor is balanced but simply too intense, use more water or less coffee. If it is strong and harsh, you may need both a weaker ratio and lower extraction.
Diluting brewed coffee with a little hot water can be a valid test. If the cup suddenly tastes excellent, the extraction may have been fine and the strength was simply higher than your preference.
27. Let Coffee Cool Before You Judge It
Very hot coffee can hide sweetness and make flavor differences harder to identify. Taste immediately if you want, but taste again as it cools.
Many unpleasant cups become clearer diagnostically at a warmer, comfortable drinking temperature. You may discover that a cup you thought was “bitter” while scalding hot is actually well balanced, or that a pleasant hot cup becomes sharply sour as it cools.
28. Taste Side by Side When Learning
Human flavor memory is imperfect. A side-by-side comparison teaches faster.
Brew two small cups with only one variable different:
- coarse versus fine grind;
- 1:15 versus 1:17 ratio;
- short versus long steep;
- filtered versus tap water.
Taste both at similar temperatures. Write simple notes. You do not need professional cupping language. “Sweeter,” “drier,” “thinner,” “more chocolate,” and “more sour” are useful observations.
29. Keep a Minimal Brew Log
A brew log prevents you from rediscovering the same settings every bag.
Record:
- coffee name and roast date if available;
- brewer;
- coffee dose;
- water dose;
- grinder setting;
- water temperature or kettle setting;
- brew time;
- one sentence about taste;
- the next change.
Example: “Kenya medium-light, V60, 18/300, grinder 18, 94°C, 3:05. Bright but thin. Next: grind one step finer.”
30. Change One Variable at a Time
This is the core troubleshooting rule.
If coffee is sour and you simultaneously grind finer, raise temperature, add more coffee, and pour more slowly, you may improve the cup but will not know why. The next coffee will require guessing again.
Keep everything stable and make one purposeful change. Once you reach the neighborhood you like, fine-tune ratio or temperature.
31. Adjust for Roast Level
Light roasts often tolerate or benefit from approaches that encourage more extraction: finer grind, hotter water, or longer contact. Dark roasts are more soluble and may produce harsh flavors more easily at aggressive extraction.
This is a starting principle, not a rule. Taste controls the final decision.
When switching from a light roast to a very dark roast, do not assume your exact grind and temperature will transfer perfectly.
32. Adjust as Coffee Ages
A coffee may brew differently several days after opening. Gas release, grinder behavior, aroma, and flow can change.
If a pour-over begins draining faster and tasting thinner with the same settings, try a slightly finer grind. If flavor simply becomes dull, freshness may be the limiting factor rather than technique.
33. Handle Pre-Ground Coffee Intelligently
If you do not own a grinder, buy quantities you can use reasonably quickly and store them airtight and dark. Ask a coffee shop to grind for your brewer if available.
Choose the method first because French press and pour-over need different grind ranges. A bag ground very fine for espresso is not a good default for French press.
With pre-ground coffee, ratio becomes your easiest adjustment. You cannot change particle size, so control dose, water, contact time, and technique.
34. Do Not Use “More Coffee” to Solve Every Problem
Adding coffee increases beverage strength but can reduce extraction because the same amount of water must dissolve material from more coffee.
If a cup is sour, adding coffee may make it stronger and still sour. If it is pleasantly extracted but weak, then more coffee is exactly the right fix.
Ask two separate questions: Is the concentration right? Is the flavor extraction right?
35. Pre-Wet Paper Filters When Appropriate
Rinsing a paper filter can remove loose paper dust, warm the brewer, and help the filter adhere to the walls. Use hot water, then discard the rinse before adding coffee.
Some filters have very little paper flavor and may not require extensive rinsing. Avoid wasting large amounts of water merely because a recipe uses a dramatic rinse.
36. Keep Reusable Filters Clean
Metal and cloth filters retain oils differently from paper. Old coffee oils can oxidize and create stale flavors.
Rinse after use and clean according to the manufacturer’s instructions. Cloth filters may need specific washing and storage practices. Metal filters often need occasional deeper cleaning to remove oil buildup from fine mesh.
37. Clean the Brewer Before Blaming the Beans
Old coffee residue can make fresh coffee taste rancid, bitter, or stale. Clean carafes, brew baskets, press screens, lids, and removable parts regularly.
Automatic coffee makers also accumulate mineral scale. Follow the manufacturer’s descaling procedure and product recommendations. LordAI has a dedicated guide to cleaning and descaling a coffee maker.
38. Use Fresh Water for Each Brew
Do not repeatedly boil the same small kettle of water all day. Evaporation can concentrate dissolved minerals, and water that has sat exposed may pick up odors.
Fill with the amount you need plus a small allowance for rinsing and heat loss.
39. Match Batch Size to the Brewer
Some automatic drip brewers perform differently at very small batches because water distribution and thermal behavior change. Some pour-over drippers also become awkward when overloaded with coffee.
If you regularly brew one cup, use equipment that handles one cup well. If you brew a liter every morning, choose a brewer and grinder that can handle that batch consistently.
The SCA Certified Home Brewer program specifically tests machines for consistent brewing performance, which can be useful when shopping for an automatic brewer.
40. Understand Channeling
Channeling occurs when water finds preferential paths through coffee instead of extracting the bed evenly. In pour-over and espresso, it can create a mix of under-extracted and over-extracted flavors.
Reduce channeling by:
- leveling the coffee bed;
- saturating evenly;
- avoiding aggressive pours at one spot;
- using a reasonably consistent grind;
- keeping the filter seated properly;
- avoiding holes or cracks in the coffee bed.
41. Learn to Read the Coffee Bed Without Overinterpreting It
A flat bed at the end of a pour-over can indicate even pouring, but appearance is not a tasting score. A perfectly flat bed can produce bad coffee; an uneven-looking bed can produce delicious coffee.
Use visual clues to understand technique, then taste the cup.
42. Simplify Complicated Pour Recipes
Online coffee recipes may specify multiple pours at exact seconds and gram targets. Those recipes can be useful, but complexity should earn its place.
Start with bloom plus one or two controlled pours. If the coffee tastes good and the drawdown is stable, you may not need six pulses.
Complexity adds variables. A recipe that is slightly less “optimized” but easy to repeat every morning is often better at home.
43. Use a Gooseneck Kettle for Control, Not Status
A gooseneck kettle allows precise flow and placement. It is particularly helpful for small pour-over brewers. It does not improve French press coffee simply by existing on the counter.
If your main method is automatic drip or French press, a standard kettle may be enough. Buy tools that solve a problem in your method.
44. Decide Whether Temperature Control Is Worth Paying For
A variable-temperature kettle is useful if you regularly compare recipes, brew different roast levels, or make tea as well. But it is not essential for learning coffee.
You can boil water and wait briefly, or use a basic thermometer. Consistency matters more than a premium display.
45. Choose a Grinder Before Buying Multiple Brewers
If your current grinder produces inconsistent results, buying three new drippers gives you three ways to experience the same grinder limitations.
Invest first in measurement and grinding consistency. Then explore brewing methods once your baseline is stable.
46. Buy Coffee by Flavor Description, Not Price Alone
Roasters often list origin, process, roast style, and tasting notes. Tasting notes are descriptions, not added flavorings unless the product explicitly says it is flavored.
If you like chocolate, nuts, caramel, and low perceived acidity, choose coffees described in that direction. If you enjoy floral, citrus, berry, or tea-like cups, explore lighter roasts and origins known for those profiles.
A very expensive coffee can still be a poor fit for your taste.
47. Understand That Origin Is Only One Variable
Country and region matter, but variety, altitude, processing, roast, age, water, grinder, and brewing method all affect the cup.
Do not assume every Ethiopian coffee tastes fruity or every Brazilian coffee tastes chocolatey. Use origin as context, not a guarantee.
48. Compare Washed and Natural Coffees
Processing affects flavor. Washed coffees often emphasize clarity and acidity, while natural-process coffees can show heavier fruit character and fermentation notes. Honey and other processes occupy a broad middle ground.
The easiest way to understand processing is to buy two coffees roasted similarly and taste them side by side using the same recipe.
49. Pair Brew Method With the Coffee You Have
A very clean light-roast coffee may shine in a paper-filter pour-over. A rich dark roast may taste satisfying in French press or drip. But these are preferences, not rules.
If one coffee never tastes enjoyable in your usual brewer, try a different method before deciding the coffee is bad.
50. Adjust for Milk Drinks
Coffee served with milk needs enough concentration and flavor intensity to remain noticeable. If a filter coffee disappears in milk, use a stronger ratio or choose a coffee with a more pronounced roast profile.
Do not automatically over-extract the coffee to make it “stronger.” Increase concentration first.
51. Make Iced Coffee Without Making It Watery
For flash-chilled coffee, brew part of the water as hot brew water and place the remaining water amount as ice in the serving vessel.
Example target: 300 g total beverage water. Use 180–200 g hot water to brew over coffee and 100–120 g ice in the carafe. Adjust grind finer because less hot water contacts the coffee.
The melting ice is part of the recipe, not an accidental dilution.
52. Distinguish Iced Coffee From Cold Brew
Iced coffee is brewed hot and chilled. Cold brew extracts coffee in cool or room-temperature water over a longer period.
Cold brew generally requires different grind, ratio, and contact time. Do not use a four-minute French press recipe with cold water and expect the same extraction.
53. Avoid Leaving Brewed Coffee on a Hot Plate for Hours
Prolonged heat changes brewed coffee flavor. If you need coffee to stay warm, a clean thermal carafe generally preserves flavor better than continuously cooking the coffee on a hot plate.
Some modern automatic brewers use thermal carafes for this reason.
54. Warm the Cup, Not the Coffee Repeatedly
If your coffee cools too quickly, preheat the mug with hot water, use a smaller vessel, or use an insulated cup. Repeated microwave reheating can change aroma and may create uneven hot spots.
If you do reheat, stir and use a microwave-safe vessel.
55. Do Not Judge Freshness Only by the Bloom
A dramatic bloom indicates gas release, which is influenced by roast date, roast level, grind, and coffee characteristics. It does not prove the coffee will taste better than a quieter brew.
Use aroma and cup quality as the final measure.
56. Troubleshoot a Pour-Over That Drains Too Fast
Possible causes:
- grind too coarse;
- low coffee dose for the brewer;
- very fast filter paper;
- little agitation;
- channeling;
- grinder producing many large particles.
First, grind slightly finer. Keep everything else unchanged and taste again.
57. Troubleshoot a Pour-Over That Drains Too Slowly
Possible causes:
- grind too fine;
- too many grinder fines;
- excessive swirling or stirring;
- filter clogged against the brewer wall;
- very high coffee dose;
- fine particles migrating to the filter.
First, grind slightly coarser or reduce agitation. Do not immediately pour faster because aggressive pouring can create more fines migration.
58. Troubleshoot Coffee That Tastes Flat
Flatness can come from stale coffee, stale residue in equipment, unsuitable water, or a recipe that lacks enough extraction or strength.
Check in this order:
- Smell the dry coffee.
- Clean the brewer and grinder catch cup.
- Use fresh water.
- Confirm ratio.
- Try a finer grind.
- Compare with a freshly opened coffee.
59. Troubleshoot Coffee That Tastes Different Every Day
Inconsistency usually comes from inconsistent inputs.
Check:
- Are you weighing coffee?
- Are you weighing water?
- Is grinder setting unchanged?
- Are you grinding for the same time or using the same burr setting?
- Is water temperature similar?
- Is your pour pattern repeatable?
- Are you changing batch size?
- Is the grinder retaining old grounds?
Fix measurement before buying new gear.
60. Worked Example: Fixing a Sour Pour-Over
Alex brews 18 g coffee with 300 g water. The coffee drains in 2:20 and tastes sharp, thin, and lemony without sweetness.
First change: grind two small steps finer. Everything else stays the same.
The second brew drains in 2:50. Sourness decreases and sweetness increases, but the cup still feels slightly thin.
Second change: one additional finer step.
The third brew drains in 3:10 and tastes balanced. Alex records the setting.
Notice what Alex did not do: add more coffee, change water temperature, add a longer bloom, and buy a new kettle. One-variable adjustment produced a clear result.
61. Worked Example: Fixing a Bitter French Press
Maya uses 30 g coffee and 500 g water with a very fine grind. She steeps for six minutes and leaves half the coffee in the press for another fifteen minutes. The second cup tastes extremely bitter and gritty.
First adjustment: grind coarser and use a four-minute starting steep.
Second adjustment: after pressing, immediately pour all coffee into mugs or a carafe.
The cup becomes cleaner and less harsh. If it still tastes too intense, Maya can then adjust ratio separately.
62. Worked Example: Fixing Weak Automatic Drip Coffee
Sam uses five loosely filled tablespoons of pre-ground coffee for a full 1-liter batch. Some mornings the coffee is drinkable; others it is watery.
Sam buys a small scale and begins with 60 g coffee per liter. The coffee becomes consistent immediately.
If the cup is now stronger than Sam prefers, the next batch can use 55 g. The key improvement is not the exact number; it is replacing variable scoops with a measurable recipe.
63. Build a 10-Minute Morning Workflow
A practical routine can be:
- Fill kettle with fresh water.
- Weigh coffee.
- Start heating water.
- Grind coffee.
- Prepare and rinse filter while water heats.
- Add grounds and tare scale.
- Bloom and brew.
- Rinse grinder catch cup and brewer immediately.
- Record only if you changed something.
A good coffee routine should not require a spreadsheet every morning.
64. Use a Weekly Experiment Instead of Daily Chaos
Keep your daily brew stable. Once per week, test one variable deliberately.
Week 1: grind comparison.
Week 2: ratio comparison.
Week 3: water comparison.
Week 4: different brewer.
Week 5: side-by-side coffees.
This produces learning without turning breakfast into a laboratory.
65. A Practical Brew-Diagnosis Table
| What you taste | Likely direction | First change to try |
|---|---|---|
| Sour, thin, sharp | Increase extraction | Grind finer |
| Harsh, dry, bitter | Reduce extraction | Grind coarser |
| Balanced but weak | Increase strength | Use more coffee |
| Balanced but too strong | Reduce strength | Use more water or less coffee |
| Muddy French press | Reduce fines/sediment | Grind coarser and decant |
| Pour-over drains too fast | Increase resistance | Grind finer |
| Pour-over stalls | Reduce resistance/agitation | Grind coarser |
| Stale or rancid | Check freshness/cleanliness | Clean equipment and use fresher coffee |
66. What Equipment Actually Matters
You can brew excellent coffee with simple equipment. Prioritize:
- fresh, suitable coffee;
- a reliable scale;
- a consistent grinder if using whole beans;
- a brewer that matches your routine;
- fresh, pleasant-tasting water;
- a kettle appropriate to the method;
- a timer, which can be your phone.
Accessories come later. A premium server, elaborate distribution tool, or decorative stand cannot fix stale coffee, random ratio, or poor grind consistency.
67. When a Better Automatic Brewer Is Worth It
If you prefer push-button coffee but your machine consistently produces lukewarm, uneven, or poorly extracted brews even after cleaning and correct dosing, equipment may be the limiting factor.
The Specialty Coffee Association’s Certified Home Brewer program evaluates qualifying brewers for technical performance such as temperature, time, extraction, and consistency. Certification is not the only way to choose a good machine, but it provides a useful evidence-based reference when comparing automatic brewers.
68. When a Better Grinder Is Worth It
Upgrade the grinder when:
- small setting changes produce no predictable difference;
- your grinder creates a large mix of powder and boulders;
- pour-over timing varies dramatically with the same recipe;
- you want to move into espresso, which requires fine control;
- you regularly brew high-quality coffee and the grinder is the obvious bottleneck.
Do not upgrade merely because coffee influencers use a newer model.
69. When the Coffee Itself Is the Limiting Factor
Technique cannot transform every coffee into every flavor.
If a very dark roast always tastes smoky and bitter to you, brewing cooler and coarser may soften it, but it will not become a floral light roast. If a bright washed coffee tastes too acidic for your preference, you may prefer another coffee rather than endlessly extracting it harder.
Good brewing reveals the coffee you bought. It does not erase its identity.
70. A Four-Week Skill-Building Plan
Week 1: Control the recipe
Use one coffee, one brewer, one ratio, and one grinder setting. Weigh every brew. Focus only on repetition.
Week 2: Learn grind adjustment
Make one brew slightly finer and one slightly coarser. Compare taste and flow. Find the range you prefer.
Week 3: Learn strength
Keep grind stable and compare 1:15, roughly 1:16.7, and 1:18 ratios. Notice that strength can change without the same flavor defects as extraction.
Week 4: Learn coffee choice
Brew two different coffees with the same method. Compare roast level, processing, aroma, sweetness, acidity, body, and aftertaste.
At the end of four weeks, you will understand more about your own preferences than someone who has copied fifty unrelated recipes without controlling variables.
Frequently Asked Questions
What is the best coffee-to-water ratio?
There is no universal best ratio. Around 60 g coffee per liter of water, or roughly 1:16.7, is a useful starting point for filter and immersion coffee. Adjust strength from there based on taste and method.
What temperature should water be for coffee?
Use consistently hot water rather than chasing a single magic number. SCA-supported research has shown that within roughly 87–93°C, flavor differences become much smaller when final strength and extraction are controlled. Roast level and method still matter, so adjust based on taste.
Why is my coffee sour?
Unpleasant sourness often indicates low extraction. Try a finer grind first, then consider longer contact time, hotter water, or more even saturation. Some coffees are naturally bright, so distinguish pleasant acidity from hollow sharpness.
Why is my coffee bitter?
Dark roast character, high extraction, excessive contact time, very fine grind, or stale oils in equipment can all contribute. Try a coarser grind and clean equipment before changing multiple variables.
Should I keep coffee beans in the refrigerator?
For coffee you will use soon, an airtight opaque container in a cool dark location is simple and effective. Refrigeration can expose coffee to moisture and odors. Freezing can work for longer storage when coffee is sealed in portions and protected from condensation.
Is whole-bean coffee always better?
Whole beans let you grind immediately before brewing and choose grind size for each method, which improves flexibility and freshness. Good pre-ground coffee can still produce a satisfying cup when stored well and brewed consistently.
Do I need a gooseneck kettle?
It is helpful for pour-over because it controls flow and placement. It offers much less benefit for French press or automatic drip. Buy it if it solves a technique problem you actually have.
Do I need an expensive scale?
No. A basic digital kitchen or coffee scale that measures grams consistently is enough for most home brewing. Fast response and a built-in timer are convenient but not essential.
Why does my pour-over take too long?
The grind may be too fine, the grinder may produce many fines, or agitation may be clogging the filter. Grind coarser or simplify stirring and swirling before making other changes.
Why is my coffee weak even though I use a lot of grounds?
You may be using a high dose but extracting poorly. If the coffee is both strong-smelling and sour or hollow, improve extraction with finer grind, better saturation, or longer contact rather than simply adding more coffee.
Should I stir a French press?
Gentle stirring can help wet all grounds. Use a repeatable technique and avoid excessive agitation. The exact number of stirs matters less than consistency and taste.
How long should coffee bloom?
About 30–45 seconds is a useful starting range for many pour-over coffees, but the purpose is saturation and gas release, not hitting a ritual number. Older coffee may need less bloom time.
Conclusion: Build a Repeatable Recipe Before You Chase Perfection
The fastest route to better home coffee is not buying everything at once. It is reducing randomness.
Use fresh coffee stored well. Weigh coffee and water. Start with a reasonable ratio. Grind immediately before brewing when practical. Use clean water and clean equipment. Saturate evenly. Record the grinder setting. Taste as the cup cools. Then change one variable.
The biggest mistake to avoid is changing several things whenever a cup tastes wrong. That creates a new recipe but no understanding. A simple repeatable process teaches you how grind, ratio, water, contact time, agitation, and coffee choice interact.
If you want one action tomorrow morning, weigh your coffee and water for the first time and write down the ratio. That single measurement turns an accidental cup into a recipe you can improve.
Sources and Further Reading
- Specialty Coffee Association — Water and Coffee Acidity
- Specialty Coffee Association — Brewing Temperature and Sensory Profile
- Specialty Coffee Association — Brew Temperature, Sensory Profile, and Consumer Acceptance
- Specialty Coffee Association — Towards a New Brewing Chart
- National Coffee Association / About Coffee — Storage and Shelf Life
- Specialty Coffee Association — Certified Home Brewer Program
Image Credits
- “Brewing Single Serving Pour Over Coffee.jpg” — JoeSeyd, Wikimedia Commons, CC BY-SA 4.0.
- “Coffee grinder with freshly roasted beans in an artisan cafe setting.jpg” — Shixart1985 / Nenad Stojković, Wikimedia Commons, CC BY 2.0.
- “French press with coffee.jpg” — Corn cheese, Wikimedia Commons, CC BY-SA 4.0.